25
Speaker settings
2
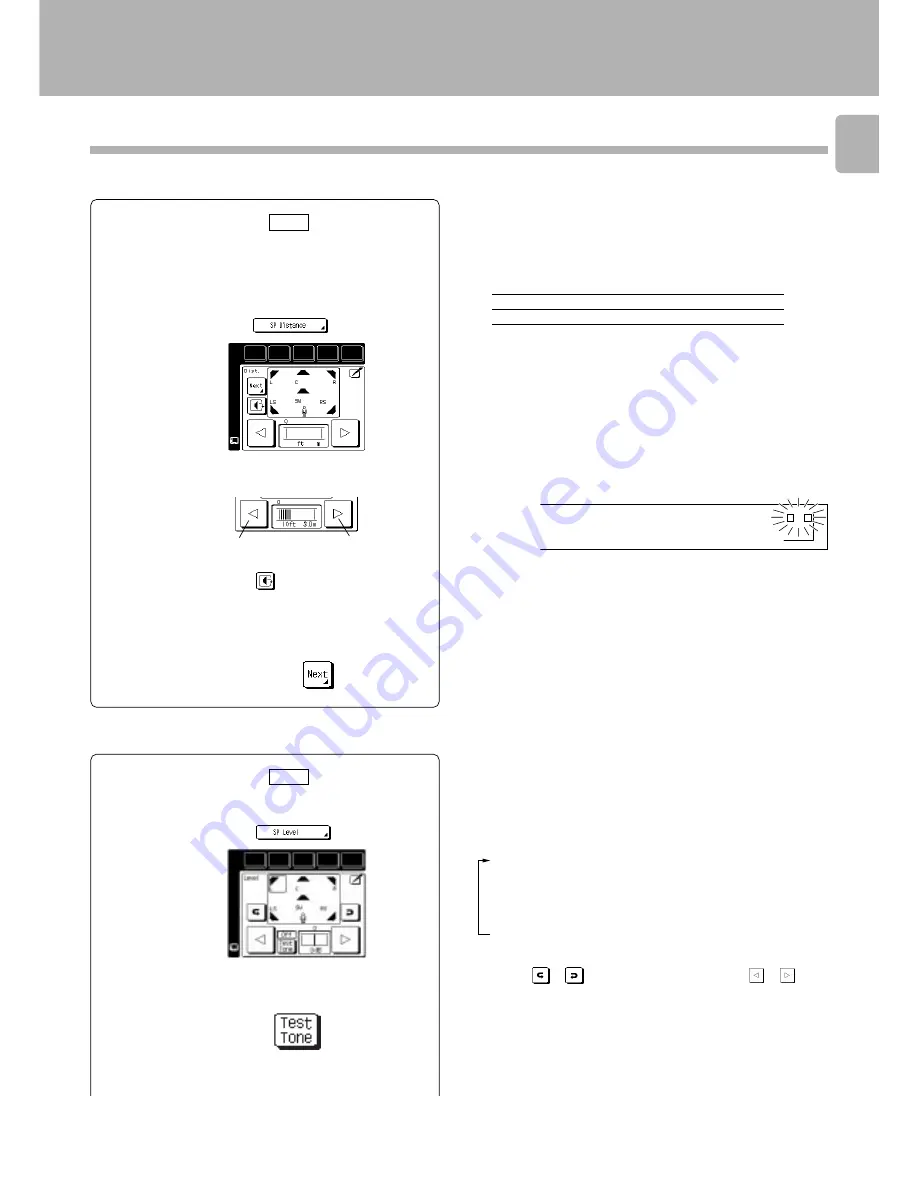
Select a speaker distance.
(Select the icon)
3
Set “SP Distance”.
(Select the icon)
To decrease
To increase
4
Touch
to select the speaker.
5
Repeat steps
3
and
4
for each speaker.
GRC
3
6
Press the “Next” icon.
FRONT (L/R)
:
meter(s)
CENTER (C)
:
meter(s)
SURROUND (LS/RS)
:
meter(s)
÷
The allowable setting range is 1 to 30 feet (0.3 to 9.0 m), adjustable in 1
foot (0.3 m) increments.
÷
The speakers you selected appear on the display. Confirm that all the
speakers have been correctly selected.
Speaker distance
1
Measure the distance from the listening
position to each of the speakers.
Jot down the distance from the listening position to each of
the speakers
÷
The test tone which sounds like noise move across speakers in the
following sequence about 2 seconds.
TEST Lch
(Front speaker, Left)
TEST Cch
(Center speaker)
TEST Rch
(Front speaker, Right)
TEST RSch
(Surround speaker, Right)
TEST LSch
(Surround speaker, Left)
TEST SWch
(Subwoofer)
1
Select a speaker level.
2
Select "Test Tone" icon.
(Select the icon)
(Select the icon)
GRC
4
Continued to next page
(Select the icon)
KHz TIMER 1 2 TAPE2/MONI.
AUTO SOUND
PRO LOGIC
DIGITAL REC
3 STEREO
C
LS
S RS
LFE SW
MHz SLEEP
DOWN MIX
DIGITAL CS
DTS DOLBY
DIGITAL REC
1) F T 3.) M
L
R
Set the speaker distance.
Adjust the speaker level.
÷
Even when “
Test Tone
” is “
Off
”, it is possible to select the speaker
with the
or
icon and adjust its level with the
or
icon.


