28
A7 MIG Welder
© Kemppi Oy 2017
1735
OPERA
TING M
ANU
AL
4.3 Web user interface
To access the web user interface, make sure that the
network settings of the web user interface server are
correct and the network cable has been plugged in. The
cable connection and the network configuration are
described in the
A7 MIG Welder Integration guide
.
Open the web user interface with a web browser to by
typing a proper IP address to the browser’s address field.
The IP address can be verified from the setup panel,
Robot
Menu > Network settings > IP address
.
The web user interface is used only for configuring
robotic welding settings. If manual welding is used with the
A7 MIG Welder, the configuration of the hand welding wire
feeder is done using the setup panel.
1
2
4
5
6
3
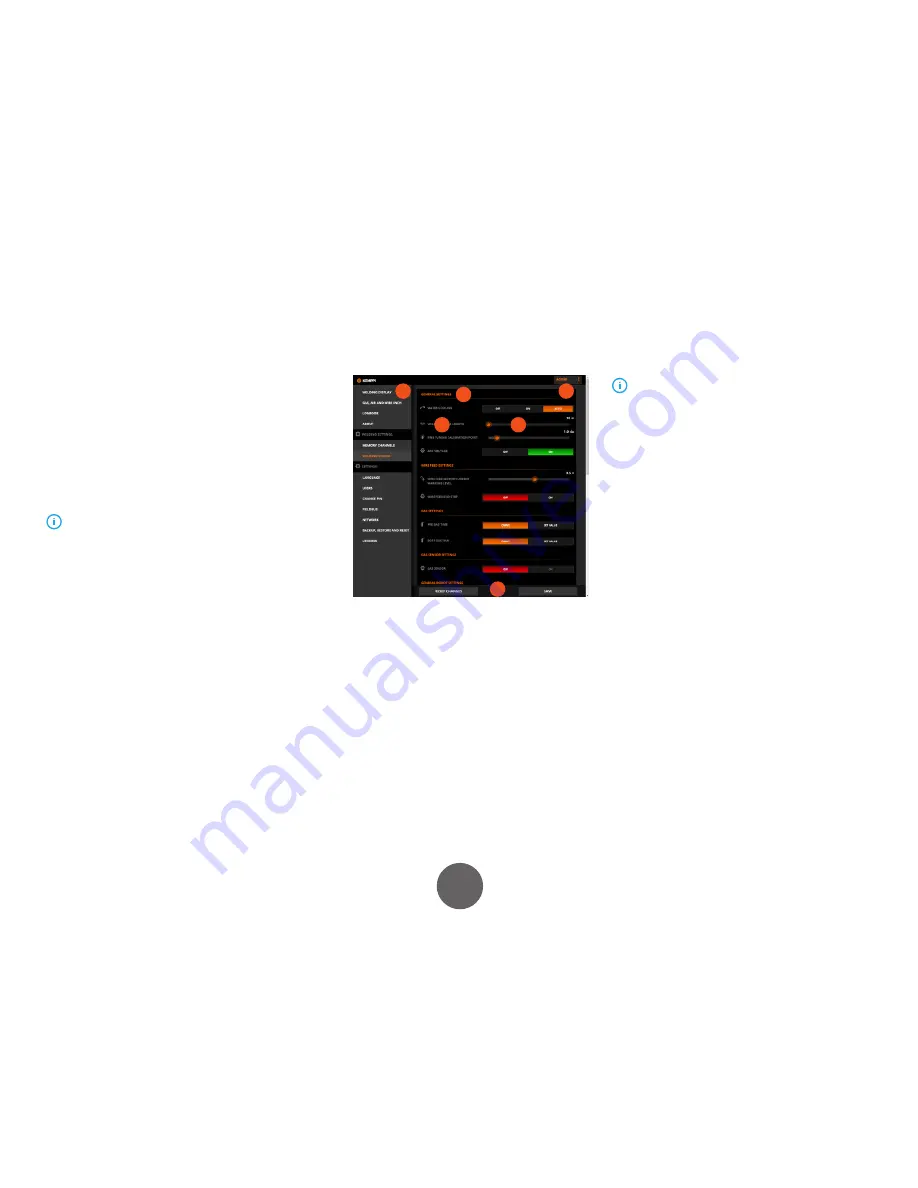
Figure 4.2 Web user interface layout overview
1. Side menu bar
2. Content frame
3. Current user / User logout
4. Setup parameters
5. Setup value controls
6. Pop-up bar (normally hidden)
Side menu bar
The side bar will be hidden if the width of the window is
narrowed down. A side bar button appears in the top left
corner of the window and can be used to show and hide
the side bar.
The menu items are shown according to the access
level of the current user. See
Section 4.4 "User identification"
for more information.
Current user / User logout
Clicking the current username opens a drop-down list
with
logout
text. Clicking the text logs out the current
user and redirects automatically to the login window.
Setup parameters and controls
Many of the menu items contain user configurable
parameters. The setup parameters and their related
controls are listed from top to bottom. They are ordered
in functional groups to make system configuration easier.
Setup value controls
The controls allow you to change parameter values.
Different types of parameter values have controls of
types according to the parameter value range. The
controls can be button bars, edit boxes, drop-down lists,
sliders, and sliders with adjustable min and max limits.
The slider value can be provided as a direct value input
by clicking the current value and typing a new value.
Pop-up bar
The multi-function pop-up bar on the bottom of the
window is normally hidden and appears when needed.
The bar appears for error and warning notifications and
for save changes requests. It allows the user to take
actions related to the notification and disappears after
one of the buttons has been clicked.


