Operating Manual AmbiCube
Maintenance
Page 30 of 40
Version: 2 | en
Subject to technical changes
1.) Visual inspection of the intake grids. Make sure that no objects have been
sucked in at the grids or that the grids are heavily contaminated by e.g. dust or
similar. If necessary, remove these objects and contaminations.
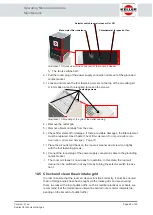
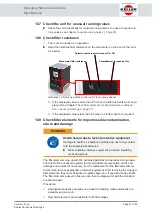
Blow-out opening
Second filter stage
First filter stage
Fan
Air intake openings
Illustration 17:
Sectional view of the room air cleaner
2.) Ensure that no objects have been inserted into the grids and that these can
clog or block the grids or damage the fan.
3.) If heavy contamination is visible in the area between the intake grids and the
fan, the area must be cleaned. See Chapter
10.6 Cleaning the air intake area
Procedure for cleaning the suction area:
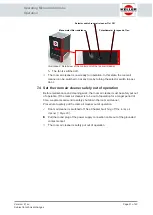
1.) Turn the selector switch on the front of the room air cleaner to position 0.
Ä
The fan is switched off.
2.) Pull the round plug of the power supply connection cable out of the grounded
contact socket.
3.) Loosen and remove the 4 Phillips screws at one of the intake grids.
Fastening screws
Illustration 18:
Fixing of the grid of the air intake opening
4.) Remove the intake grid.
5.) Clean the interior area in front of the fan with a vacuum cleaner, for example.
6.) Place the intake grid back on the intake opening.
7.) Reattach the intake grid with the 4 Phillips screws.
8.) Connect the round plug of the power supply connection cable to the grounding
contact socket.
ð
The room air cleaner is now ready for operation. In this state, the room air
cleaner can be switched on at any time by turning the selector switch to posi-
tion I.

