GES1337 KeyMander 2 3Play User Manual
82
4.
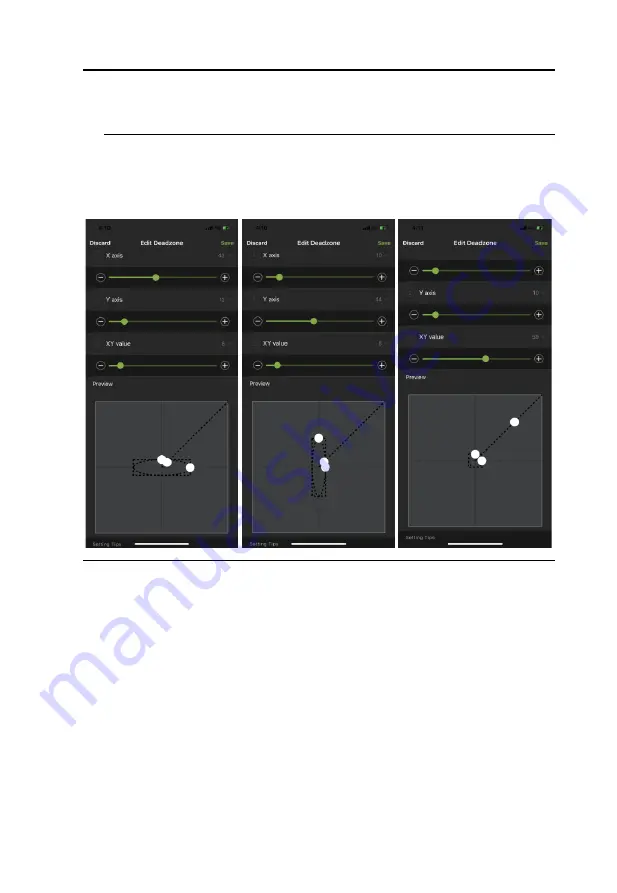
Adjust the dots by increasing or decreasing the X, Y, and XY values, the
dots re-adjust accordingly. While watching the game until the player in
the game starts to move slowly in the direction of the adjustment.
Note:
It’s important that you stop adjusting the graph at the point (mouse
click) where the player begins to move in the game – this is where
the Deadzone is set perfectly. If you go past the point, simply de-
crease the value until the player stops moving and adjust again.
Note:
It is very important that you set each direction's Deadzone (X-axis,
Y-axis and Diagonal) when using the
Auto
Zone Type.
5.
Click
Save
to save the Deadzone settings to the current profile.
6.
Test the mouse within the first-person shooter game. Movements will be
smooth, stable and accurate. You’ll also notice that shooting becomes
more steady and reliable than with the game controller.
If any mouse movements are shaky or jumpy repeat the steps to set
the Deadzone. With the Deadzone set correctly the mouse
performance should be excellent.
Summary of Contents for GE1337P2
Page 47: ...Chapter 4 Using the K2 App 47 2 Click Update ...
Page 53: ...Chapter 4 Using the K2 App 53 Customizing Controls for a Profile ...
Page 95: ...Chapter 4 Using the K2 App 95 Action L R ...
Page 96: ...GES1337 KeyMander 2 3Play User Manual 96 D Pad Other ...
Page 97: ...Chapter 4 Using the K2 App 97 Left Analog Stick Right Analog Stick ...


