21
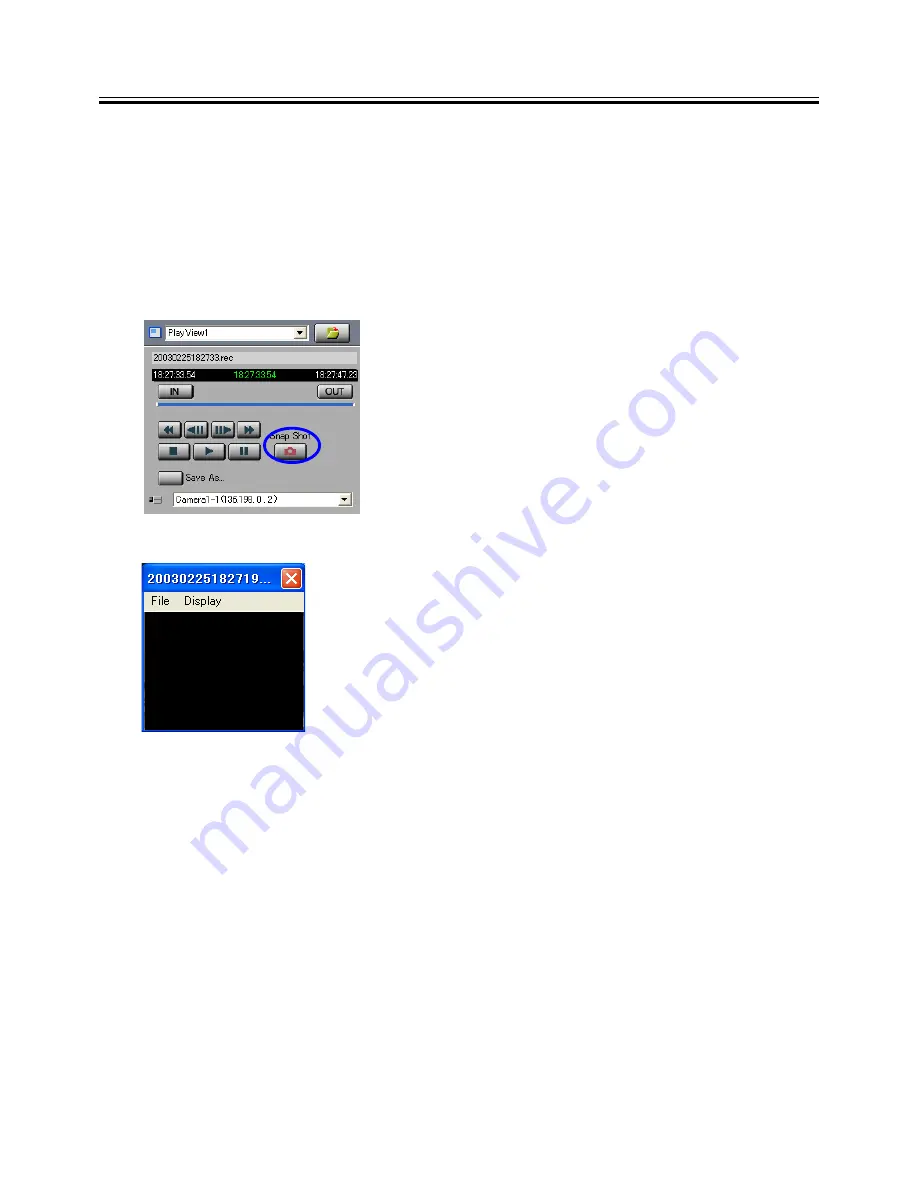
‘Snap Shot’ window
10. Snap Shot
The snap shot function saves the image in the active View Window in the form of a still image file.
When the image is JPEG, the still images can be saved either in JPEG files (*.jpg) or BMP files (*.bmp). When the
image is MPEG, the still images can be saved in BMP files (*.bmp).
Up to 16 snap shot images can be displayed at a time.
1
Click on the View Window that shows the image as a snap shot in order to make the window active.
2
Click on the [Snap Shot] button of the controller.
3
A separate [Snap Shot] window appears showing the still image.
The displayed still image can be magnified by opening the [Display] menu of
the [Snap Shot] window and selecting [Original Size]. (The image cannot be
magnified if its original size is 160 x 120.)
Up to 16 snap shots can be displayed simultaneously using the same proce-
dure.
4
In each [Snap Shot] window, open the [File] menu and select [Save As].
5
When the [Save As] dialog box appears, specify the filename and the save location, and then click on the
[Save] button.
*Please note when the Snap Shot is saved as a JPEG file.
- The image is saved upside down if the Upside Down setting is effective in the View Point.
- An oblong image is saved if the View Point is VN-C30U.
To close the [Snap Shot] window without saving the snap shot, simply click on [X] at the top right corner of the
window.
<< CAUTION >>
* Saved snap shot files cannot be viewed on the VN-S400U. Please use another image viewer.
* If the Live View Window is hidden, the Snapshot picture is not the image of the Snap Shot button is clicked.
In this case, it is shown as a Snap Shot that the image of the Live View Window displayed last time.
To make the Snap Shot exactly, display the Live View Window when you click the Snap Shot button.


