


Language Setting
A
Access Main Menu screen, then
Initial Set screen
Press
MENU
on the remote control. Press
rt
to place the pointer next to “INITIAL
SET”, then press
OK
or
e
.
B
Access Language Select screen
Press
rt
to place the pointer next to “LANGUAGE”, then press
OK
or
e
.
C
Select language
Press
rt
to place the pointer next to the
language of your choice (English or
Russian), then press
OK
or
e
.
Press
MENU
to return to normal screen.
Clock Setting
A
Access Main Menu screen, then Initial Set screen
Press
MENU
on the remote control. Press
rt
to place the
pointer next to “INITIAL SET”, then press
OK
or
e
.
B
Access Clock Set screen
Press
rt
to place the pointer next to
“CLOCK SET”, then press
OK
or
e
.
C
Set time, date and year
Press
rt
until the desired time appears,
then press
OK
or
e
. Set the date and year
in the same way.
●
Holding
rt
changes the time in
30-minute intervals, or changes the date
in 15-day intervals.
D
Start clock
Press
MENU
and normal screen appears.
NOTE:
If the year digits are automatically cleared, it is possible that you
have input February 29th in a non-leap year. Input the correct
data.
To make corrections any time during the process
Press
OK
or
e
repeatedly until the item you want to change
blinks, then press
rt
.
Playback
Basic Playback
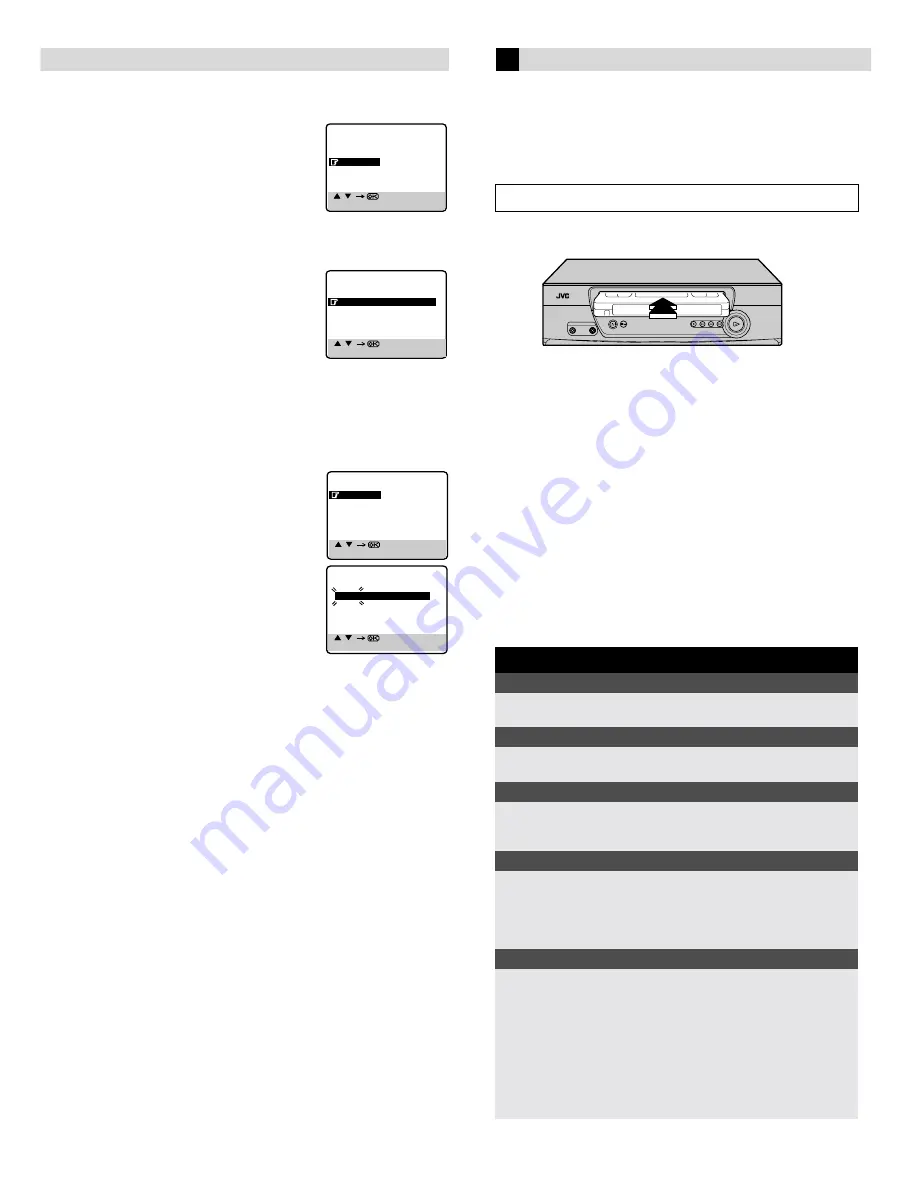
A
Loada cassette
Make sure the window side is up, the rear label side is facing you
and the arrow on the front of the cassette is pointing towards the
recorder.
●
Do not apply too much pressure when inserting.
●
The recorder turns on, and the counter on the on-screen display
is reset, automatically.
●
Select the appropriate colour system with “PAL/MESECAM” and
“NTSC” in Function settings.
●
If the cassette’s record safety tab has been removed, playback
begins automatically.
B
Start playback
Press
PLAY
(
4
).
ATTENTION
In the search, still, slow-motion or frame-by-frame playback
mode,
●
the picture will be distorted.
●
the noise bars will appear.
●
there may be a loss of colour.
[
/
]
[MENU] : EXIT
MAIN MENU
FUNCTION SET
TUNER SET
INITIAL SET
[
/
]
[MENU] : EXIT
INITIAL SET
CLOCK SET
LANGUAGE
G-CODE SETUP
[
/
]
[MENU] : EXIT
INITIAL SET
CLOCK SET
LANGUAGE
G-CODE SETUP
[
/
]
[MENU] : EXIT
CLOCK SET
TIME
DATE
YEAR
0 : 00
01.01
01
Turn on the TV and select the video channel or AV mode.
During playback
Stop playback
Press
STOP
(
8
) on the
remote control.
OR
Press
STOP/EJECT
(
0
) on
the recorder.
Pause playback and view still picture
Press
PAUSE
(
9
).
●
Press
PLAY
(
4
) to resume normal playback.
Pause and Frame-by-Frame playback
Press
PAUSE
(
9
) to pause, then press
6
(or
PAUSE
(
9
))
repeatedly.
●
Press
PLAY
(
4
) to resume normal playback.
High speed search
Press
REW
(
3
) or
FF
(
5
).
●
Press
PLAY
(
4
) to resume normal playback.
●
If you press and hold
REW
(
3
) or
FF
(
5
) for more than
2 seconds, simply releasing it cancels the picture search, and
normal playback resumes.
Picture search at variable speed (including slow-motion)
Press
w
or
e
repeatedly.
●
Press
PLAY
(
4
) to resume normal playback.
●
Each time you press
w
or
e
, the playback speed changes. To
decrease the speed during picture search, press the opposite
direction button repeatedly.
●
During still picture, press and hold
e
to start forward slow
motion playback. When you release the button, still picture
resumes. During still picture, holding
PAUSE
(
9
) for more than
2 seconds also starts forward slow motion playback. If you
press
PAUSE
(
9
) again, still picture resumes.
– Initial Settings –


