Warning and Important Information
2
Controls and Components
3
Connections
4
Tuning the TV to Your VCR
5
Storing TV Broadcasts in Your VCR
5
Setting the Clock of Your VCR
7
Settings Using the On Screen Display
7
Option Setting
8
Playback
9
Recording
10
Timer Recording
13
Search Functions
15
Before Requesting Service
17
Specifications
18
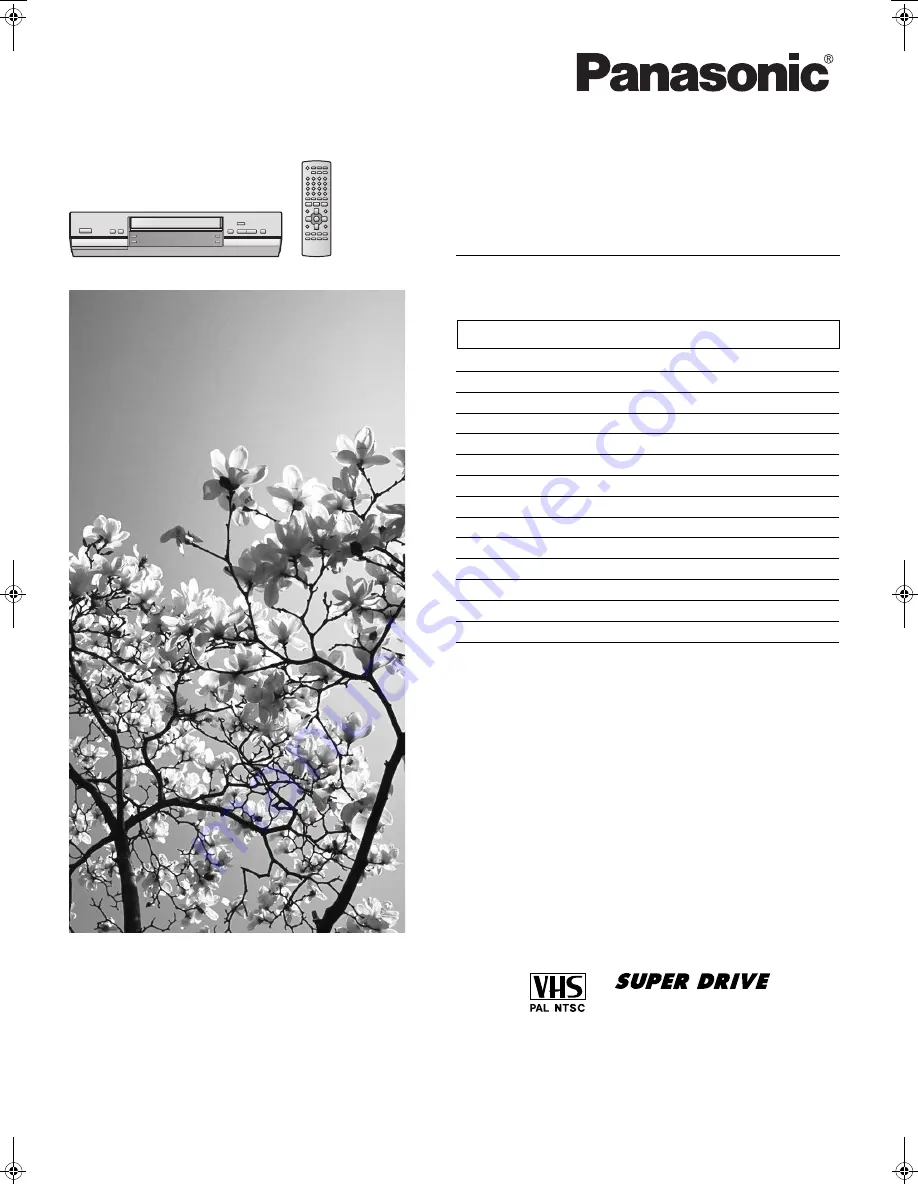
Video Cassette Recorder
RQTV0006
Operating Instructions
使用說明書
Before attempting to connect, operate or adjust this product,
please read these instructions completel
y.
Contents
Page
Model No.
NV-HV61GH
NV-HV61GH.book 1 ページ 2004年3月4日 木曜日 午前9時13分