Playing Back Videos
The followings are the types of playback that can be performed by this unit.
Item
Description
Normal
Playback
Plays back the recorded videos.
Mark Playback
(Mark playback/
game playback)
(GZ-EX355/GZ-
EX310)
The scenes marked while recording the video and the
scoring scenes recorded in the game recording mode
(by using the smartphone application) can be
searched.
Also, marked scenes and goal scenes can be
extracted for playback; extracted scenes can be saved
as a playlist.
To start, tap
J
on the playback screen.
For the game recording mode, refer to the game score
settings.
“Game Score Settings” (
A
p. 170)
Mark Playback
(GZ-E300)
The scenes marked while recording the video can be
searched.
Also, marked scenes can be extracted for playback;
extracted scenes can be saved as a playlist.
To start, tap
J
on the playback screen.
DIGEST
PLAYBACK
From the recorded video, scenes with a smile
detected, scenes with a person whose face is
registered, and scenes that are marked manually are
extracted and pieced together for a digest playback.
When “AUTO” is selected, recorded video is digested
in the pre-set length of time.
Start the playback from “DIGEST PLAYBACK” in the
“PLAYBACK SETTING” menu.
PLAYBACK
PLAYLIST
Plays back the playlists that you have created.
Start the playback from “PLAYBACK PLAYLIST” in the
“PLAYBACK SETTING” menu.
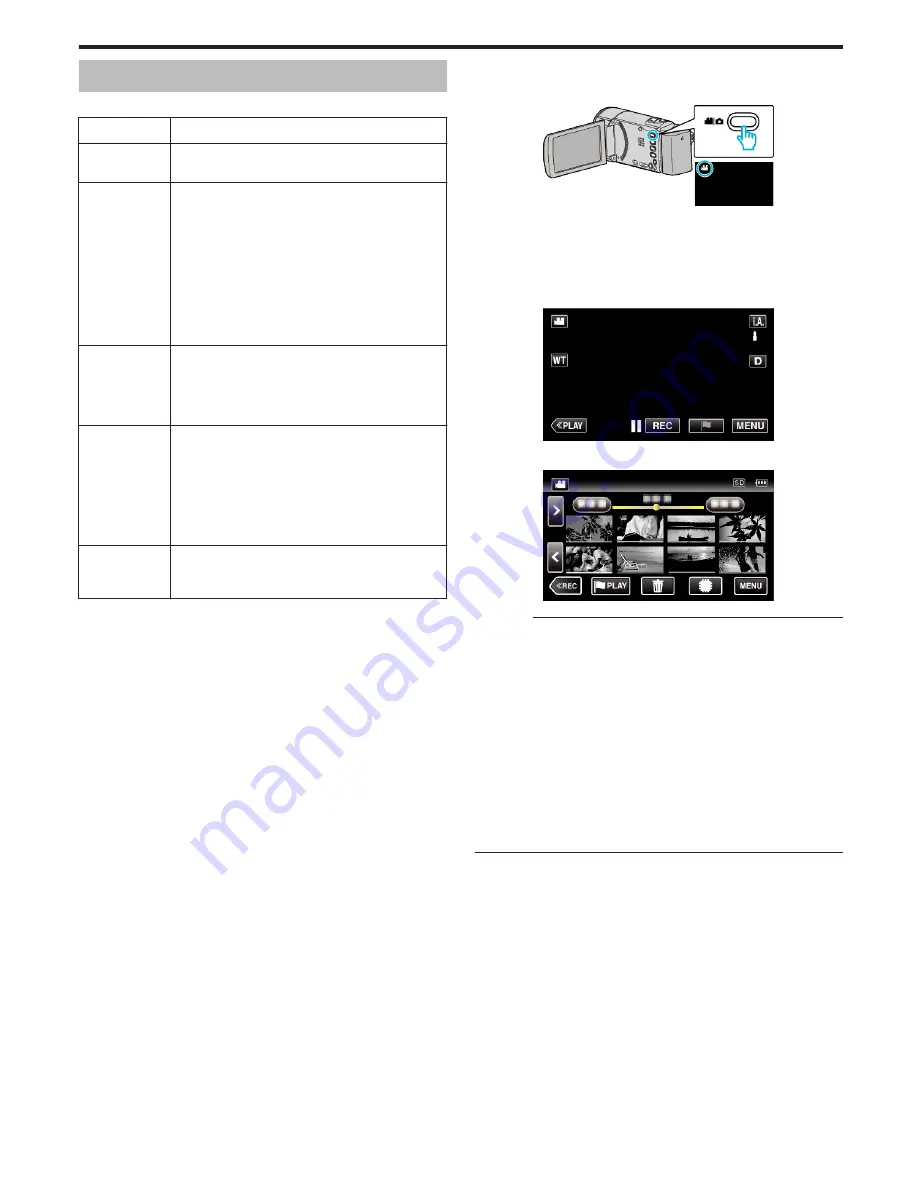
o
Switching to the video playback screen
1
Open the LCD monitor.
.
0
Check if the recording mode is
A
.
0
If the mode is
B
still image, tap
B
on the recording screen to display
the mode switching screen.
Tap
A
to switch the mode to video. (You can also use the
A
/
B
button
on this unit.)
2
Tap “<<PLAY” to select the playback mode.
.
3
The video playback screen is displayed.
.
Caution :
0
Make a backup of important recorded data.
It is recommended to copy your important recorded data to a DVD or other
recording media for storage.
0
This unit is a microcomputer-controlled device. Electrostatic discharge,
external noise and interference (from a TV, a radio, etc.) might prevent it
from functioning properly. In such a case, turn off the power, then remove
the AC adapter and battery pack. This unit will be reset.
0
Disclaimer
- We shall not be held responsible for loss of recorded contents when
recording videos/audio or playback cannot be operated due to
malfunctions in this unit, provided parts, or SD card.
- Once deleted, recorded contents (data), including data loss due to
malfunctions in this unit, cannot be restored. Please be forewarned.
- JVC will not be responsible for any lost data.
- In order for quality improvement, defective recording medium is subject
to be analyzed. Therefore, it may not be returned.
Playback
65


