4.
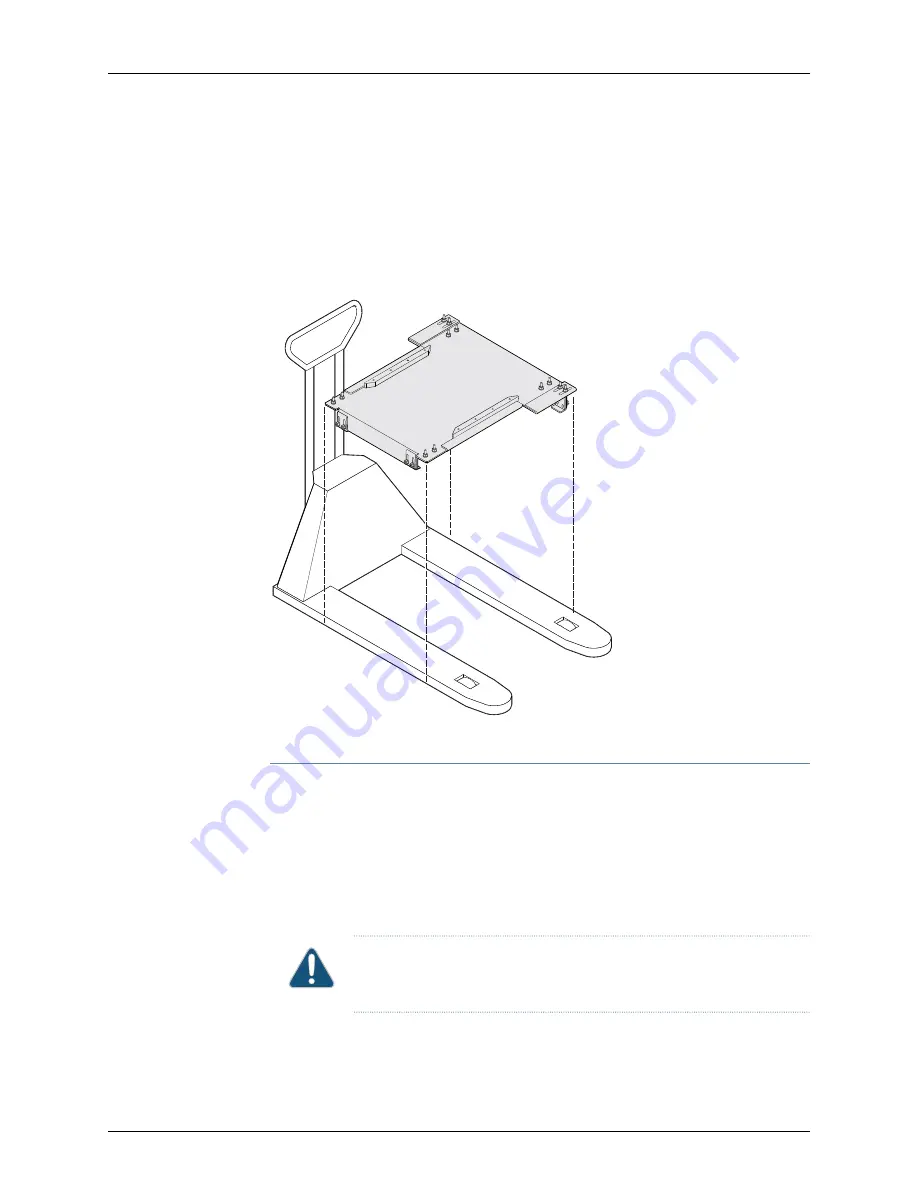
Using a 9/16-in. (14 mm) drive socket wrench, loosen the torque fasteners that are
located on the four adjustable pallet jack attachment brackets.
5.
Adjust the four pallet jack attachment brackets until they fit under the pallet jack legs.
6.
Tighten the torque fasteners using a 9/16-in. (14 mm) drive socket wrench to secure
the brackets on the pallet jack attachment to the pallet jack (see
Figure 13: Installing MX2010 Pallet Jack Attachment
g000017
Use the Pallet Jack with Attachment to Install the Router
Before installing the router, you must remove all components (see
). To install the router using a pallet jack with attachment:
1.
Ensure that the rack or cabinet is in its permanent location and is secured to the
building. Ensure that the installation site allows adequate clearance for both airflow
and maintenance. For details, see the
MX2010 3D Universal Edge Router Hardware Guide
2.
Reattach the front and rear shipping covers to the chassis to help move the router.
The handles on the shipping covers are used to guide the chassis during installation.
CAUTION:
Do not lift the router using the handles on the shipping covers.
Use these handles only to help position the router.
3.
Using a four-person team to load the router onto the pallet jack, making sure it rests
securely on the pallet jack attachment platform. (see
).
Copyright © 2014, Juniper Networks, Inc.
20
MX2010 3D Universal Edge Router Quick Start


