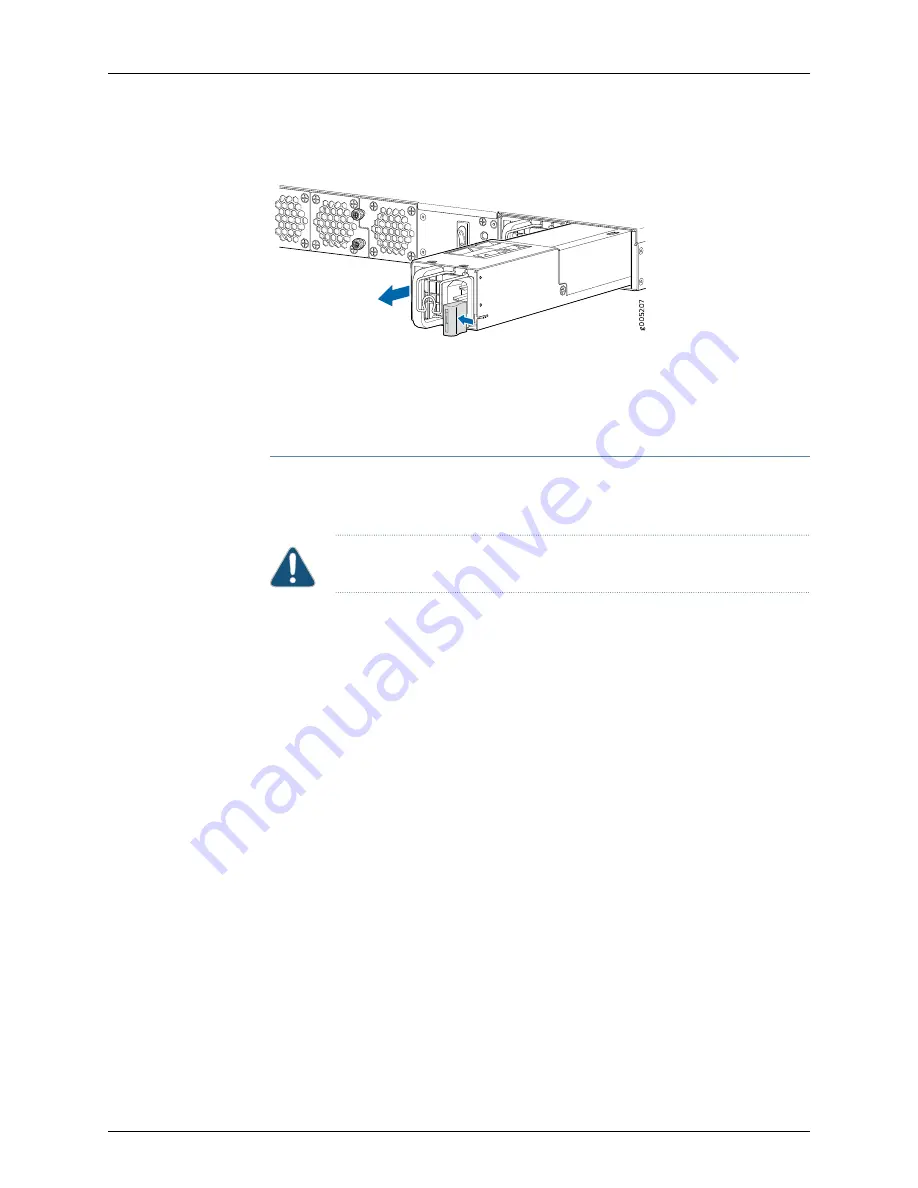
Figure 16: Removing an AC Power Supply
8.
Place the power supply in the antistatic bag or on the antistatic mat placed on a flat,
stable surface.
Installing a JRR200 Route Reflector AC Power Supply
Ensure that you have the following parts and tools available:
•
ESD grounding strap
CAUTION:
Do not mix AC and DC power supplies in the same chassis.
To install an AC power supply (see
1.
Attach the ESD grounding strap to your bare wrist, and connect the strap to the ESD
point on the chassis.
2.
If the power supply slot has a cover panel on it, with one hand slide the ejector lever
toward the left until it stops and using the other hand pull the handle of the cover
panel outward to remove it. Save the cover panel for later use.
3.
Taking care not to touch power supply pins, leads, or solder connections, remove the
power supply from the bag.
4.
Using both hands, place the power supply in the power supply slot on the rear panel
of the JRR200 route reflector and slide it in until it is fully seated and the ejector lever
fits into place. You will hear a distinct click when the power supply is fully seated in
the chassis.
57
Copyright © 2018, Juniper Networks, Inc.
Chapter 4: Maintaining Components
Summary of Contents for JRR200
Page 1: ...JRR200 Route Reflector Hardware Guide Modified 2018 08 15 Copyright 2018 Juniper Networks Inc...
Page 8: ...Copyright 2018 Juniper Networks Inc viii JRR200 Route Reflector Hardware Guide...
Page 10: ...Copyright 2018 Juniper Networks Inc x JRR200 Route Reflector Hardware Guide...
Page 16: ...Copyright 2018 Juniper Networks Inc xvi JRR200 Route Reflector Hardware Guide...
Page 28: ...Copyright 2018 Juniper Networks Inc 28 JRR200 Route Reflector Hardware Guide...
Page 38: ...Copyright 2018 Juniper Networks Inc 38 JRR200 Route Reflector Hardware Guide...
Page 64: ...Copyright 2018 Juniper Networks Inc 64 JRR200 Route Reflector Hardware Guide...
Page 74: ...Copyright 2018 Juniper Networks Inc 74 JRR200 Route Reflector Hardware Guide...


