– 20 –
3
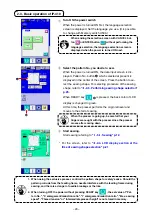
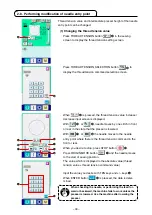
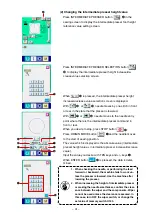
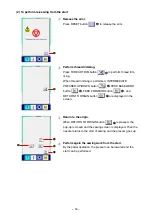
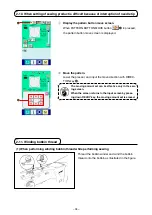
Start sewing.
Start sewng referrng to
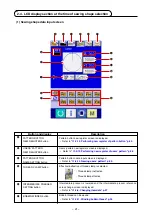
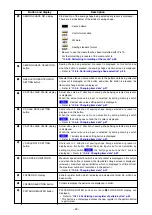
* For the screen, refer to
-2-4. LcD display section at the
time of sewing shape selection" p.21
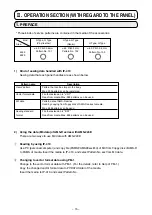
1. When using the exclusive presser, confirm the pattern shape for safety's sake. Should the
pattern protrude from the feeding frame, needle interferes with the feeding frame during
sewing, and there is a danger of needle breakage or the like.
2. When turning oFF the power without pressing rEaDY key
, the set value of "Pat-
tern No.", "X enlargement/reduction ratio", "Y enlargement/reduction ratio", "Max. sewing
speed", "thread tension" or "Intermediate presser height" is not stored in memory.
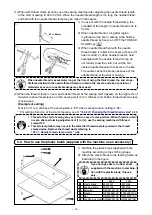
1
turn oN the power switch
When the power is turned ON first, the language selection
screen s dsplayed. Set the language you use. (It s possble
to change wth Memory swtch U500.)
When ending the selection screen with caNcEL but-
ton
or ENtEr button
without performing the
language selection, the language selection screen is
displayed when the power is turned oN next.
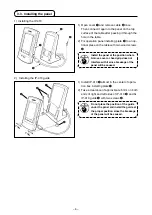
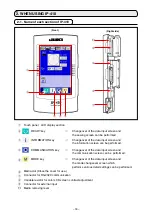
2-3. Basic operation of IP-410
A
B
2
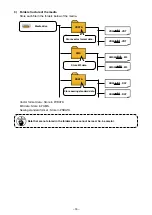
Select the pattern No. you desire to sew.
When the power s turned ON, the data nput screen s ds-
played. Pattern No. button
A
whch selected at present s
dsplayed n the center of the screen. Press the button to se-
lect the sewng shape. For selectng procedure of the sewng
shape, refer to
-2-5. Performing sewing shape selection"
When READY key
B
s pressed, the back color of LCD
dsplay s changed to green.
At ths tme, the presser performs the orgn retreval and
moves to the start of sewng.
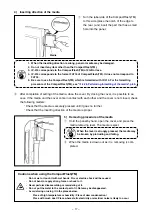
When the presser is going up, be careful that your
fingers are caught with the presser since the presser
moves after coming down.

