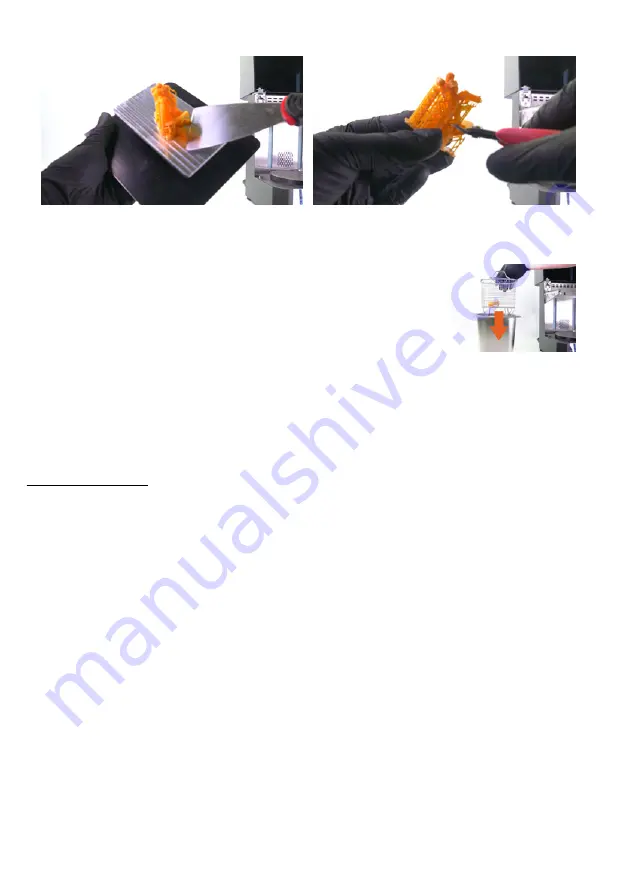
Use a metal spatula to remove the printed
object from the printing platform. …ou can also
consider removing the supports at this point.
Place the object in the metal basket and insert it into the liquid
container. Place the liquid container into the CW1 so it rests on the
guiding rails.
Select Start washing on the display and the machine will wash the
object for 3 minutes (default value). …ou can change the washing
time by either rotating the knob during the process or by selecting
Run-time option before the print. We do not recommend washing
objects in isopropyl alcohol for more than 10 minutes - tiny cracks
may appear on the surface of printed objects (even after more than
24 hours), which is the result of a long exposure to IPA.
If you printed a large object that doesn’t At the container, wash it in two stages: Jrst, submerge
it in IPA as usual and run the washing process. Then, take the object out, rotate it upside down and
put it in IPA again to wash the part that wasn’t submerged in the Jrst run.
5.2 After washing
Wearing protective gloves, remove the object from the tank and remove the tank itself as well. …ou
can now dry and cure the model.
13


