Copyright@1993~2013 Advanced Computer & Network Corp. All Rights Reserved.
75
SAS 712 U Series User Manual
3.
Check one or more data services that you want to apply to the folder. Please click
Settings
button of each data service for more details.
4.
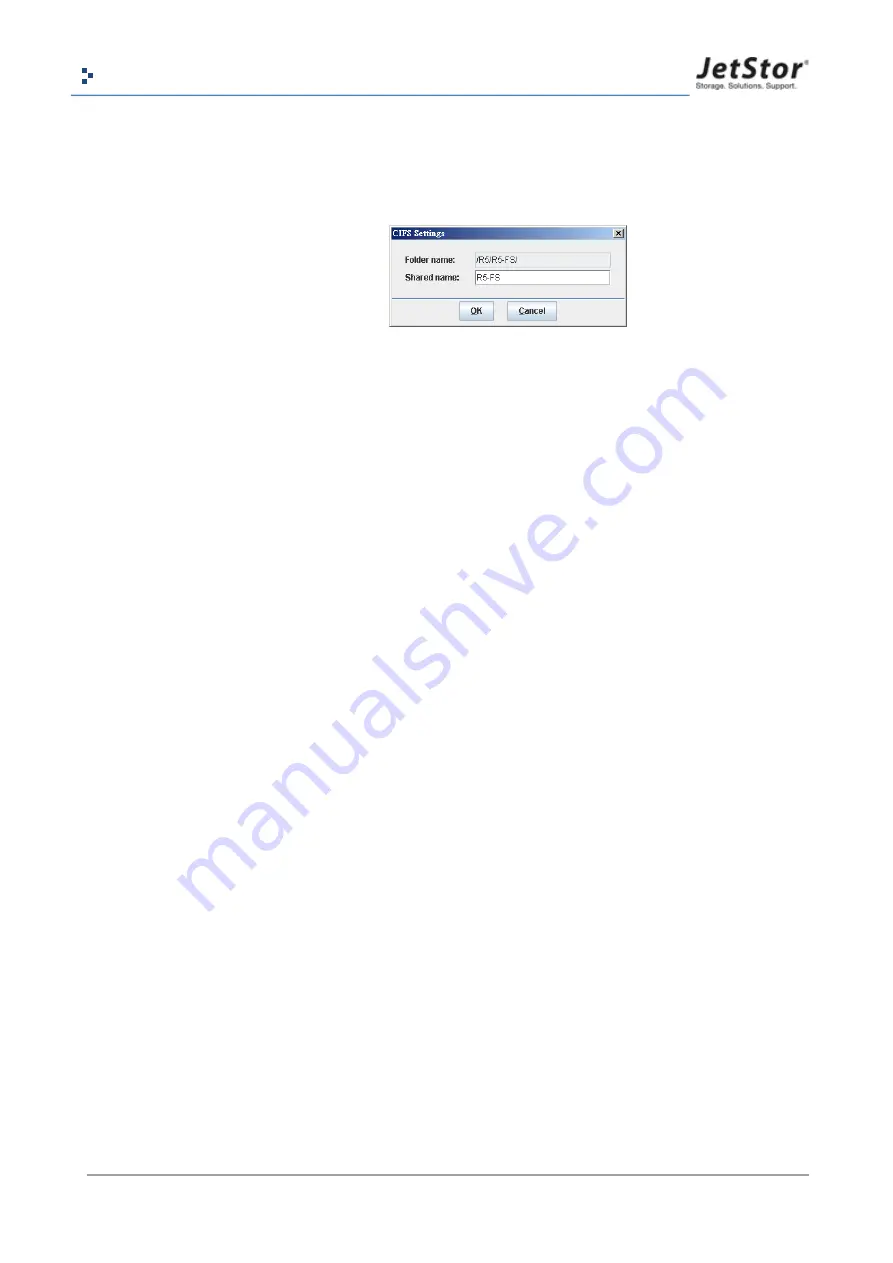
Click CIFS
Settings
button, it will pop up a dialog.
5.
Enter the
Shared Name
. And then click
OK
button.
6.
Click
OK
button to finish adding a share.
If you want to share the folder using NFS, check NFS and click
Settings
button. It will pop up a
dialog box.
Move mouse cursor over Hostname and Domain. A mouse-over tip will pop up to give you an
example of how to set these export rules.
1.
Async write
: Check this to use asynchronous write function. The performance will be better
than synchronous write.
2.
Root squash
: Uncheck this to use no_root_squash setting.
3.
Read only and Read/Write
: Set the read/write permission.
4.
IPv4
: Allow a group of computers that are in a certain IP range to access the share.
。
The number (1~31) in the drop down list represent the network mask value. It stands for
the total number of binary “1” in the network mask. For example, a network mask of
255.255.0.0 in binary form will become 11111111.11111111.0.0. So number 16 will
stand for a network mask of 255.255.0.0.
。
Simply provide a valid IP address within your destination range.
5.
IPv6
: Same meaning as IPv4 above. Instead it accepts IPv6 address only.
6.
Hostname
: Use this option to specify a specific computer for access. There are 3 forms
allowed. Putting in an invalid form or value will cause IO error or inability to access the share.
Please be careful.
。
A valid IP address
。
A DNS recognized name : the system name or machine name
。
FQDN name : Fully Qualified Domain Name
7.
Domain
: If you want to allow all the computers in a certain network domain to have access to
the share. Use this option. For example, JetStor.com.tw, ee.standford.edu, or web.cern.ch.
8.
Everyone
: Allow access to computers from all kinds of IP addresses.
Summary of Contents for SAS 712U
Page 119: ......


