24
LED
FR - Chargeur 230 V
GB - Charger 230 V
Consignes de sécurités
• Protégé votre chargeur contre la poussière, saleté, humidité et
ne l’exposez jamais directement aux rayons du soleil.
• Ne jamais utiliser le chargeur et l’accu sur une surface
infl ammable et ne jamais laisser l’ensemble sans surveillance
pendant la charge.
• Evitez tout court-circuit et veillez à ne pas inverser la polarité
des entrées et des sorties de l’accu à charger.
• Ne chargez ou déchargez pas des accus qui sont déjà
chauds, laissez les d’abord refroidir.
• Ne chargez jamais des chargeur défectueux ou endommagés.
• Ne chargez jamais des accus défectueux ou endommagés.
• Respectez absolument les indications du fabricant.
Safety Information
• Never expose the charger to moisture or direct sun light.
• Never leave the charger unattended when in use, and always
operate it on a fi re proof surface.
• Avoid short circuits at all costs. Always observe the correct
polarity.
• Batteries should always be allowed to cool down before you
charge or discharge them.
• Never try to charge/discharge damaged charger.
• Never try to charge/discharge damaged packs or cells.
• Follow the directions given by the battery manufacturer.
Remarques concernant l’utilisation
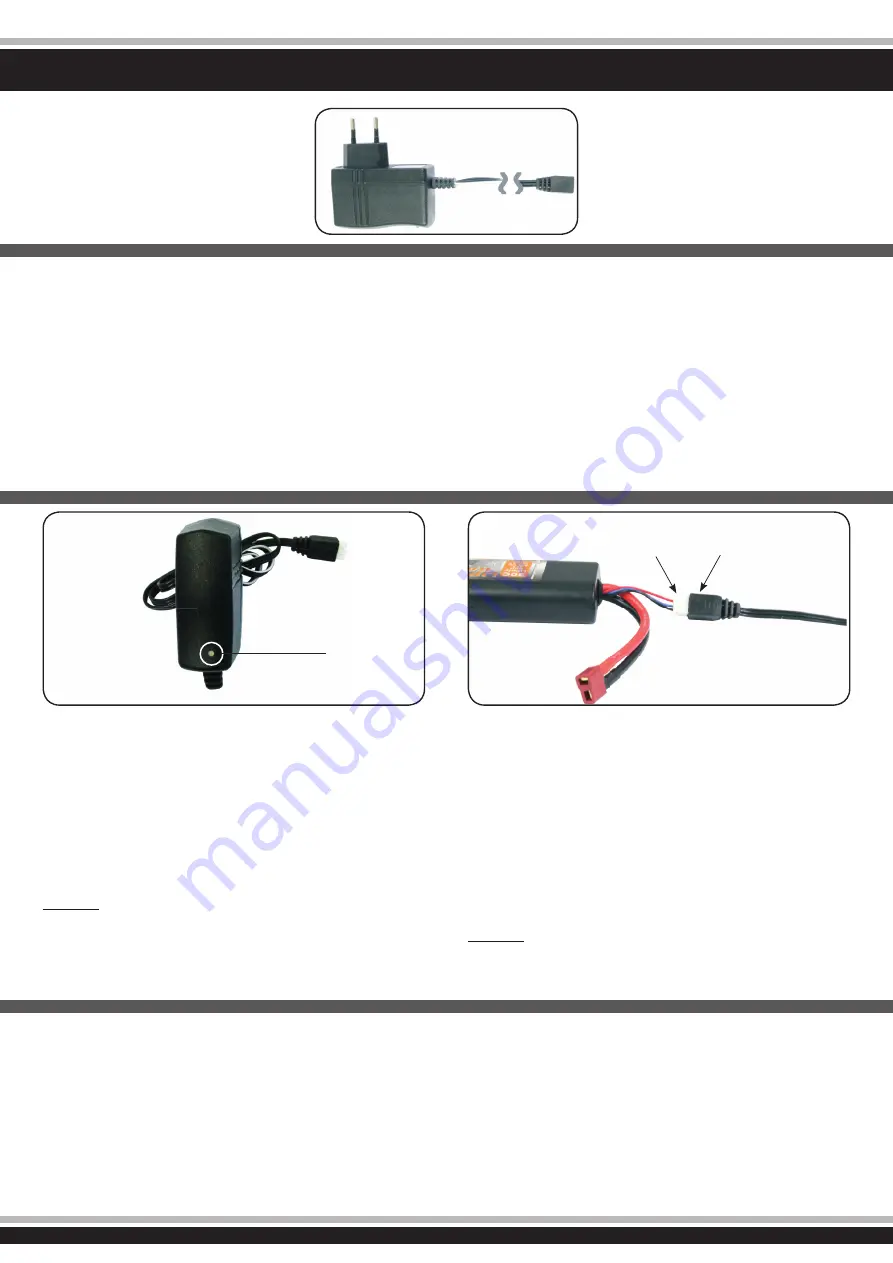
1. Reliez le chargeur avec son cordon d’alimentation. Branchez
le chargeur sur une prise secteur. La LED du chargeur
indique que celui-ci est utilisable pour la charge.
2. Branchez l’accu avec le chargeur. La LED change sa couleur
et indique que le processus de charge est en cours. Le
processus complèt de charge pour un accu vide est de l’ordre
de 2 ~ 3 heures en fonction de la capacité de la batterie.
Temps de charge
Le temps de charge est dépendant de la capacité de l’accu.
Exemple:
Courant de charge
= 0,8 A/h
Capacité de l’accu
= 800 mAh
Temps de charge
= 1 heure (h)
Operating Instructions
1. Connect the charger to the AC Network and plug it into a
grounding receptacle. The LED on the charger will indicate it
is ready for charging.
2. Connect the charger (B) to the battery pack (A). The LED will
change the color to show it is charging. If the battery pack is
completely empty, a full charge process will take approx.
2 ~ 7 hours, depending on the batteries capacity. Once the
LED changin the color again, charge has been completed.
Charging Time
The charging time varies depending on the capacity of the bat-
tery.
Example:
Charge current
= 0.8 A/h
Battery Capacity =
800 mAh
Charging time
= 1 hour (h)
Attention:
Chargez le chargeur qu_avec les accus appropriés comme les
accus Lithium Polymer avec au maximum 2 cellules, 7,4V de
tension et maximum 5000mAh. L’accu doit avoir un balancier de
type JST-XH. Le chargement d’accus non-appropriés peut cau-
ser des dégats sur le chargeur et les accus. Danger d’incendie!
Le balancier du chargeur ne doit en aucun cas être modifi é ou
soudé d’une autre facon.
Caution:
Only charge suitable battery‘s with this charger. Suitable battery‘s
are lithium polymer battery‘s with max. 2 cells, max. 7.4 V nomi-
nal voltage and max. 5000mAh. The battery must have a balan-
cer plug type JST-XH. The charging of unsuitable battery‘s can
cause damage to the charger and the battery‘s. Fire Hazard! The
balancer plug of the charger is not allowed to get altered or sol-
dered to a different balancer plug type!
A
B


