20
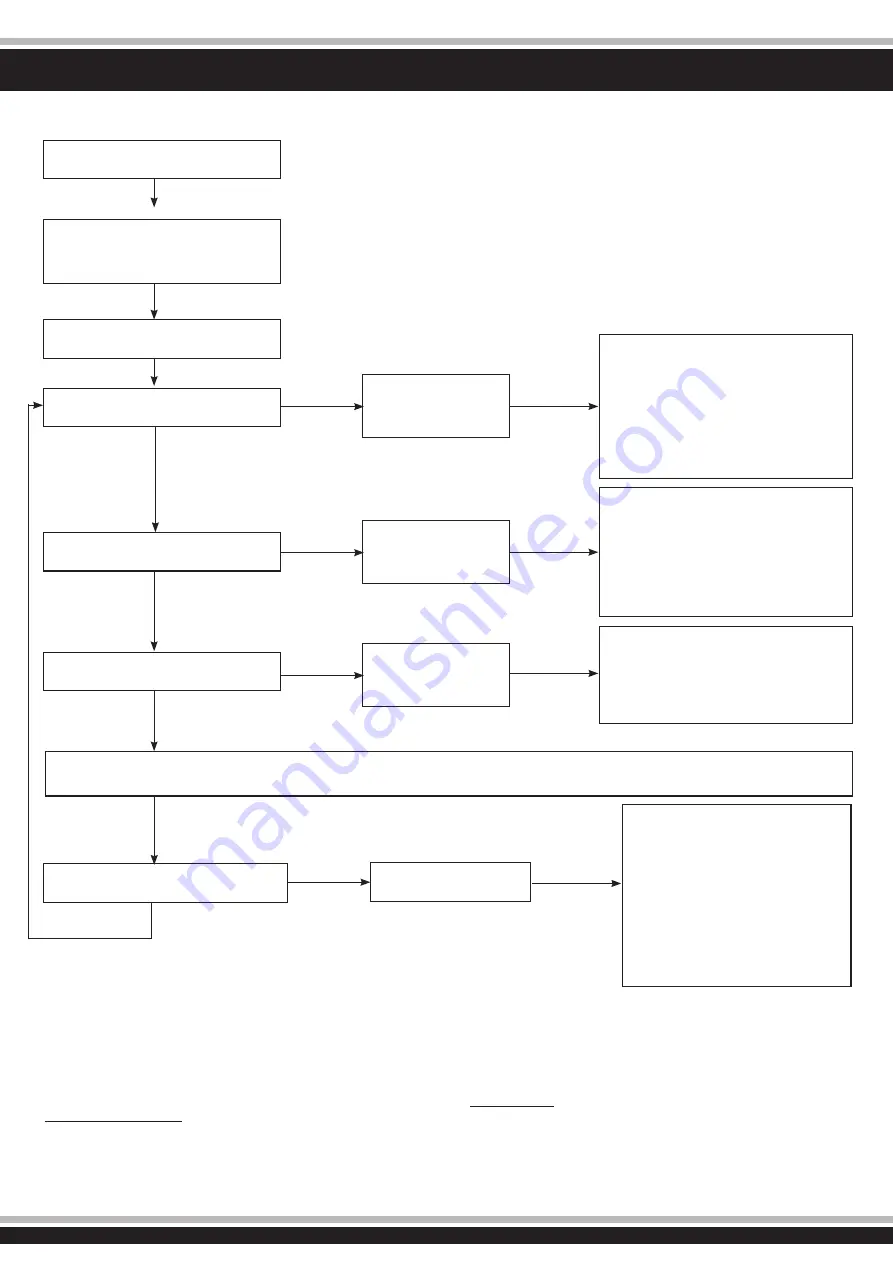
6. Structure des menus du régulateur
Menu structure
Remarque importante:
En plus des signaux visuels de la LED rouge vous avez égale
-
ment les indications sonores respectives émises par le moteur.
Après chaque programmation il faut éteindre le régulateur. En
remettant en marche celui-ci la nouvelle configuration est active.
Observez qu’à l’étape 5 de la programmation la présentation est
différente. Pour cela vous allez voir un signal clignotant long suivi
d’autres signaux plus courts.
Comme par exemple:
Signal clignotement long + une fois court =
étape de programmation 6
Signal clignotement long + deux fois court =
étape de programmation 7
Signal clignotement long + trois fois court =
étape de programmation 8, etc.
Important note
:
In addition to the red LED blinking, the motor will omit an acoustic
signal. After every change to the values the ESC must be swit
-
ched off to store the values. The new settings will not be effec
-
tive until the ESC is re-started. Please note that program option
5 and above (Professional settings) are slightly different in that
they will be indicated by a long blink first followed by short blinks.
For example:
Long blink + one short = Program option 6
Long blink + two short = Program option 7
Long blink + three short = Program option 8, etc.
Mettez en marche l’émetteur
Switch transmitter ON
Mettez en marche le régulateur, et
appuyez en même temps sur la touche
’SET’Press and hold the ‘SET‘ button
down and switch the receiver on
La LED rouge clignote
The red LED blinks
La LED verte clignote une fois
The green LED blinks once
LED verte clignote2 x
The green LED blinks twice
LED verte clignote 3 x
The green LED blinks 3 times
Toutes les autres étapes de programmation se font de la même manière
All of the other menu options are accessed in the same manner.
Relâchez la
touche
Release
button
Taste 3 Sek. halten
Press the button
for 3 seconds
Taste 3 Sek. halten
Press the button
for 3 seconds
Taste 3 Sek. halten
Press the button
for 3 seconds
Phase de programmation
1, Mode roulage
Program option 1,
Drive mode
Phase de programmation
2, mode de freinage
Program option 2,
Brake mode
Phase de programmation
3, sous tension
Program option 3,
Low voltage cut-off
Appuyez sur la
touche
Press button
rouge | red LED clignote | blinks 1x, ð 0%
rouge | red LED clignote | blinks 2 x, ð 5%
rouge | red LED clignote | blinks 3 x, ð 10%
rouge | red LED clignote | blinks 4 x, ð 15%
rouge | red LED clignote | blinks 5 x, ð 20%
rouge | red LED clignote | blinks 6 x, ð 25%
rouge | red LED clignote | blinks 7 x, ð 30%
rouge | red LED clignote | blinks 8 x, ð 40%
LED rouge clignote une fois, cela signifie
avant avec frein
Red LED blinks once indicating
forwards and brake.
LED rouge clignote deux fois, cela
signifie avant et arrière avec frein
The red LED blinks twice indicating for
-
wards, reverse and brake.
rouge| red LED clignote | blinks 1 x, ð OFF
rouge| red LED clignote | blinks 2 x, ð 2,6 V
rouge| red LED clignote | blinks 3 x, ð 2,8 V
rouge| red LED clignote | blinks 4 x, ð 3 V
rouge| red LED clignote | blinks 5 x, ð 3,2 V
rouge| red LED clignote | blinks 6 x, ð 3,4 V
LED verte clignote X
The green LED blinks X times
Phase de programmation X
Program Option X
Appuyez respectivement la touche
’SET’ pour la modification de la valeur,
la LED rouge vous indique la valeur
sélectionnée, clignoter une fois signi
-
fie 1, clignoter deux fois signifie 2, etc.
Press the ‘SET‘ button to select the
desired value. The red LED will indi
-
cate which value is selected. 1 X blink
indicates value 1, 2 x blinks indicate
value 2 etc.
Appuyez sur la
touche
Press button
Appuyez sur la
touche
Press button
Relâchez la
touche
Release
button
Relâchez la
touche
Release
button
Relâchez la
touche
Release
button
Appuyez sur la
touche
Press button


