


4
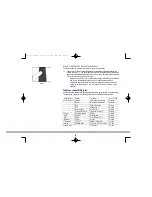
Figure 6
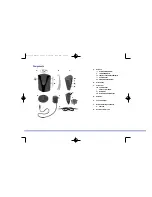
II.
III.
I.
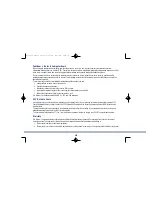
Checking the system
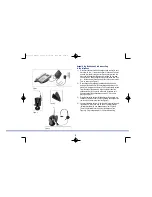
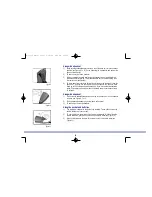
1 )
Put in headset mode by pressing the headset/handset selector on top of base unit
( p ress only once). The on-line indicator marked with icon
4
on front of base unit
will light up. After 5-45 seconds, the on-line indicator on the top of remote unit
will start to flash (base unit searches for open transmission channel first time only).
The system is now working. If the on-line indicator does not flash, re c h e c k
assembly (see Figure 5).
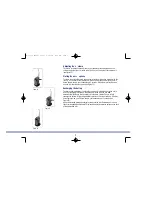
Charging the battery
The nickel-metal-hydride battery (NiMH) for the remote unit is not charged when
d e l i v e red. To change, place remote unit with battery in base unit for at least 3 hours
b e f o re making the adjustments below (see Figure 6).
2 )
I + I I . Make sure the headset/handset selector marked with icon
3 0
on top of base
unit is in the headset position. The switch is in headset position when the on-
line indicator marked with icon
4
on the front of the base unit lights up and
the on-line indicator on the top of the remote unit is flashing. If the lights are
o ff, the switch is in handset position. Press the handset/headset button once to
activate the headset.
I I I . Make sure the mute function on the remote is off. If the mute is on, you will
hear a double beep in your headset every 3 seconds. Tu rn off by pressing the
mute button on the remote unit marked with icon
6
o n c e .
I V. If your telephone has volume control, set the volume to mid-range.
Setting telephone compatibility and transmit adjustments
Step 1: Adjusting to your telephone
1 )
Put your headset on, lift the handset from the telephone and listen for a dial tone in
your headset.
2 )
If there is no dial tone, adjust the telephone compatibility switch marked A-G on
the rear of base unit. Move from A to G until the dial tone is clear. If the dial tone is
just as clear in position A as in G, leave switch in position A (see Figure 7).
Figure 7
Figure 5
Ellipse manual final 5/26/99 9:55 AM Page 4