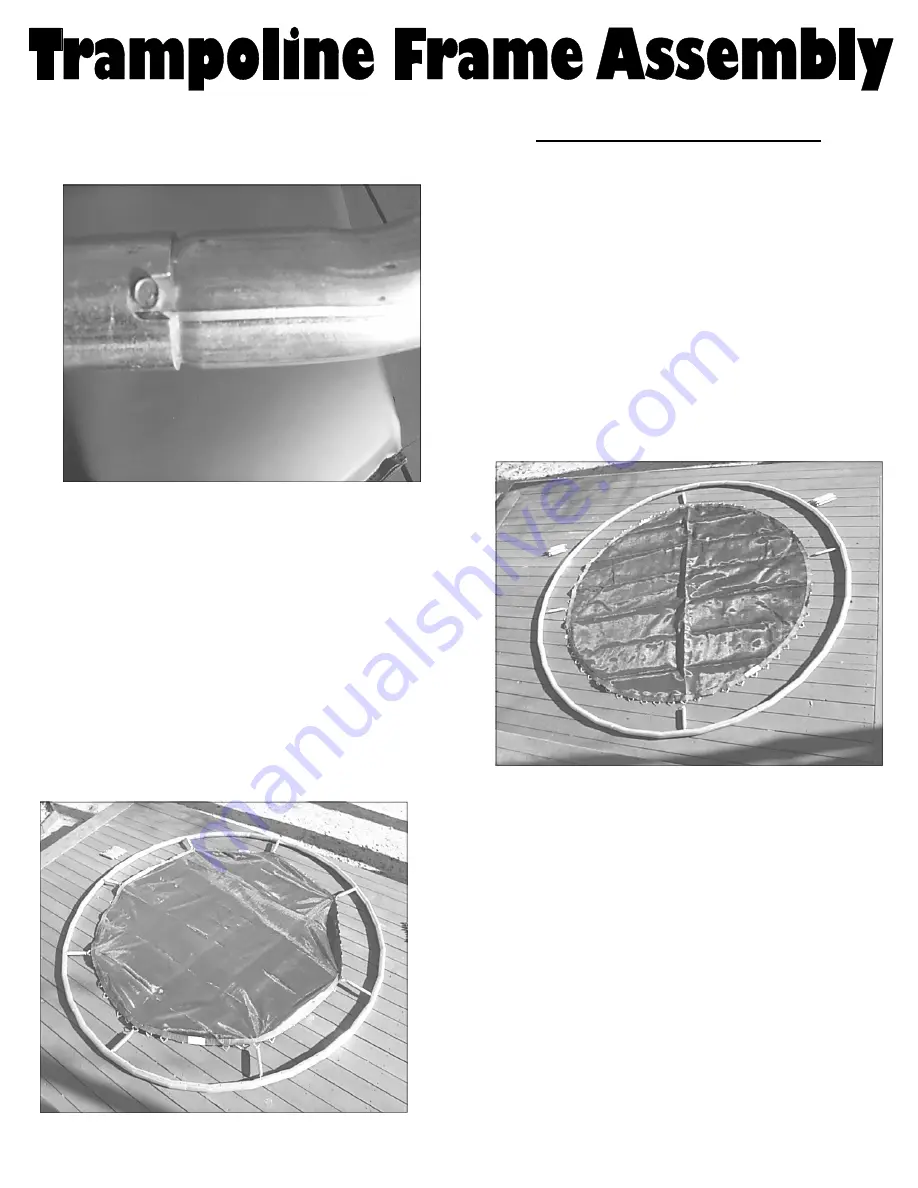
The trampoline frame, springs and jump mat
require no tools to assemble
Find a flat location with plenty of room
to walk around the trampoline frame.
Lay out the pipe in a circle with the slots
pointing up. Slide the ends of the pipe
into each other.
TIP: Do not use a hammer. Kick the
frame in as you walk around it.
Next, lay the jump mat in the center of the
trampoline’s frame. Make sure the warning
label is on top. Take 4 springs and
attach one at 12:00, 3:00, 6:00 and 9:00.
When installing the springs the hooks should
be pointing towards the ground. Pulling the
springs will require some physical strength .
Tip: spread a supply of springs around the
outside of the frame and pull toward you.
Continue filling in the rest of the springs.
Begin at 12:00 and count in a clockwise
direction 9 notches and install a spring, count
another 9 notches and install a spring continue
around the trampoline frame until you reach
12:00. Next, count 6 notches and install a
spring, count another 6 notches and install a
spring and continue this pattern until you reach
12:00. Next install a spring in the middle of
every gap around the frame. Complete the
spring installation by filling in the rest of the
springs until all slots are filled.


