4-4
Getting Started
Chapter
4
Proceeding:
1.
Make sure that the switch on the CPU board is in the off position (
O
).
2.
Connect the time recorder’s power supply to the time recorder and then plug
the power supply into the closest AC power outlet.
3.
Switch the power switch to position "
1
" (on).
→
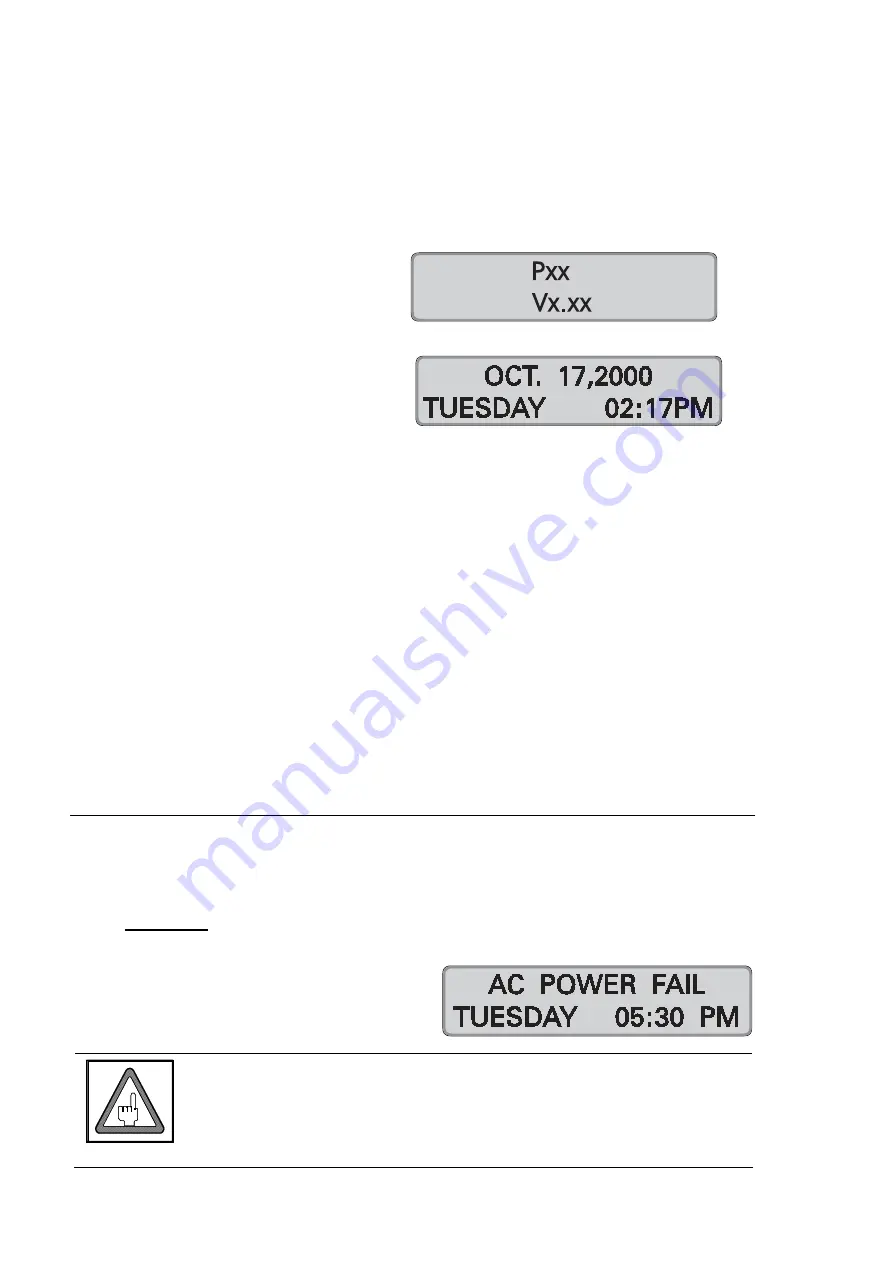
Initialization is started
→
After a few seconds the
current date and time are
displayed.
Now the recorder is ready for operation. In some circumstances however, the
recorder may ask you to program the current time and date by displaying the
message "SET SYSTEM", and by flashing the hour digits.
→
For a detailed description of setting date and time, see "Time / Date" in
this chapter.
4.
If the recorder has been programmed at our factory or by your dealer, close
the recorder by putting the front cover back on and locking it.
Now the recorder is ready for operation.
Familiarize yourself with the time recorder by punching a blank time card
several times. Additional information about using the time recorder is given in
chapter 5 "Punching at the Recorder“.
If the time recorder’s settings have not been previously programmed for your
application, you can now start to do so. Please refer to section "Programming"
in this chapter for a detailed description of programming procedures.
Powering Down the Time Recorder
1.
Turn the time recorder off with the switch on the CPU board.
2.
Observe the AC Power Fail message on the display.
3.
Important
Wait a few seconds for the display to go blank.
4.
Unplug the time recorder’s power
supply from the AC outlet.
Attention
Never plug or unplug the time recorder’s power supply with the
time recorder’s power switch in the On (1) position. This can
potentially create an electrical voltage spike that could damage
the time recorder’s CPU, which is not covered under warranty.
Summary of Contents for Perfect 2040
Page 1: ...PERFECT 2040 Operating Manual ...
Page 2: ......
Page 10: ...0 4 Contents Chapter 0 ...
Page 20: ...2 6 Features Chapter 2 ...
Page 179: ...Appendix A Technical Specifications A 1 Appendix A Technical Specifications ...
Page 181: ...Appendix B Default Program Settings B 1 Appendix B Default Program Settings ...
Page 184: ...B 4 Default Program Settings Appendix B ...
Page 185: ...Appendix C Program Settings C 1 Appendix C Program Settings ...
Page 193: ...Appendix D Conversion table D 1 Appendix D Conversion Table for Minute Print Formats ...
Page 195: ...Appendix E Sales and Service Dealer E 1 Appendix E Local Sales and Service Dealer ...
Page 197: ......


