background image

READ & SAVE THESE INSTRUCTIONS 
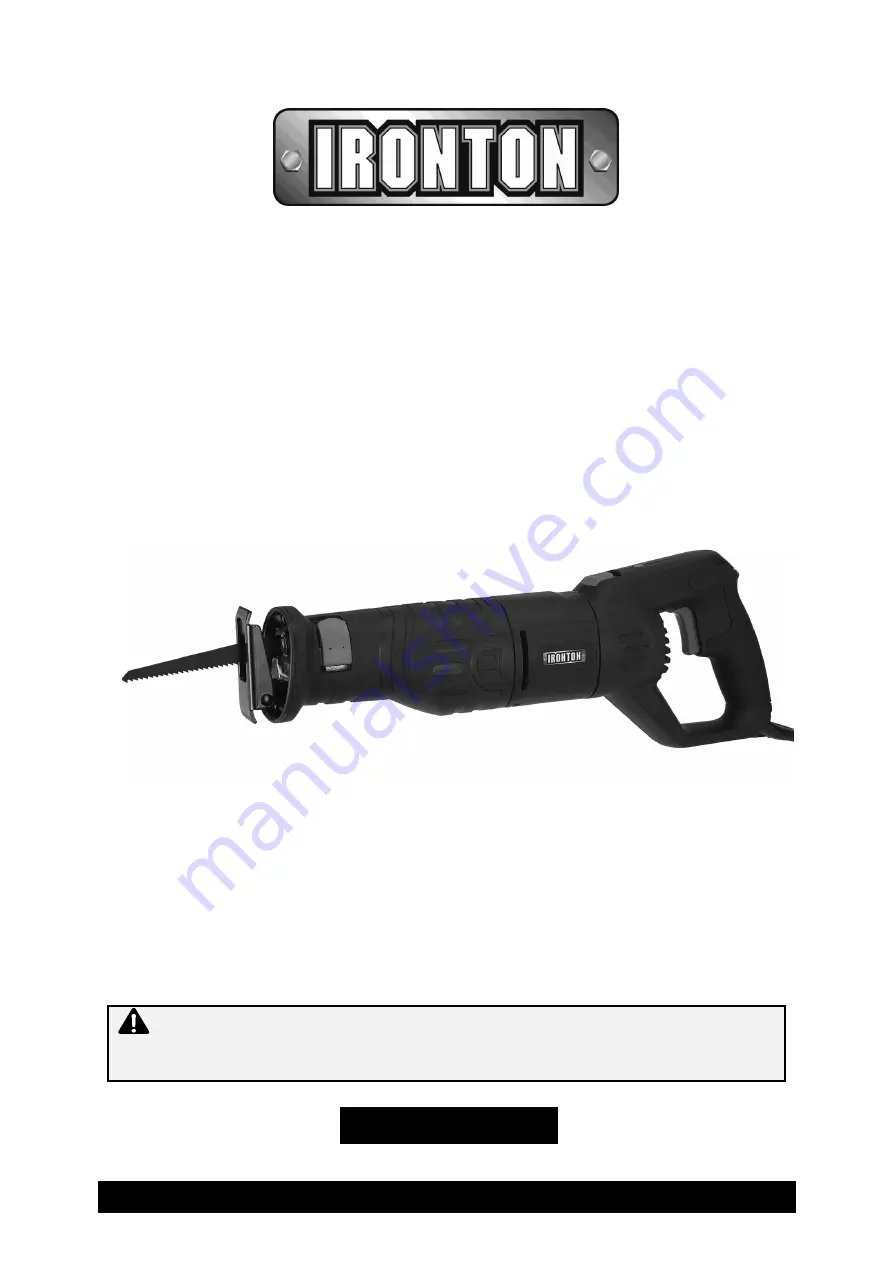


Reciprocating Saw 


Owner’s Manual 


WARNING:

 Read carefully and understand all ASSEMBLY AND OPERATION 

INSTRUCTIONS before operating. Failure to follow the safety rules and other basic safety 
precautions may result in serious personal injury. 


Item #61445 


Summary of Contents for 61445

Page 1: ...ating Saw Owner s Manual WARNING Read carefully and understand all ASSEMBLY AND OPERATION INSTRUCTIONS before operating Failure to follow the safety rules and other basic safety precautions may result in serious personal injury Item 61445 ...

Page 2: ...hat you read the entire manual to become familiar with this product before you begin using it This reciprocating saw is designed for certain applications only Northern Tool and Equipment is not responsible for issues arising from modification or improper use of this product such as an application for which it was not designed We strongly recommend that this product not be modified and or used for ...

Page 3: ...rtant Safety Information 4 Specific Operation Warnings 6 Grounding 7 Extension Cords 8 Main Parts of Saw 9 Assembly Instructions 9 Before Each Use 12 Operating Instructions 12 After Each Use 14 Maintenance 14 Troubleshooting 15 Parts Diagram 16 Parts List 17 Replacement Parts 18 Limited Warranty 19 ...

Page 4: ... warnings cautions and instructions in this manual cannot cover all possible conditions or situations that could occur Exercise common sense and caution when using this tool Always be aware of the environment and ensure that the tool is used in a safe and responsible manner Do not allow persons to operate or assemble the product until they have read this manual and have developed a thorough unders...

Page 5: ...d damage the blade WARNING PERSONAL SAFETY Stay alert watch what you are doing and use common sense when operating the saw Do not use the tool while you are tired or under the influence of drugs alcohol or medication A moment of inattention while operating the tool may result in serious personal injury Dress properly Do not wear loose clothing dangling objects or jewelry Keep your hair clothing an...

Page 6: ...risk of injury when used with another tool Never use an accessory that has a lower operating speed or operating pressure than the tool itself Keep guards in place and in working order Never operate the saw without the guards in place Do not leave the saw running unattended Use the correct power tool for your application The correct power tool will do the job better and safer at the rate for which ...

Page 7: ... THE PROVIDED PLUG If it will not fit the receptacle have the proper receptacle installed by a qualified electrician CHECK with a qualified electrician or service person if you do not completely understand the grounding instructions or if you are not sure the tool is properly grounded Grounded Tools Tools with 3 Prong Plugs Tools marked with Grounding Required have a 3 wire cord and 3 prong ground...

Page 8: ...dequately sized wire causes a serious drop in voltage resulting in loss of power and possible tool damage The smaller the wire s gauge number the greater the capacity of the cord For example a 14 gauge cord can carry a higher current than a 16 gauge cord Minimum extension cord wire size is shown in the following table Minimum Wire Size Of Extension Cords Nameplate AMPS Cord Length 25 50 100 150 0 ...

Page 9: ...elease Button LED Switch Trigger Switch Speed Control Wheel Hex Key Wood Cutting Blade Assembly Instructions WARNING Always remove the plug from the power source before installing or removing a blade or adjusting the saw in any way The blade will automatically be locked into the blade holder Pull outward on the blade to ensure it is properly locked into the blade holder ...

Page 10: ...r as it will go 3 Release the blade release lever Adjusting the Pivoting Shoe 1 To adjust the pivoting shoe loosen the pivoting shoe hex screws on the lower side of the saw using the 4 mm hex key 2 Slide the pivoting shoe in or out until it is in the appropriate position 3 Lock the pivoting shoe in place by tightening the pivoting shoe hex screws 4 Pull outward on the pivoting shoe to ensure it is...

Page 11: ...d 3 for medium speed and 6 for the highest speed Adjusting the 8 Position Rear Pivoting Handle 1 Pull back on the rotating handle release button 2 While holding the rotating handle release button back rotate the rear pivoting handle to the desired position then release the rear pivoting handle locking button 3 Slightly rotate the rear pivoting handle in both directions until the handle locks into ...

Page 12: ...tool by insulated gripping surfaces when performing an operation where the cutting accessory may contact hidden wiring or its own cord Use clamps or another practical way to secure and support the workpiece to a stable platform Make sure there are no nails screws clamps or foreign materials in the path of the saw blade Electric Shock hazard Use caution when cutting into walls Make sure power has b...

Page 13: ...bench or table Note Make sure the area to be cut is clear under the workpiece so that the blade will not come into contact with anything other than the workpiece 3 Select a convenient starting point in the area to be cut out Place the tip of the blade over that point 4 Rest the lower edge of the adjustable pivoting shoe on the workpiece and hold it firmly in that position maintaining a shallow cut...

Page 14: ...t to be touched Store idle power tools out of the reach of children and do not allow persons unfamiliar with the power tool or these instructions to operate the power tool Maintenance Maintain the saw by adopting a program of conscientious repair and maintenance in accordance with the following recommended procedures It is recommended that the general condition of any tool be examined before it is...

Page 15: ... Cause Corrective Action Saw will not start Cord is not connected Check that the cord is plugged in Internal damage or wear Have a technician service the saw Turn off the saw and allow it to cool Saw s performance decreases over time Accessory dull or damaged Keep cutting accessories sharp Replace as needed Carbon brushes worn or damaged Have a qualified technician replace brushes Saw is overheati...

Page 16: ...Page 16 of 20 Parts Diagram ...

Page 17: ...0 Right gear box cover 1 21 Left gear box cover 1 22 Lock knob 1 23 Spring 1 24 Pin 1 25 Blade release lever 1 26 Spring 1 27 LED assembly 1 28 Screw M4 12 1 29 Gear box 1 30 Tapping screw ST3 9 19 4 31 Spring washer Φ10 1 32 Bearing 6200 1 33 Bearing retainer 1 34 Screw M5 8 3 35 Rotor 1 36 Carbon brush 2 37 Brush holder 2 38 Brush holder support 2 39 Brush holder support clamp 2 40 Tapping screw...

Page 18: ...ement parts and technical questions please call Customer Service at 1 800 222 5381 Not all product components are available for replacement The illustrations provided are a convenient reference to the location and position of parts in the assembly sequence When ordering parts the following information will be required item description item model number item serial number item lot date code and the...

Page 19: ... claim contact Us at 1 800 222 5381 identify the product by make and model number and follow the claim instructions that will be provided The product and the purchase receipt must be provided to Us in order to process Your warranty claim Any returned product that is replaced or refunded by Us becomes our property You will be responsible for return shipping costs or costs related to Your return vis...

Page 20: ...Page 20 of 20 Distributed by Northern Tool Equipment Company Inc Burnsville Minnesota 55306 www northerntool com Made in China ...

Reviews: