background image

18

6. Parental Lock function

Not all TV and radio programmes are suitable for listeners or viewers of all age groups. The receiver
therefore provides an active parental control (lock) function, allowing you to block specific menu settings
or individual channels by means of a four-digit security code (PIN or Personal Identification Number). It
also makes sense to block menu settings if you want to prevent the receiver from being incorrectly
programmed by unauthorised persons. The standard functions such as receiving programmes, EPG, Timer,
etc., remain fully functional without a PIN having to be entered.
If no PIN code is activated (default setting), all receiver functions and operations can be utilised without
any restrictions.

6.1 Activating the PIN code

The PIN code default value is ‘1111’. 

Press the “OK/Menu“

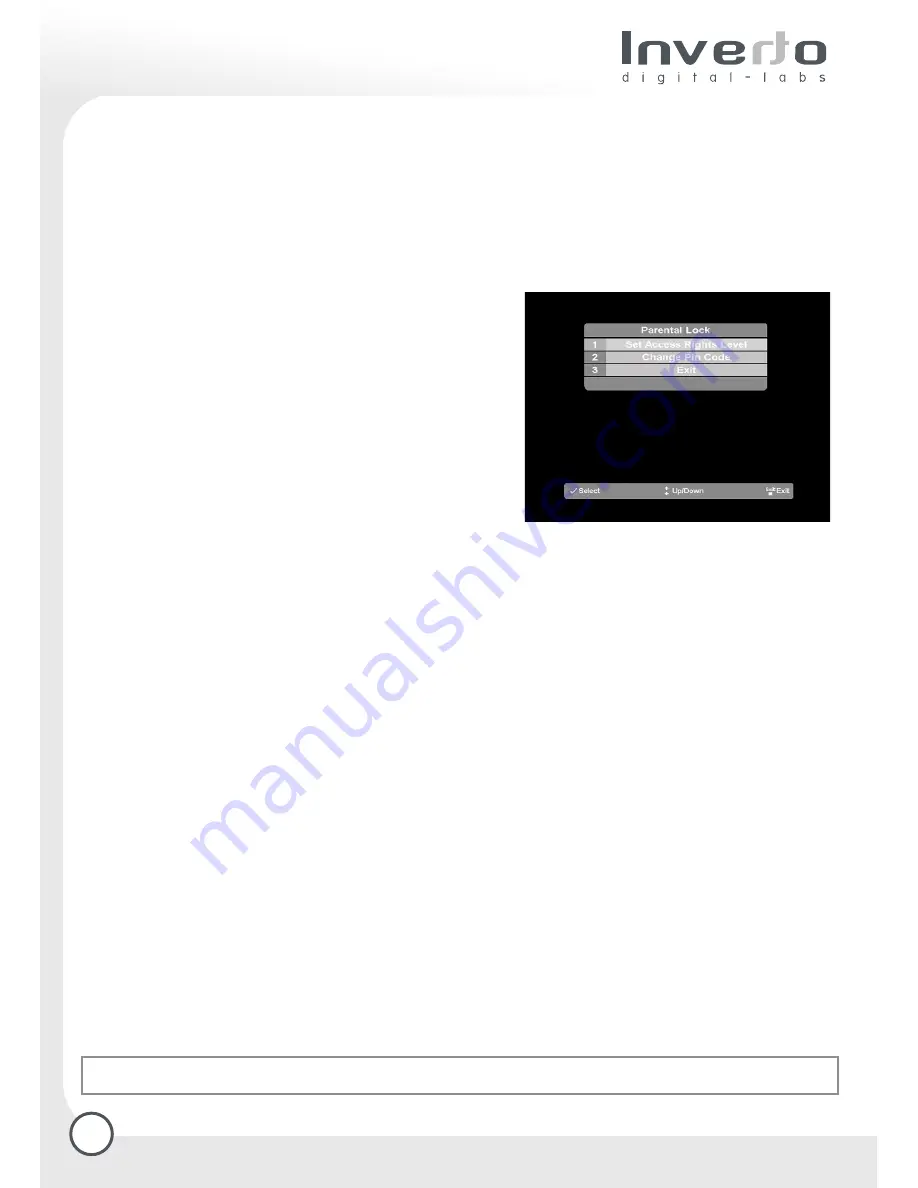
 key to call up the Main Menu, then select the sub-display
“Parental Lock“.

Now select the line “Activate PIN code”, and confirm by
pressing the “OK/Menu” key. You can now enter the four-
digit PIN code; which is ‘1111’ per default. If the receiver
accepts this PIN entry, you must confirm this by means of
the green function key or the “OK/Menu” key.
If the number is not accepted, you must repeat the
whole process.

6.2 Changing the PIN code

If you wish to change the PIN code, go to the display “Parental lock” and select the line “Change PIN code”.
On the following page of the display you will now have to enter both the previous and the new PIN code,
follow the instructions appearing on the TV set.

6.3 Blocking individual channels

As soon as a PIN code has been activated in the “Parental lock” display, it is automatically possible to also
block access to individual programmes. In the display “Parental lock” you will now also see a line “deactivate
blocking”, which you can use at a later stage to lift the channel restrictions again at a later stage.
The default setting provides unrestricted access to all TV and radio programmes.

How to block individual channels:

Press the “Exit” key to exit from the display “Parental control”. You will find yourself in the Main Menu. Use
the up/down directional keys to select the entry “Channel list Manager”, and confirm by pressing the
“OK/Menu” key. As the parental lock function is already active at this stage, you must now enter the PIN
code, and confirm by pressing the “OK/Menu” key.
On the following display page you must select the programme list in which you wish to block individual
programmes. Use the directional keys to go to the relevant programme in the main list (left), then block
access to this programme by pressing the red function key.
For as long as the parental lock is active, this programme can only be viewed if the PIN is entered immediately
after the programme has been selected. The red function key is also used
if you wish to 

remove the block on this channel 

at a later stage.

General deactivation of channel restrictions:

In order to completely remove the restrictions on individual channels and on-screen displays, go to the
display “Parental lock”, select the line “Deactivate blocking“ and enter the PIN code.

General deactivation of parental lock function:

In order to completely remove the parental lock function in any form, go to the display “Parental lock”, then
select the line “Disable PIN code”, enter the PIN code, and confirm by pressing the “OK/Menu” key. With
immediate effect, no PIN code will be required for any of the functions of the receiver.

TIP: Forgot your PIN?


Reset the receiver to factory settings!

Summary of Contents for IDL-7000PVR

Page 1: ......

Page 2: ...g a list of personal favourite programmes and channel sorting 4 Electronic Programme Guide EPG 4 1 Programme information Now Next 4 2 Calling up the Channel Guide 5 Personal Planner 6 Parental Lock function 6 1 Activating the PIN code 6 2 Changing the PIN code 6 3 Blocking individual channels 7 Common Interface 8 Sleep Timer 9 Videotext 10 Switching between various audio channels Soundtrack and Su...

Page 3: ...ntrusion of foreign matter The receiver is fitted with small ventilation slots small objects could fall into these slots so please do not put any objects on top of the receiver Ensure adequate ventilation Never cover the ventilation slots on the unit casing When in operation the digital receiver should be placed on a straight and solid base It should not be placed in direct sunshine or too close t...

Page 4: ... unit interface OK Confirming a selection Common Interface Two slots for expansion modules e g for reception of Pay TV Stop Rewind Forward Play Pause Record USB B USB A CA Interface x 2 conditional access optional only for certain receiver models 10 Mains Power Connection For connecting to domestic power supply cable supplied 90 260 V AC 50 60 Hz Optical Digital Audio Output S VHS RF Modulator Out...

Page 5: ...ng the position of PiP Switch between main and small PiP screens On Off Standby Switching the receiver on and off Fav Calling up the favourite lists Swap function key Information Details about the active channel 1x press programme information 2x press Now Next EPG Exit Quick exit from a menu page Yellow function key special function in on screen displays Blue function key special function in on sc...

Page 6: ...the programme and confirm the selection with OK Menu Volume control With the directional keys left and right Recording TV programmes Current Programme If you want to record the programme that is actually broadcast you have to press the REC key from this instant the Time Shift Buffer intermediate memory is recording You can stop the recordings with the STOP key a query appears if the recording shou...

Page 7: ... selectable via the installation menu and is transmitted to the TV set via the antenna cable The antenna cable previously connected to the TV set should now be connected to the HF input socket of the receiver socket ANT IN In this way the terrestrial antenna connection is looped through the receiver If you also have a video recorder connected to the terrestrial antenna cable this terrestrial anten...

Page 8: ...en confirm by pressing the OK Menu key 2 1 2 Audio Subtitles Audio Settings Some channels broadcast their programmes in different languages You can select your language preference with the directional keys and confirm the selection by pressing the OK Menu key If multi lingual programmes are broadcast than your selected language is automatically taken into consideration Subtitles Select the desired...

Page 9: ...ches Complete information required on this page separately for each LNB Tuner If you have selected the installation type Dual the options Tuner 1 and Tuner 2 are displayed You can now differently define the characteristics for both Tuner e g adjust both Tuner to the different satellites LNB Type Press the OK Menu key to open a window to select the matching LNB Type Firm or Unicable Satellite Here ...

Page 10: ... the programme list and store them in memory The programme search function is designed to assist you in this activity and there are various types of programme search available Several procedures can be followed in order to initiate a programme search Press the Menu key to call up the Main Menu then using the directional keys select the sub menu Installation Setup followed by Channel Search confirm...

Page 11: ...22 000 as well as 27 500 symbols s or enter a specific value manually The receiver is equipped to process symbol rates between 2 000 and 45 000 symbols FEC Code Error protection Here you must enter the type of error correction used by the programme you are searching for At a symbol rate of 22 000 symbols s an FEC of 5 6 is standard at 27 500 symbols s the FEC is usually 3 4 If the manual programme...

Page 12: ...are software updates see chapter 2 1 8 2 will not be lost 2 2 1 System information In the last category of the Installation Setup display you will find detailed technical information relating to the programme currently being viewed as well as to the hardware and software of the receiver and where applicable to the built in Common Interface module 2 2 2 System information The submenu System informa...

Page 13: ...he last recorded event press the up key in case of a long list instead of zapping down within the complete list 3 1 1 Playing functions Besides the usual playing function with sequences the receiver offers you some comfort functions Select a recording to play with the directional keys and confirm it with the OK Menu key At the beginning of the playing mode a pop up showed off with the functions Fa...

Page 14: ...ding is deleted automatically to make space for a new recording The recordings on your hard disk remain as long as you do not delete them 3 2 1 Navigating within the Time Shift Buffer You can switch to all desired position within the already stored recordings of the Time Shift Buffer Use the navigation keys as follows Jump Back Rewinding if the beginning of the recording is reached the playing spe...

Page 15: ... may delete the entry one letter at a time to correct errors by pressing the red function key and you can use the blue function key to switch between uppercase and lower case letters Press the exit function key to return to the display of channel lists Here you should select the name of the list just created or the list in which you want to sort the channels and confirm by pressing the OK Menu key...

Page 16: ...mation can additionally be called up by pressing the INFO key 4 2 Calling up the Channel Guide You can access the electronic Channel guide at any time by pressing the EPG key green function key on the remote control You can also access the EPG via the Main Menu Here you must use the directional keys to select the entry TV Guide then confirm by pressing the OK Menu key Timer programming The receive...

Page 17: ... the selection with the OK Menu key raise the hour value with the directional key up down with the directional key right you can select the minutes change them with the directional key up down confirm the changes with the OK Menu key Final date Confirm the selection and choose your specifications analogue Starting date Confirm your entries with the OK Menu key Final time Confirm the selection and ...

Page 18: ... change the settings between recording cycles single events daily events and weekly events TIP The function keys do not have to be confirmed by pressing the OK Menu key Therefore the symbol next to the information is important for the selected function The modus which stands under the planning list in the information bar is the next possible to select not the defined one Symbols Red circle R recor...

Page 19: ...o also block access to individual programmes In the display Parental lock you will now also see a line deactivate blocking which you can use at a later stage to lift the channel restrictions again at a later stage The default setting provides unrestricted access to all TV and radio programmes How to block individual channels Press the Exit key to exit from the display Parental control You will fin...

Page 20: ...ature familiar from analogue TV programmes is also broadcast on many digital TV programmes The digital receiver is equipped to decode the teletext video text signal internally and to display it on the TV screen Press the Teletext key to display the videotext or teletext of the programme currently being viewed The teletext video text will be displayed as an overlay on the screen over the current TV...

Page 21: ...ntinuation of a programme It is activated by the direct keys 11 1 Navigation PiP An additional small screen appears on the TV Screen with the same programme When zapping to another programme the previous programme remains on the small screen An additional pressing of the PiP key closes the small screen With this key you can skip between the contents of both screens By pressing the key the small sc...

Page 22: ...nd lengths Heavy rain or snow Remove snow from reflector The displayed time differs from the current program Incorrect time settings Check the settings at Installation Time Date especially after having switched to summer time or winter time Encoded programs are not received CI CA module not or incorrectly inserted Check the CI CA module Smart card not or incorrectly inserted into CI CA module Chec...

Page 23: ...terface Common Interface type Common Interface Chip Common Interface support Dual PCMCIA 5V 16 bit ALTERA ACEX1K10 DVB CI standard EN 50221 AV Decoder Video decoding capability Video resolution Aspect ratio MPEG 1 ISO IEC 11172 2 and MPEG 2 MP ML 720 X 576 Pal 4 3 and 16 9 Automatic adjustment for 16 9 TV sets Letter Box supported Audio decoding capability Audio sampling frequency MPEG 1 MPEG 2 au...

Page 24: ...modulator RF input connector 1 X IEC169 2 Socket RF modulator Loop through Output connector 1 X IEC169 2 Plug TV SCART connector VCR SCART connector CVBS output RGB output L R Audio output SVHS output CVBS input output RGB input L R Audio input output SVHS output Digital Audio SPDIF CINCH RCA SVHS Digital Audio SPDIF Serial port 1 X Coaxial 1 X Optical Audio L R Video CVBS Mini DIN Female Coaxial ...

Page 25: ...ysical specification Size W X D X H mm Operating temperature Storage temperature 420 X 300 X 65 5 40 o C 20 60 o C Accessories Remote Control Unit Battery x 2 English German 1 SCART to SCART cable EMC Safety Compliant to CE User s manual A V Cable ...

Page 26: ...ppears on the screen Low Noise Block Converter receiving unit in the reflector Local oscillator frequency receiving unit of the receiver Frequency range required for the transmission of a signal Digital Satellite Equipment Control digital control signal Packet Identification number of the data pack packet assigned to the program Transmission channel of the satellite Parameter for digital reception...

Page 27: ......

Reviews: