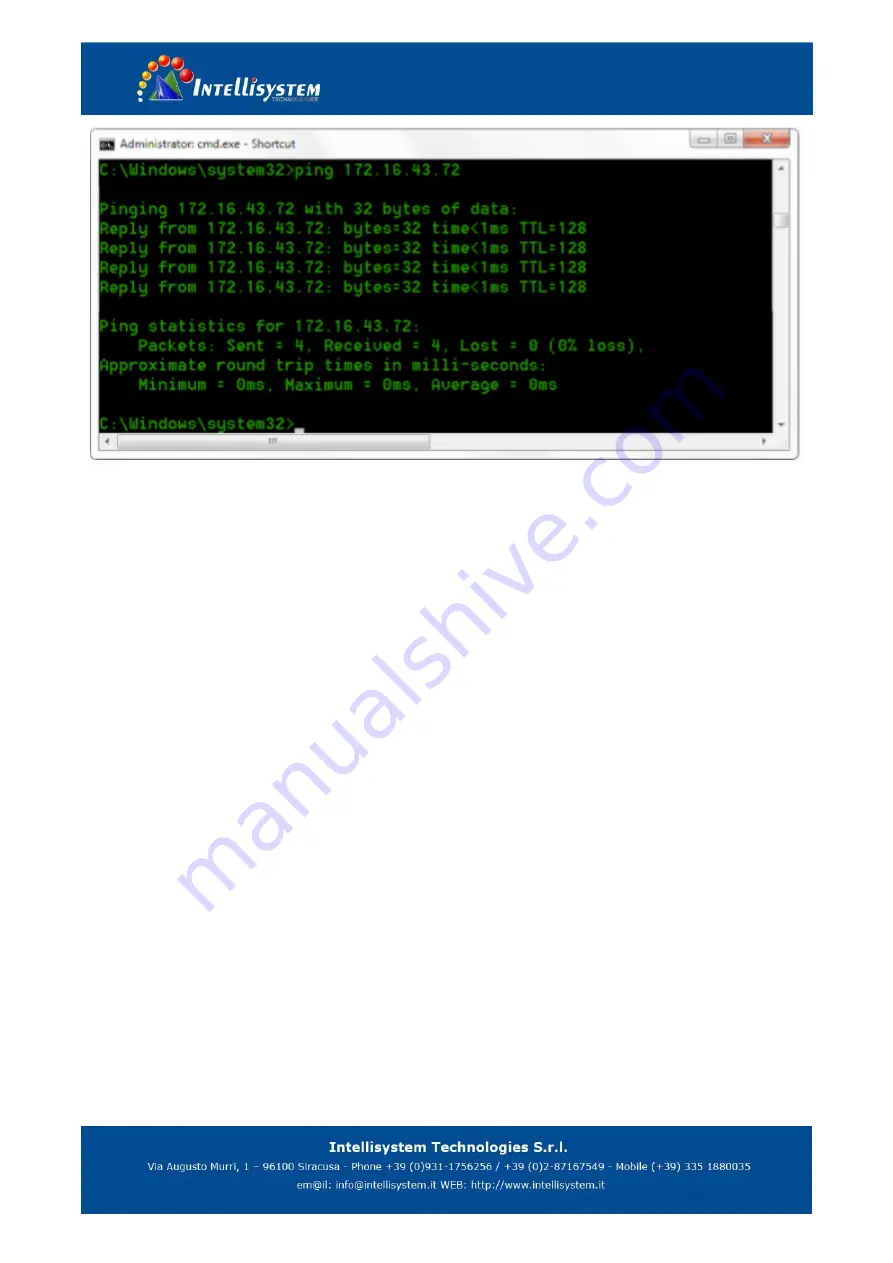
User can also to verify network connection as steps above mentioned after the finish of camera self-check. If IP is default,
open DOS command window and input 192.168.5.163,then press Enter key, then network connection is normal.
4.2 IE Log In
4.2.1 Web client
1) Web client Log In
Input the IP address 192.168.5.163 of the device in the address filed of browser and click Enter button to enter into Web
Client login page as below picture. User can login as administrator and normal user. If login as administrator (Default User
name/Password: admin), users can preview, playback, configuration and cancel in the Web Client; If login in as normal user
(Default User name/Password: user1 or user2), users can only preview, playback and cancel, no option for configuration.
Note: Web access supported browsers: IE, 360 browser and other conventional browser.
Language options: Upper right corner of the login screen displays "
中文
| English", click it to select the right language.
2) Download/Install Plug in
When first using IE browser to access the web conferencing camera, the
login page will appear “Playback plug-in is not
installed, please
download and install!”. Click on this message, download and install MRWebXinstall.exe, according to
information prompts.
After installing the plug, enter user name and password, click and Sign (initial default user name and password:
"admin", users can change the user name and password on their own after entering) into the Web client management
interface.
4.2.2 Preview
After successful login into the management interface, it enter the video preview interface. In the preview screen, users can
control PTZ, zoom, focus, video capture, sound, focus, full screen and set the preset position, run, delete and other
operations.
1) Login as administrator
User name, password, the default admin


