- 5 -
SECTION 2 — INSTALLATION
2.1 SYSTEM CONFIGURATION
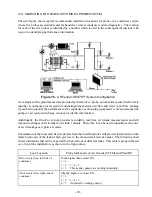
The system provided consists of:
•
a
RheoVac SENTRY
central processing unit (CPU) in a metal housing. The CPU includes a
touch screen interface, uninterruptible power supply (UPS), modem (optional),
interconnections and controls
•
up to twelve (12)
RheoVac SENTRY
probes (see
Custom Information
Section)
•
one (1) or more distribution box(s), and remote power supply boxes as required, (see
Custom
Information
Section)
•
RS485 cable for connecting the probes and electronics boxes.
A drawing is included in this manual illustrating the general layout of all the
SENTRY
components.
2.2
RheoVac
SENTRY
INSTALLATION/SITE SELECTION
2.2.1
Probe Site Selection
(IMPORTANT)
#
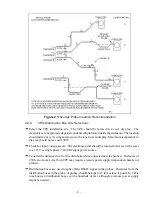
Select the installation site. The location should provide the probe’s sensing area with well-
established smooth flow, uniform system temperature and pressure, and consistent non-liquid
phase flow medium. Refer to Figure 2 and select the most preferred location that fits your
vacuum line configuration.
#
DO NOT INSTALL THE PROBE DOWNSTREAM OF ANY “TRAP” SECTIONS AS
SHOWN IN FIGURE 2, CONFIGURATIONS B AND D. Special installation instructions
unique to your unit, where applicable, will be noted in
SECTION 6.3 SPECIAL
INSTRUCTIONS
. Refer to this section now to review any special instructions.
#
Check installation clearance. The probe is almost 3 feet long and the hot tap assembly is about
13” long, so allow 4 feet of clearance for probe installation. Be sure there are no obstructions
around the vacuum line that will interfere with probe insertion or removal and that there is
sufficient room for flexible conduit.
#
OBSERVE the selected site. It should be convenient for removal and replacement of probe(s)
at any time for service without building scaffolding or waiting for plant shutdown.
#
Figure 3 shows the proper insertion angle. THIS ORIENTATION IS IMPORTANT FOR
PROPER OPERATION.
#
Check operating conditions. The temperature and pressure limits of the unit should be checked
to ensure compatibility with your installation point, see Section 1.5.
Summary of Contents for RheoVac
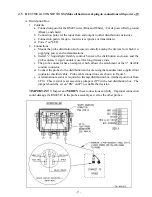
Page 10: ... 8 Probe Installation Detail ...
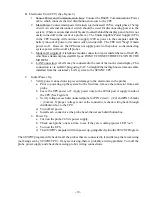
Page 13: ... 11 Figure 6 CPU Wiring Part 1 ...


