29
Deleting albums, tracks or playlists
You can delete albums, tracks or playlists you no longer want from
your Audio Network Server library.
• Display
the
Main Menu
by pressing the
1
key on your Audio
Network Server remote control.
• Press
the
9
or
8
key to highlight the
Library
option and press
the
5
Select
action key.
• Press
the
9
or
8
key to highlight either the
Edit Playlists
or
Edit Albums
option and press the
5
Select
action key.
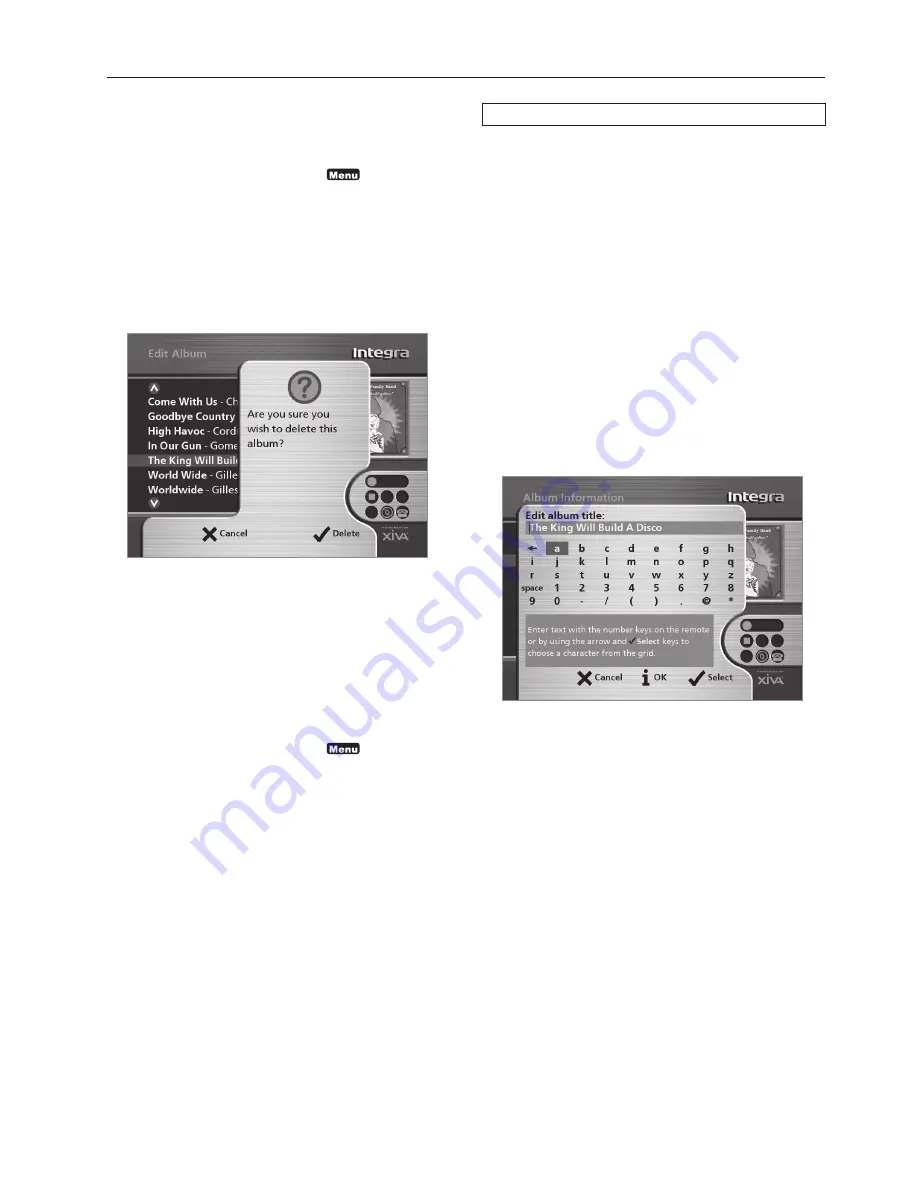
• Locate the album, playlist or track you want to delete.
• Press
the
2
Delete
action key to delete it.
• If you are sure you want to delete the item, press the
5
Delete
action key again to complete the operation.
Note:
This operation will permanently remove information from your
hard disk; you will need to re-record the album if you delete tracks
or albums accidentally. However, deleting a playlist does not remove
any music from the hard disk - the original albums are unaffected.
Clearing a preset
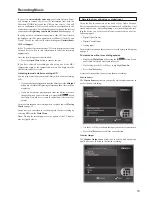
You can clear the contents of a preset at any time in order to re-
program it as follows:
• Display
the
Main Menu
by pressing the
1
key on your Audio
Network Server remote control.
• Press
the
9
or
8
key to highlight the
Library
option and press
the
5
Select
action key.
• Press
the
9
or
8
key to highlight the
Presets
option
and press
the
5
Select
action key.
• Highlight the preset you wish to clear and press the
2
Clear
action
key.
• Press
the
5
Clear
action key to confirm your choice.
• You will receive confirmation once the operation is complete. Press
the
5
OK
action key to continue.
Entering and editing names
You can enter a new name or edit an existing name on your Audio
Network Server using either of the following methods:
To enter text using the alphanumeric keypad
• Press
the
7
or
6
keys to move the cursor to the required position.
• Use the keys on the alphanumeric keypad to enter a letter.
For example to enter S press the
7
key four times, because S is the
fourth letter on the
7
key.
• Press
the
DELETE
key on your Audio Network Server remote
control to delete letters.
• Press
the
CAPS
key on either the front panel or your Audio
Network Server remote control to switch between upper-case
and lower-case letters.
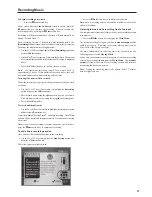
To select letters from a grid
Alternatively, the
Grid
option provides a convenient way of selecting
letters from a grid:
• Press
the
8
key to move the cursor into the grid area.
The currently selected letter is highlighted:
• Use
the
7
,
6
,
9
or
8
keys to move the cursor and press the
5
Select
action key to enter each letter.
• Use
the
CAPS
key on either the front panel or the Audio Network
Server remote to switch between upper and lower case letters.
If at any time you need to enter text in a different part of the text
field, or you want to return to entering text using the alphanumeric
keypad:
• Press
the
9
key repeatedly until the cursor returns to the text
field.
Finally, when you have finished entering the name:
• Press
the
3
OK
action key.
Organizing Your Music Collection
Summary of Contents for NAS-2.3
Page 40: ......


