Step 2:
Initial Setup
En-14
3
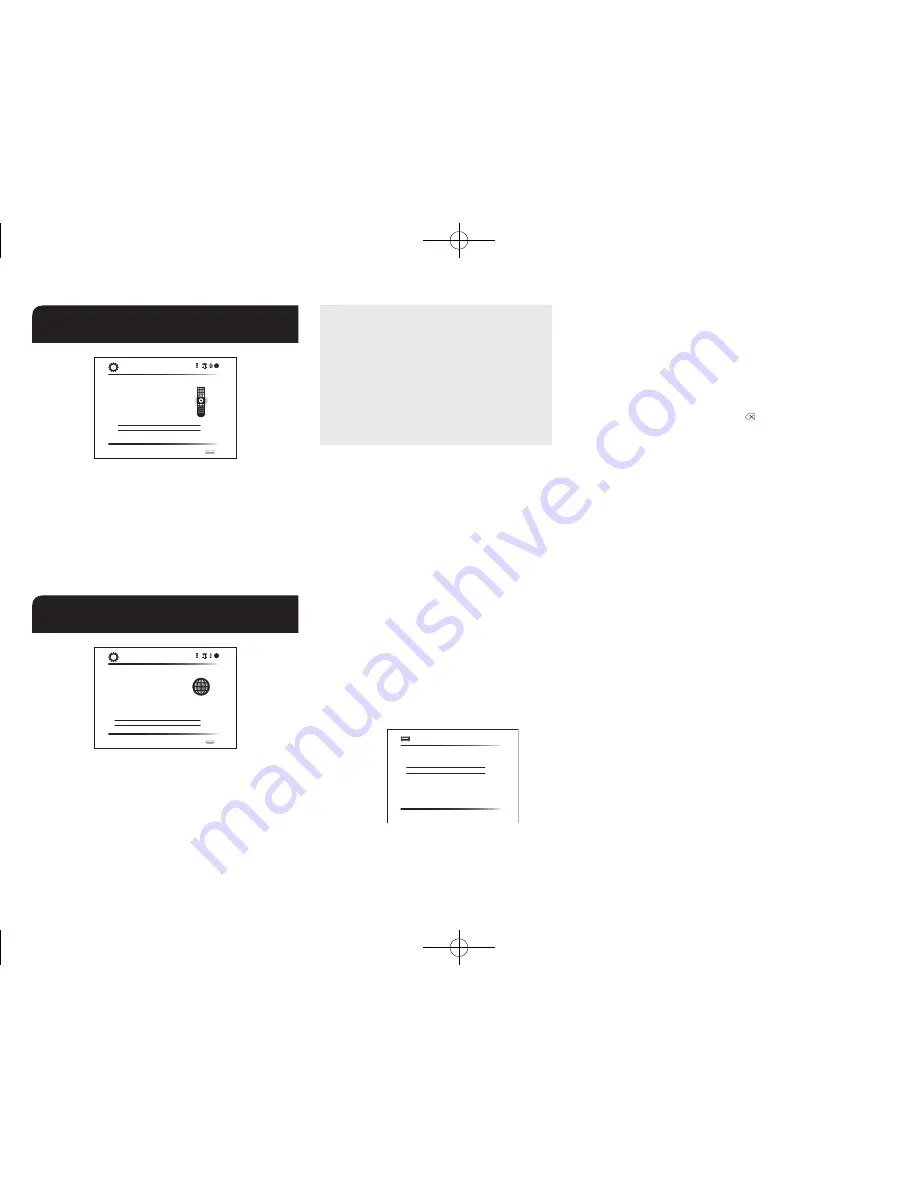
Remote Mode Setup
Remote Mode Setup
Preprograming remote will give you control
of other devices from AV receiver remote.
Would you like to setup your remote to
control your devices? This may take a while
depending on what and how many you have
connected. You can always come back to remote
setup from setup “7-2 Remote Mode Setup”.
Yes, Continue
No, Skip
Initial Setup
Exit
SETUP
You can enable operation of the other components using
the remote controller of the unit. When the Remote Mode
Setup start screen is displayed, select "Yes, Continue"
with the cursors and press Enter on the remote controller.
Follow the guidance to select the desired Remote Mode
button and in the keyboard screen, enter the first three
characters of the brand name of the device you are going
to program and search for the remote control code. The
guidance will also explain how to set the remote controller.
4
Network Connection
Network Connection
Do you want to connect network connection?
It gives you network services that our AV
receiver support. If you wish to skip this step.
select “No. Skip”.
Yes
No, Skip
Initial Setup
Exit
SETUP
You can check the network connection and make the
Wi-Fi setting. When the Network Connection start screen
is displayed, select "Yes" with the cursors and press Enter
on the remote controller. If you select "Wired" in the next
screen, you can view the LAN cable connection status. To
make the Wi-Fi setting, select "Wireless", press Enter on
the remote controller and follow the sections below.
Make the following preparations�
Wi-Fi connection requires an access point such
as wireless LAN router (
). Write down the SSID
and password (key) of the access point if they are
shown in the label of the main body. If the access
point has an automatic setting button (may be
called differently according to the manufacturer),
you can set up without inputting the password.
For how to use the automatic setting button of the
access point, refer to its instruction manual.
¼
The unit supports Wi-Fi connection with 2.4 GHz
access point.
1� Select the method of Wi-Fi connection with the
cursors and press Enter�
Scan Networks
: Use this unit to search for and connect
to a wireless LAN router or other access point.
Use iOS Device (iOS7 or later)
: Select this method to
let this unit share the Wi-Fi settings with your iOS device
and establish a Wi-Fi connection with ease.
If you selected "Scan Networks"
2� Select the SSID of the access point to be connected
with the cursor buttons and press Enter�
When the SSID of the access point appears on the TV
screen, select the desired access point.
●
If you changed the initial setting of the access point to
skip password entry, step 3 is unnecessary.
●
If you changed the initial setting of the access point
to hide the SSID, see "When the access point is not
displayed".
3� Select and set the authentication method�
The "Enter Password" screen may be displayed
automatically if the wireless LAN router does not have
an automatic setting button.
Select the authentication method.
Enter Password
Push Button
PIN code
Wi-Fi Setup
When this screen is displayed, select and set one of the
three authentication methods: "Enter Password", "Push
Button" and "PIN code". See below for details of and
how to set each method.
Enter Password
: Enter the password of the access point
to establish connection.
1
Select "Enter Password" with the cursor buttons and
press Enter.
2
Enter the password (
) on the keyboard screen, select
"OK" with the cursor buttons and press Enter.
¼
Select "A/a" and press Enter to toggle between upper and lower
case. Select "
" or "
" and press Enter to move the cursor to
the selected direction. Select and press Enter to delete the
character at the left of the cursor position. To select whether to
mask the password with "
" or display it in plain text, press D on
the remote control. Press +10 on the remote controller to switch
between upper and lower case. Press CLR to delete all the input
characters.
3
If the security method of the access point to be
connected is WEP, select "Default Key ID", select "OK"
and press Enter.
Push Button
: Use the automatic setting button of the
access point to establish connection.
1
Select "Push Button" with the cursor buttons and press
Enter.
2
Hold down the automatic setting button of the access
point for the necessary seconds, select "OK" with the
cursor buttons and press Enter.
PIN code
: Select this method when the automatic setting
button of the access point is beyond the reach. Select "PIN
code" with the cursor buttons and press Enter to display the
8-digit PIN code. Register the displayed PIN code to the
access point, select "OK" with the cursor buttons and press
Enter. For how to register the PIN code to the access point,
refer to its instruction manual.
4� Select "Yes, Start to Check" in the network
connection confirmation screen�
DTR-30.7_BAS_En_SN29401993_150414.indd 14
2015/05/14 16:32:52


