


224
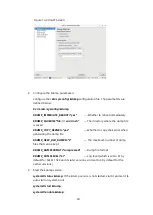
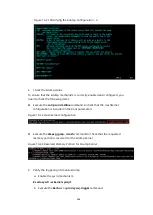
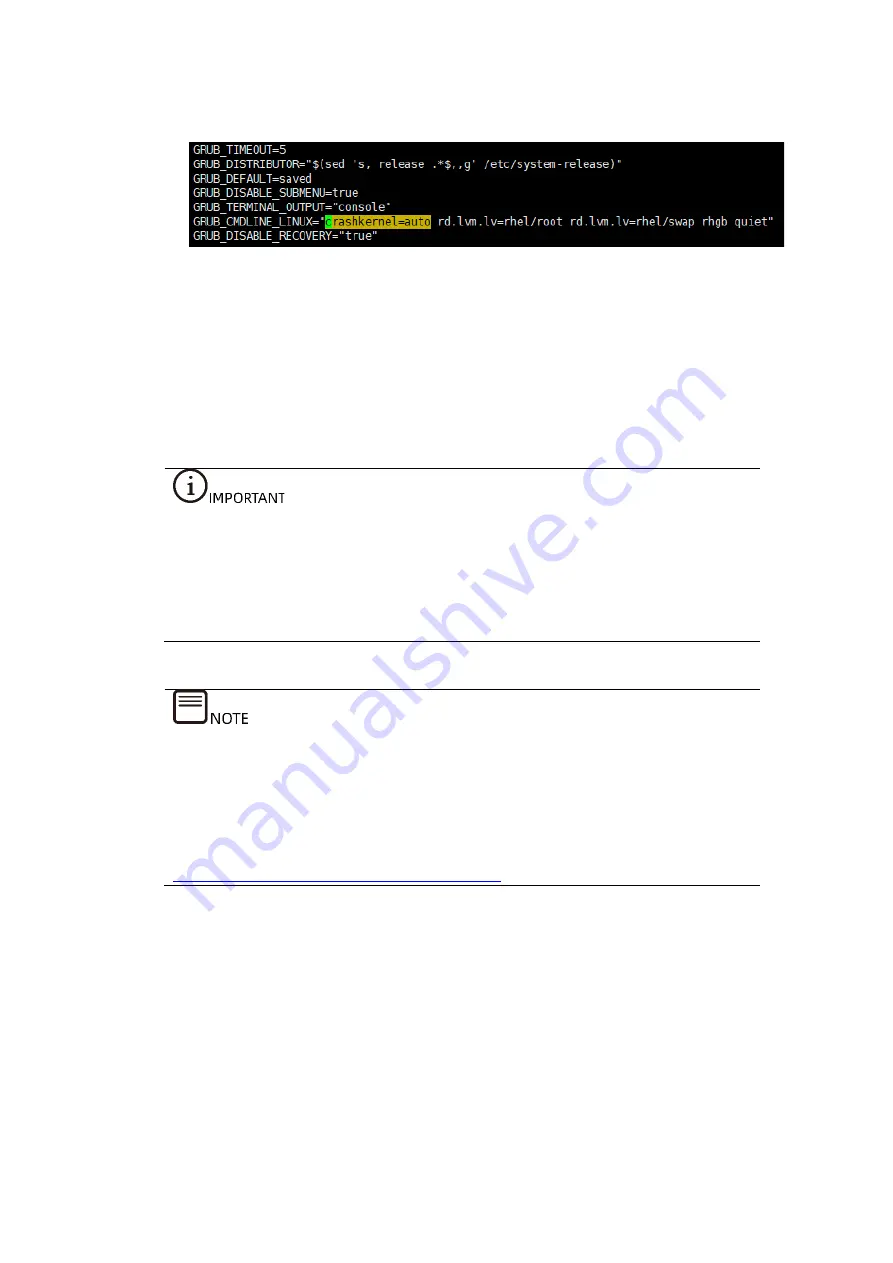
Figure 10-8 Adding the Boot Parameter
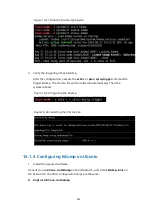
b.
Make a backup and regenerate the grub file.
On BIOS-based server:
# grub2-mkconfig -o /boot/grub2/grub.cfg
On UEFI-based server:
# grub2-mkconfig -o /boot/efi/EFI/redhat/grub.cfg
For the large ext4 file system (at TB level), the configuration of
crashkernel=auto
is not reliable, and probably leads to the out-of-memory problem when the
dump kernel is enabled. Hence, you need to specify the reserved memory value
and manually trigger the kdump test to see whether it can generate the vmcore
file.
According to the following explanation of Red Hat, the reserved memory size
depends on the disk space used by the file system. For example, it needs to
reserve 512 MB of memory for a 2.1 TB ext4 file system and 1.88 GB of memory
for a 16 TB ext4 file system.
(Kdump fails with large ext4 file system because fsck.ext4 gets OOM-killed
https://access.redhat.com/solutions/692783)
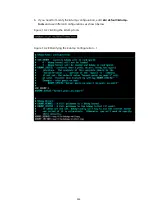
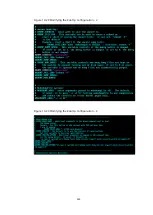
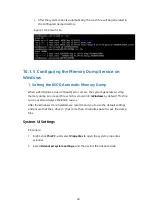
2.
Specify the dump target.
The dump directory is configured in
/etc/kdump.conf
, and the vmcore file is
dumped in
/var/crash/
by default.
# vim /etc/kdump.conf
Summary of Contents for OS
Page 1: ...Inspur Server OS Installation Guide Document Version V2 3 Release Date January 19 2022 ...
Page 16: ...7 Figure 4 1 Server Mgmt ...
Page 17: ...8 Figure 4 2 Configuration Address Source Figure 4 3 BMC IP Setting ...
Page 32: ...23 Figure 4 29 Selecting the OS 4 Check I accept the license terms and click Next ...
Page 37: ...28 Figure 4 35 User Login Screen 10 Enter the desktop and the installation is completed ...
Page 46: ...37 Figure 4 44 Confirming the Installation 9 Wait for the installation to complete ...
Page 49: ...40 Figure 4 47 System UI Management Screen Figure 4 48 Authentication Required Screen ...
Page 57: ...48 Figure 4 57 Selecting Restart Management Agents Figure 4 58 Confirming the Restart ...
Page 68: ...59 Figure 5 12 Selecting INSPUR 8204 4 GB Figure 5 13 INSPUR 8204 4 GB Configuration Screen ...
Page 75: ...66 Figure 5 21 Setting System Date Figure 5 22 Setting System Time ...
Page 85: ...76 Figure 5 36 Language Selection Screen 5 The INSTALLATION SUMMARY screen appears ...
Page 102: ...93 Figure 5 58 Authentication Required Screen Figure 5 59 System Customization Screen ...
Page 109: ...100 Figure 5 67 Selecting Restart Management Agents Figure 5 68 Confirming the Restart ...
Page 121: ...112 Figure 6 16 Setup Wizard Screen 3 Select the language you like to use and click Continue ...
Page 122: ...113 Figure 6 17 Selecting the Language 4 Set DATE TIME KEYBOARD and LANGUAGE SUPPORT ...
Page 128: ...119 Figure 6 23 User Settings Figure 6 24 Setting the Root Password ...
Page 130: ...121 Figure 6 26 Reboot Figure 6 27 Reboot Screen ...
Page 139: ...130 Figure 6 35 Confirming the Installation 9 Wait for the installation to complete ...
Page 142: ...133 Figure 6 38 System UI Management Screen Figure 6 39 Authentication Required Screen ...
Page 150: ...141 Figure 6 48 Selecting Restart Management Agents Figure 6 49 Confirming the Restart ...
Page 165: ...156 Figure 7 18 Setting System Date Figure 7 19 Setting System Time ...
Page 174: ...165 Figure 7 31 User Login Screen Figure 7 32 Desktop ...
Page 182: ...173 Figure 7 39 Extension and Module Selection Figure 7 39 Add On Product Installation ...
Page 188: ...179 Figure 7 46 Installation Settings Figure 7 47 Performing Installation ...
Page 196: ...187 Figure 7 56 Confirming the Installation ...
Page 199: ...190 Figure 7 59 System UI Management Screen Figure 7 60 Authentication Required Screen ...
Page 207: ...198 Figure 7 69 Selecting Restart Management Agents Figure 7 70 Confirming the Restart ...
Page 214: ...205 Figure 8 8 Installation Step 1 Figure 8 9 Installation Step 2 ...
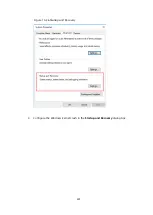
Page 247: ...238 Figure 10 35 Advanced System Settings 3 In the Startup and Recovery area select Settings ...
Page 258: ...249 Figure 10 52 BIOS Serial Port Setting 1 Figure 10 53 BIOS Serial Port Setting 2 ...


