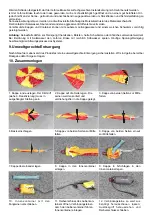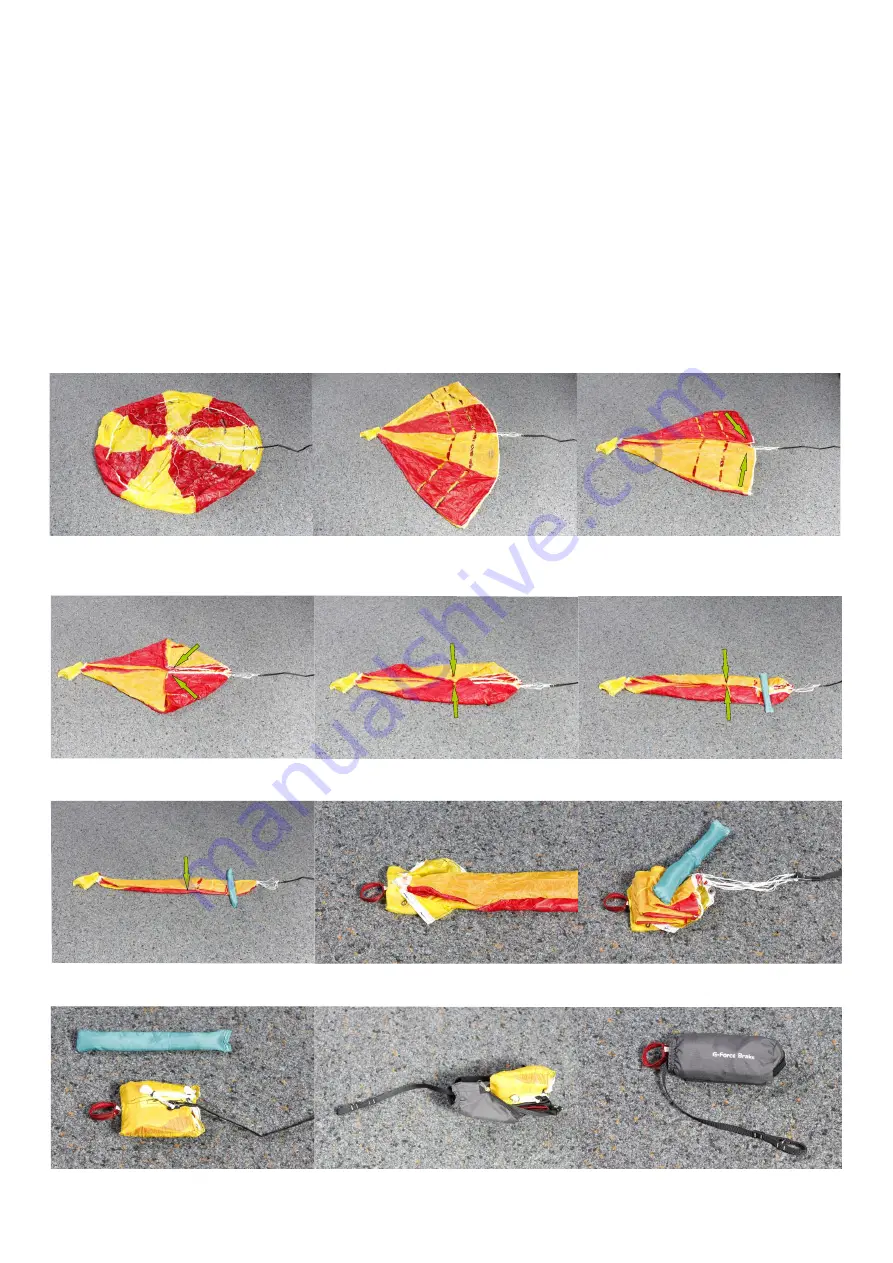
10. Zusammenlegen
1. Kappe rund auslegen. Der Kill-Griff
(siehe 6. Deaktivierung) muss in
ausgehängter Stellung sein.
2. Kappe auf die Seite legen. Die
Leinen werden sortiert und
verdrehungsfrei in die Kappe gelegt.
3. Kappe von beiden Seiten zur Mitte
falten.
4. Basis einschlagen.
5. Kappe von beiden Seiten zur Mitte
falten.
6. Kappe von beiden Seiten erneut
zur Mitte falten.
7. Kappe übereinander legen.
8. Kappe in den Innencontainer
einlegen.
9. Kappe in S-Schlägen in den
Innencontainer legen.
1 0 . I n n e n c o n t a i n e r m i t d e n
Fangleinen verschließen.
11. Reißverschluss des Außencon-
tainers öffnen, Verbindungsleinen
durch den Außencontainer führen.
Innencontainer einlegen.
12. Verbindungsleine so weit wie
benötigt herausschauen lassen.
Auslösegriff herausziehen und
Reißverschluss schließen.
2. Purpose of use
Manually released brake chute for paraglider pilots to reduce g-forces in spirals.
3. Mode of operation
After activating the G-force Brake, the pilot's drag increases and the trim speed decreases by about 5 km/h. As only the
pilot's drag increases and the glider's drag does not change, the canopy will pitch slightly forward.
Due to the increased pilot drag the canopy can move further forward in relation to the pilot during a spiral dive than without.
This significantly increases the sink per turn, so the glider "screws" itself down more steeply.
Or to say it another way: the number of turns is reduced for the same sink rate, and the centrifugal forces ( g-forces) on the
body are significantly reduced.
4. Mounting / Assembly
When using the G-force Brake with the supplied outer container, it is attached to the main suspension with the Velcro
underneath the karabiner. Depending on the harness model, the container can also be attached to the chest strap.
During installation, it must be ensured that the functionality of the harness is not impaired (e.g. no impairment of the buckles,
the rescue reserve, freedom of movement of the pilot, etc)
When fitted to a tandem pilot's harness, the outer container of the G-force Brake can also be fixed in the triangle of the
spreader bar.
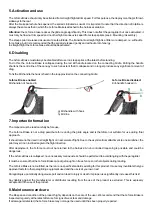
The bridle of the G-force Brake must be connected to the main karabiner on the side you wish to spiral. This means for
example to the main karabiner on the right-hand side in the case of right-hand spirals.
Attention:
the outer container must be securely connected to the harness and the bridle must run freely to the main
carabiner without interfering with any other parts of the harness.
As an alternative, the G-force Brake can also be stored without an outer container in a side pocket or in a front cockpit. It
must also be ensured that the deployment bag is stowed securely, without possibility of unintentional release and that the
bridle runs unhindered.
Dimension outer container
18 x 8 cm
weight with outer container
220 g
weight without outer container
195 g
Diameter canopy
120 cm
system length
3,5 m
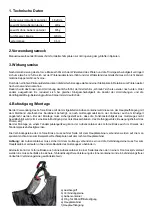
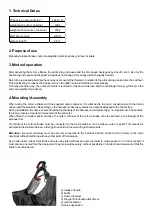
1. Technical Datas
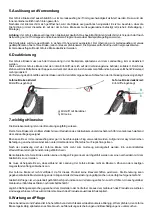
a) release handle
b) bridle
c) Outer container
d) Ring for Kill-handle attachment
e) main karabiner
f) main suspension
a
b
c
d
e
Werden Schäden festgestellt, darf der G-force Brake bis zur fachgerechten Instandsetzung nicht mehr benutzt werden.
Ist der G-force Brake feucht oder nass geworden, muß er schnellstmöglich geöffnet und an einem gut belüfteten Ort -
jedoch nicht an der Sonne - getrocknet und anschließend neu gepackt werden um Stockflecken und Schimmelbildung zu
vermeiden.
Sonneneinwirkung ist zu vermeiden, da die ultraviolette Strahlung die Molekularstruktur des Materials schwächt.
Der Kontakt mit Salzwasser, Säuren oder anderen aggressiven Stoffen ist zu vermeiden.
Verschmutzte Kappen und Container können mit sauberem Leitungswasser und einem weichen Schwamm vorsichtig
gereinigt werden.
Achtung:
Keinesfalls dürfen zur Reinigung Chemikalien, Bürsten, harte Schwämme oder ähnliches verwendet werden!
Bei Berührung mit Salzwasser den G-force Brake mit reichlich Süßwasser spülen. Häufige Spülung/Reinigung
beschleunigt den Alterungsprozess des Systems.
9. Umweltgerechte Entsorgung
Nach Ablauf der Lebenszeit des Produktes ist eine umweltgerechte Entsorgung sicherzustellen. Wir sind gerne bereit bei
Rückgabe dafür Sorge zu tragen.
Summary of Contents for G-force Brake
Page 8: ......

