background image

12

13

TROUBLE SHOOTING

TROUBLE

Hoist does not start 

No contractor operates.

Hoist does not start 

Contractors are working.

Operation interrupted 

Chattering of contractors. 

Push button gets stuck.

Braking time too long.

Brake & motor overheats

Causes of excessive load 

chain waer.

Fast wear load chain 

wheel.

CAUSE

Phase sequence wrong or 

one phase failed or limit 

switch operated.

Brake not opening or motor 

defect or overloaded. 

Loose connection or wire 

broken, current collector 

contact poor.

Push button sections shifted

Brake liner is worn.

Brake not properly opening 

incorrect air-gap.

Lack of lubrication excessive 

duty/load

Excessive worn out chain

HOW TO SET RIGHT

Change to phases of main supply.
Check with lamp.
Check movement of limit switch 

levers.

Remove brake cover and see 

movement of brake plate.
Check without load

Tighten all connections.
Check wires.
Check sitting of shoe & free 

movement of arm 

Tighten the housing screw.

Adjust brake as per Instructions.

Check brake air gap (see the 

instructions).

Lubricate chain with harmony – 53 

or equivalent oil. Check load &  No 

of start / stop per day.

Refer guide lines for chain.

SAFE OPERATING PROCEDURES FOR OVERHEAD CRANES / HOISTS 

& SLINGS

DO Not
•  Lift more than rated capacity 

of Hoist.

•  Operate Hoist with twisted, 

kinked or damaged hoist-

rope

•  Operate if rope is not seated 

in drum or sheave grooves.

•  Lift unless load slings are 

centered on hook.

•  Lift people or travel with 

people on load.

•  Make side pulls which 

misalign rope with hoist.

•  Operate unless all travel limit 

devices are functioning. 

•  Lower below point where 

less than two full wraps of 

rope remain on hoist drum.

•  Use upper limit switch to 

stop hoist limit which is 

emergency stop only.

•  Leave operating position 

with suspended load on 

hook.

•  Permit load to contact 

obstacles.

•  Exceed recommended duty 

cycle. 

•  Use Hoist Rope or chain as 

a sling or as an earthing for 

welding.

•  Divert his attention while 

operating.

•  Remove or obliterate 

warning label

•  Exceed fuse rating.

DO 

•  Test hoist & travel limit 

devices at a start of each 

shift.

•  Position the Hoist so that 

lifting appliance is directly 

over the load.

•  Take load gently & avoid 

shock loads.

•  Ensure the travel path is 

clear before traveling.

•  Sound warning single when 

approaching personnel. 

•  Balancer the loading sling 

before lifting more than few 

inches.

•  Test hoist brakes whenever 

lifting load approaching 

rated load capacity. Lift 

load a few inches & test 

hoist brakes before making 

complete lift.

•  Make visual checks on 

equipment at reasonable 

intervals & report the defects 

immediately. 

•  Use controller to “stop” hoist 

not limit switch. 

•  Watch for proper rigging on 

load before lifting.

•  Know standard hand signals.
•  Check Lubricants.
•  Check for proper phasing.
•  Always anchor outdoor 

hoists when not attended.

•  Keep load block safely 

overhead when not in use.

CAUTIONS 

WHENEVER LEAVING OR 

PARKING ANY HOIST OR CRANE

•  Raise all hook to-but not 

through-limit switches. 

•  Place all controls in off 

position

•  Place main power switch in 

off position.

•  Make visual check for 

any dangerous condition 

& report any defect 

immediately.

•  Report to supervisor when 

Hoist is not in operation.

•  Take up slacks, than start 

load slowly. 

•  Keep chains free from twists, 

knots & knits. 

•  Lift form Center of hooks. 

Avoid lifting form points.

•  Distribute load evenly on all legs.
•  Inspect chain regularly. 

Remember elongation of 

links is a sign of overloading.

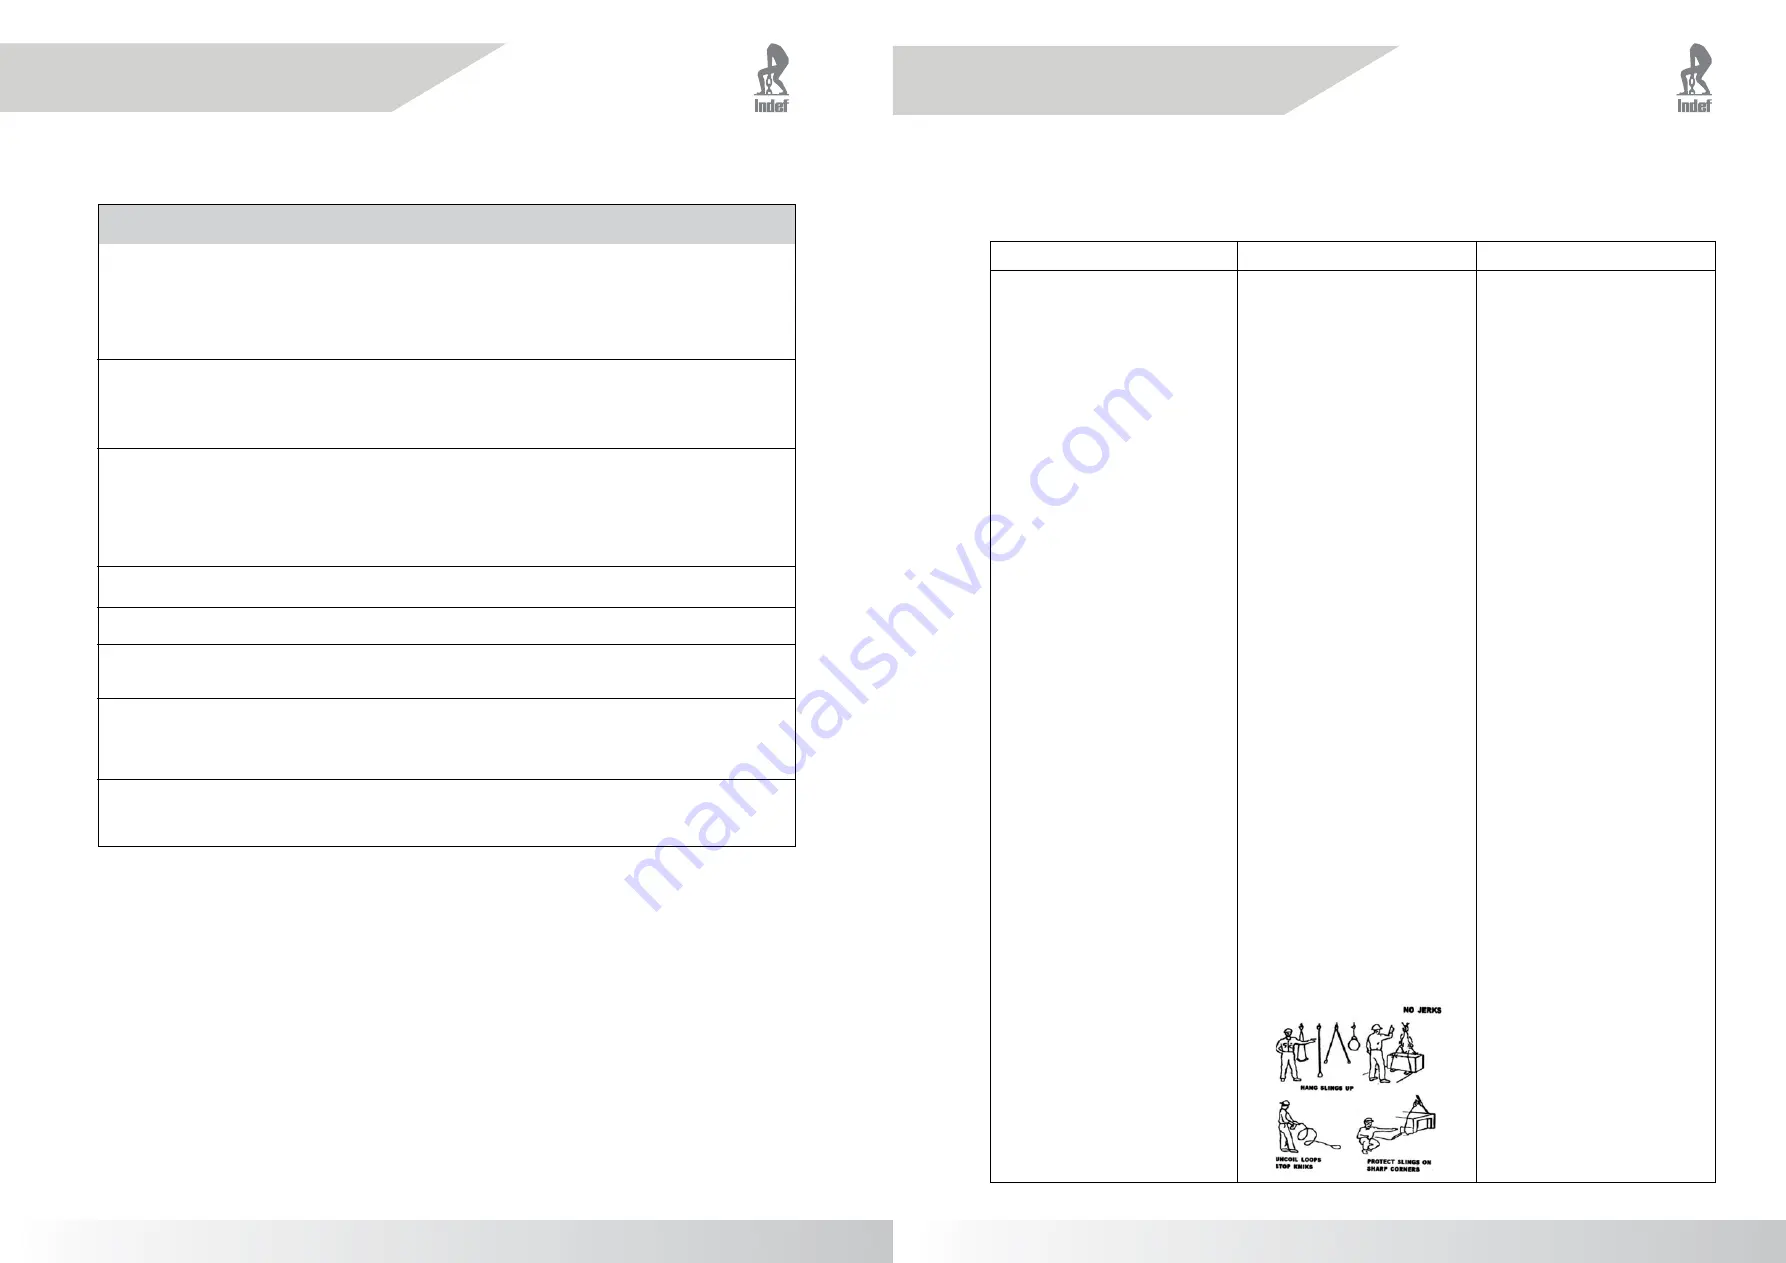
•  A sharp edge can cut the lift 

of your sling. Use blocking 

padding or a corner saddle.

•  Remove knots large enough 

for the load.

•  Don’t jerk loads- jerking may 

double the stress in your 

sling. Lift load gradually. 

Hercules Hoists Limited ©2020

Note :- Due to continuous development and improvement specification listed above may be changed without notice

Hercules Hoists Limited ©2020

Note :- Due to continuous development and improvement specification listed above may be changed without notice

Indef CHAIN ELECTRIC HOIST

Hercules Hoists Limited ©2020

Note :- Due to continuous development and improvement specification listed above may be changed without notice

Indef CHAIN ELECTRIC HOIST

Summary of Contents for CH III

Page 1: ...TING MAINTENANCE INSTRUCTION MANUAL WITH SPARE PART LIST Guarantee will be void if not used as instructed in this manual w w w i n d e f c o m HEAVY DUTY CHAIN ELECTRIC HOIST CH III Capacity 2 5T 5T 7...

Page 2: ...t directly hazard related CAUTION These general instructions deal with the normal installation operation and maintenance situations encountered with the equipment described herein The instructions sho...

Page 3: ...ation This symbol indicates tips and useful information Warning Tag and Labels The warning tag illustrated below in Figure is supplied with each hoist and trolley shipped from the factory If the tag i...

Page 4: ...jury to the operator In extreme cases there might be a load drop A rope that has been worn by side pulls may also snap and lead to a loss in control of the load Cross pull or side pull may affect on m...

Page 5: ...ther Loosening of chain takes place Set the top limit switch so that safe headroom is maintained between hoist body and lower block 9 Angular Loading Check that equipment is not subjected to angular l...

Page 6: ...ood sealing compound to gear box plate allow it to dry for sometime before putting the parts together Load chain should be well lubricated at all times Lubricate the chain with any medium Viscosity oi...

Page 7: ...Remove or obliterate warning label Exceed fuse rating DO Test hoist travel limit devices at a start of each shift Position the Hoist so that lifting appliance is directly over the load Take load gentl...

Page 8: ...OIL SEAL 90 125 12 1 18 BBR062140000 BALL BEARING 6214 1 19 EDCM003520B LOVE JOY FLEXIBLE COUPLING 1 20 PCCA053028B GEAR BOX PLATE INSIDE 1 21 KB1600100500 KEY BER 16 10 50 1 22 PCCA373024B DRUM GEAR...

Page 9: ...6 55 2 PART NO PART CODE DESCRIPTION QTY 63 HBHM12035088 HT HEX NUT BOLT M 12 35 4 64 HNMM012000YZ HEX NUT M12 8 65 RC0200000000 RUBBER CORD 2DIA 2 66 XBAP0020PTA HOIST BRAKE 1 67 XLSE0010SLZ LIMIT SW...

Page 10: ...SEAL 90 125 12 1 18 BBR062140000 BALL BEARING 6214 1 19 EDCM003520B LOVE JOY FLEXIBLE COUPLING 1 20 PCCA053028B GEAR BOX PLATE INSIDE 1 21 KB1600100500 KEY BER 16 10 50 1 22 PCCA373024B DRUM GEAR 1 23...

Page 11: ...88 HT HEX NUT BOLT M 12 35 4 65 HNMM012000YZ HEX NUT M12 8 66 RC0200000000 RUBBER CORD 2DIA 2 67 XBAP0020PTA HOIST BRAKE 1 68 EDFL822221A AXEL FOR UPPER L C WHEEL 1 69 CCFL852122A LOCKING PLATE FOR AX...

Page 12: ...19 23 PACF193112A MODIFIED HT HEX BOLT 8 30 4 24 PACF833020B CLAMPING WASHER 1 25 HBHM08016088 HT HEX BOLT M8 16 7 26 PNC4133069A COUNTER WEIGTH 1 27 BTB511080000 THRUST BEARING 51108 1 28 PBCF113016...

Page 13: ...CODE DESCRIPTION QTY 1 PACF823017C WHEEL PINION 2 2 PBCF823018C PINION SHAFT 1 3 PBCF133001B SIDE PLATE ASSEMBLY GT SIDE 2 4 PBCF823015B WHEEL AXLE 2 5 FLSPWB300000 FLAT SPRING WASHER B30 4 6 BBR0630...

Page 14: ...SIDE PLATE 2 13 FLSPWB080000 FLAT SPRING WASHER B 8 15 14 ASFM08025000 ALLEN SCREW M 8 25 2 15 PCCF113016A BALL BEARING COVER 4 16 FLSPWB300000 FLAT SPRING WASHER B30 2 17 BBR063090000 BALL BEARING 63...

Page 15: ...17 PACF833021B BEARING HOUSING 1 18 BBR06003ZZ00 BALL BEARING 6003 ZZ 2RS 1 19 PBCF823018C PINION SHAFT 1 20 PACF823017C WHEEL PINION SQ HOLE 2 21 PCCZ133028C DRIVE SHAFT HOUSING 1 22 TPCM853117A HAN...

Page 16: ...TY 1 SCP060060000 SPLIT COTTER PIN 6 60 2 2 EDGN133601A BOGIE HOIST SUSPENSION ARM 1 3 CNM039040000 CASTEL NUT M39 2 Hercules Hoists Limited 2020 Note Due to continuous development and improvement spe...

Page 17: ...ODE DESCRIPTION QTY 0740603P LOWER BLOCK ASSLY 1 CDDT003447A HOOK WITH SAFETY LATCH ASSLY 1 2 CCDS003204A HOOK LATCH ASSLY 1 PART NO PART CODE DESCRIPTION QTY 0740606P LOWER BLOCK ASSLY 1 EDGU003012A...

Page 18: ...ernally may be with the help of spigot The hub 6 has to be fitted on shaft with the help of key and axial retainer circlip andRotor 9 onthat Stator 1 withArmatureAssembly 2 hastobefittedontheMounting...

Page 19: ...ould be noticed and avoided during preventive maintenance Typical case of stator fitting the half moon slot is to clear the bolt head brake housing fitment wrong which will obstruct the stator lateral...

Page 20: ...brake by securing the hand release in an open position 4 Do not operate brake in atmospheres with explosive gases and dusts or corrosive substances This brake can operate in non explosive dust or wit...

Page 21: ...RE0140SMA Schneider Make Overload Relay 7 10A Cat No LRD14 Hoist Motor 1 XORE0110SMA Schneider Make Overload Relay 0 63 1A Cat No LRD05 ET Motor 1 XLSE0010SLZ Indef Make Limit Switch Element 1NO 1NC N...

Page 22: ...ET Motor 1 XACP0630SMA Schneider Make Contactor 18A 24VAC Cat No LC1D18 B7 Master Hoist Motor 3 XACP0620SMA Schneider Make Contactor 9A 24VAC Cat No LC1D09 B7 ET Motor 2 XORE0140SMA Schneider Make Ov...

Page 23: ...onday Friday service indef com ANYTIME www indef com service ANYTIME HERCULES HOIST S LIMITED Issue OOO Revision R0 Revision summary Issue 04 07 2020 Revision Date Date WARRANTY VALID ONLY IF INSTALLA...

Reviews: