


intelligent motion systems, inc.
Excellence in Motion
TM
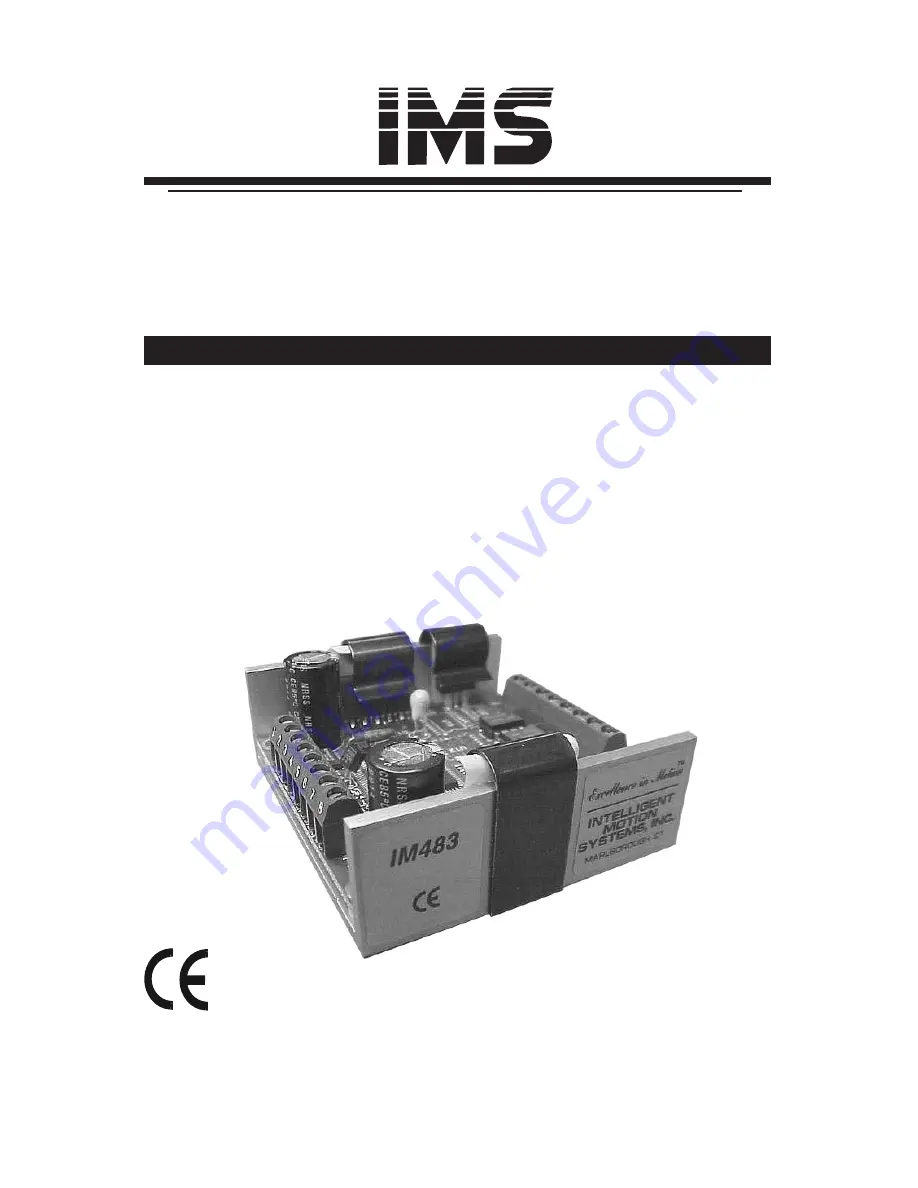
IM483
HIGH PERFORMANCE MICROSTEPPING DRIVE
STANDARD DRIVER
CONNECTOR OPTIONS
DUAL STEP CLOCK INPUT VERSION
COOLING SOLUTIONS
ACCESSORIES
OPERATING INSTRUCTIONS
TM
370 N. MAIN ST., PO BOX 457, MARLBOROUGH, CT 06447
PH. (860) 295-6102, FAX (860) 295-6107
Internet: http://www.imshome.com, E-Mail: [email protected]
TM


