39
Image Vault
®
PRO Command
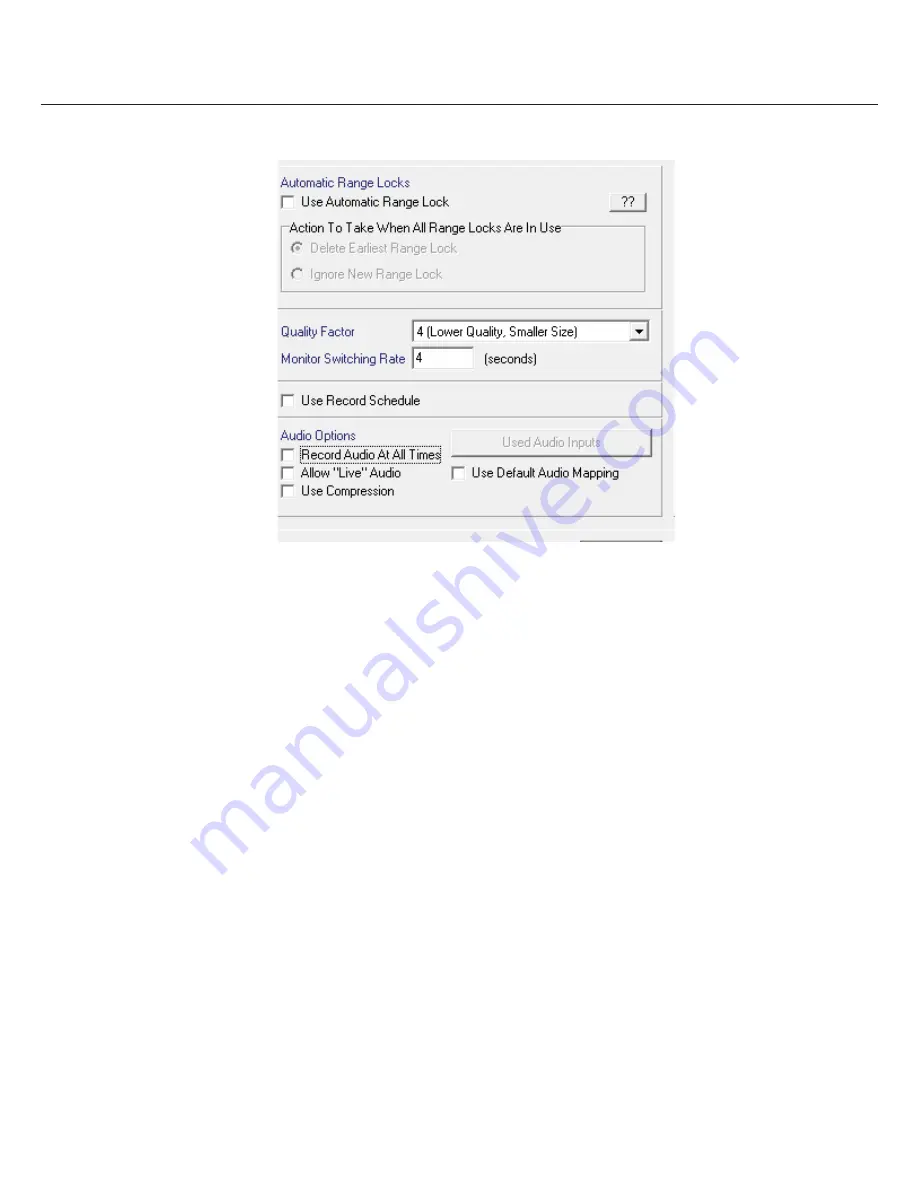
Quality Factor:
Determines digital compression. Less compress means higher fi le size and vice-versa. The default value (3) is best for
most applications.
Monitor Switch Rate:
This is the analog monitor output dwell time as it cycles between cameras.
Use Record Schedule:
Enable to allow forced system recording according to the Record Schedule. Forced recording requires
additional setup (see Section 7.2).
Audio Recording Options:
Check “Record Audio at All Times” to enable continuous audio recording. To allow users to listen in real
time without recording, check the “Allow Live Audio” option. The “Use Compression” reduces audio quality to allow higher transmission
speed. Click the “Used Audio Inputs” button to enable specifi c audio input channels. To enable individual audio inputs click “Used
Audio Inputs” and enable the microphone inputs being used. Click the “Use Default Audio Mapping” option to select the DVR audio
auto mapping feature that will depend on the DVR physical confi guration. (Only available on Version 10.1.1 and above)
Warning: Many jurisdictions restrict the use of audio recording. You will be required to acknowledge a legal disclaimer if you enable
any audio features.
7.2 Camera Setup & Forced Recording Options
Access the Camera Confi guration dialog by selecting “Camera Setup” from the Status menu. From this dialog you may confi gure cam-
era names, capture rate and resolution and PTZ protocol. From this dialog you also set forced recording options and covert camera
display options. By factory default all forced recording is turned off and motion detection is enabled on all cameras.
Naming Cameras:
Select and name each camera for easy future reference.
System Forced Recording:
Enable “Auto-Detect Cameras” to force all cameras to record at all times. This will force all cameras
found to record and will disable reporting of camera signal loss. If the “System Record Schedule” (Section 7.1) is enabled, enabling the
Auto-Detect feature will force all cameras to record during the specifi ed period.
Camera Specifi c Forced Recording:
Enable (by camera) “Manually Confi gured” to force that camera to record at all times. Enable
“Use a Record Schedule” and set the Record Schedule as desired to force the camera to record based during a specifi c period.
Record During Remote Connection:
Enable (by camera) if you want to force recording whenever a remote connection (PRO-
Command) is in progress. The advantage is the guaranteed ability to view live images in nearly real time from a remote location. The
disadvantage is potentially unnecessary recording of images.


