English
33
5.3.4.2 Set different velocity (touch) response
The pads on iRig Keys I/O are velocity sensitive. Usually this means that the harder you hit the pads, the louder
the sound that is produced. However this ultimately depends on how the instrument you’re controlling is
programmed and your playing style.
In order to match the style of individual users, iRig Keys I/O offers six different velocity response settings:
1. VEL SENS, LIGHT. Use this setting if you prefer a light touch on the keys. This is especially useful when you
need to play fast passages or program drum patterns.
2. VEL SENS, NORMAL. This setting is the default setting and works well in most cases.
3. VEL SENS, HEAVY. Use this setting if you prefer a heavy touch on the keys.
4. FIXED, 64. This setting will always send a fixed MIDI velocity value of 64 without any touch response.
5. FIXED, 100. This setting will always send a fixed MIDI velocity value of 100 without any touch response.
6. FIXED, 127. This setting will always send a fixed MIDI velocity value of 127 without any touch response.
To set the velocity response:
• Enter Edit Mode by pressing the ALT and EDIT buttons;
• The display will show GLO. Rotate the DATA knob until you reach the PRE position. Press the DATA push-
knob to confirm you want to edit a parameter in the preset menu;
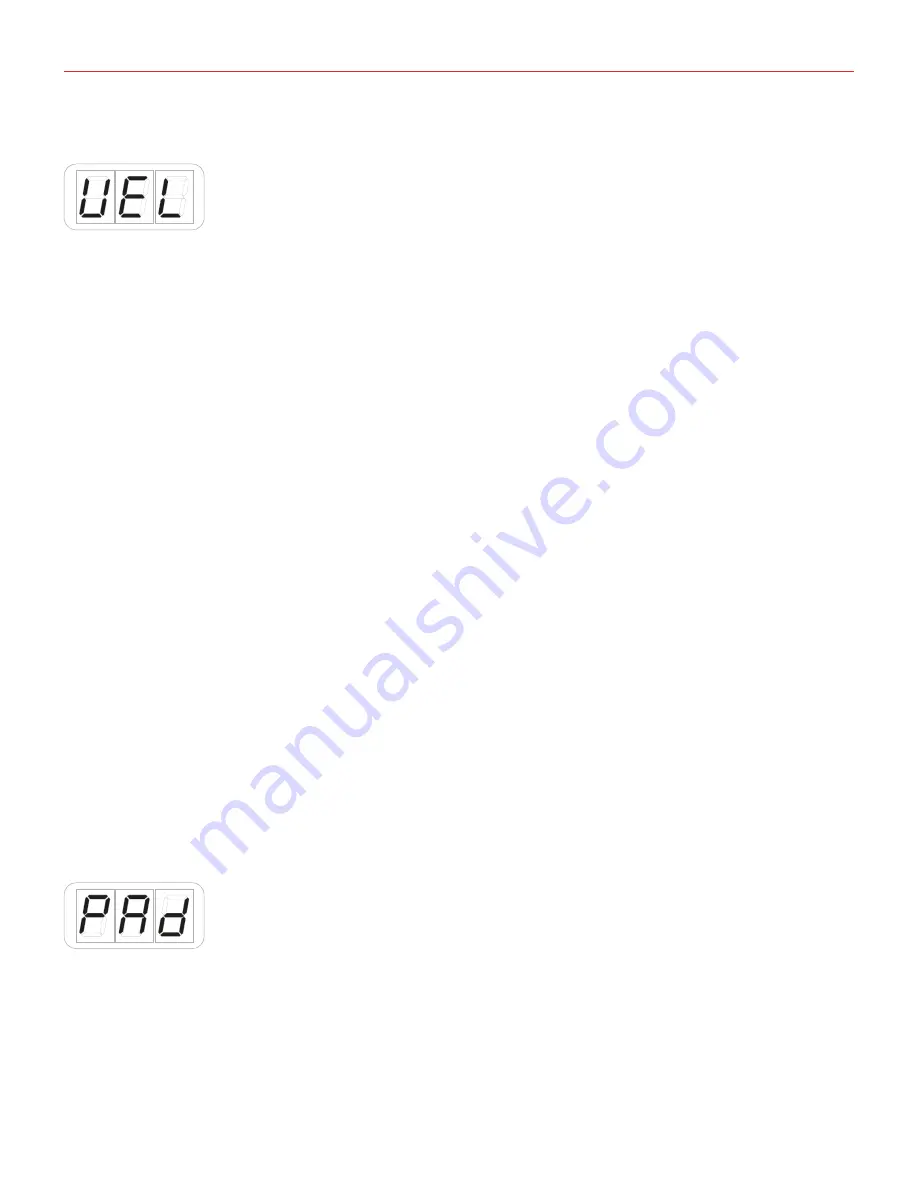
• The display will show DTA. Rotate the DATA knob clockwise to reach the PAD position;
• Reached the PAD position press the DATA push-knob;
• The display will show CH and will . Rotate the the DATA knob clockwise to reach the VEL position;
• The display will show the current velocity value (1 to 6);
• By rotating the DATA knob you can select the velocity response from 1 to 6;
• To confirm your input press the DATA push-knob;
• The keyboard will exit automatically the Edit Mode;
• You can exit the Edit mode any time by pressing the CANCEL/NO key.
5.3.4.3 Single Pad editing
You can assign a Note a CC or a PC to any drum pad. To edit the single pad:
• Enter Edit Mode by pressing the ALT and EDIT buttons;
• The display will show GLO. Rotate the DATA knob until you reach the PRE position. Press the DATA push-
knob to confirm you want to edit a parameter in the preset menu;
• The display will show DTA. Rotate the DATA knob clockwise to reach the PAD position;


