ZZ0814 ZZ0815 ZZ0816 ZZ0817
22
u
In the [Models] section, create a new [Level] model.
u
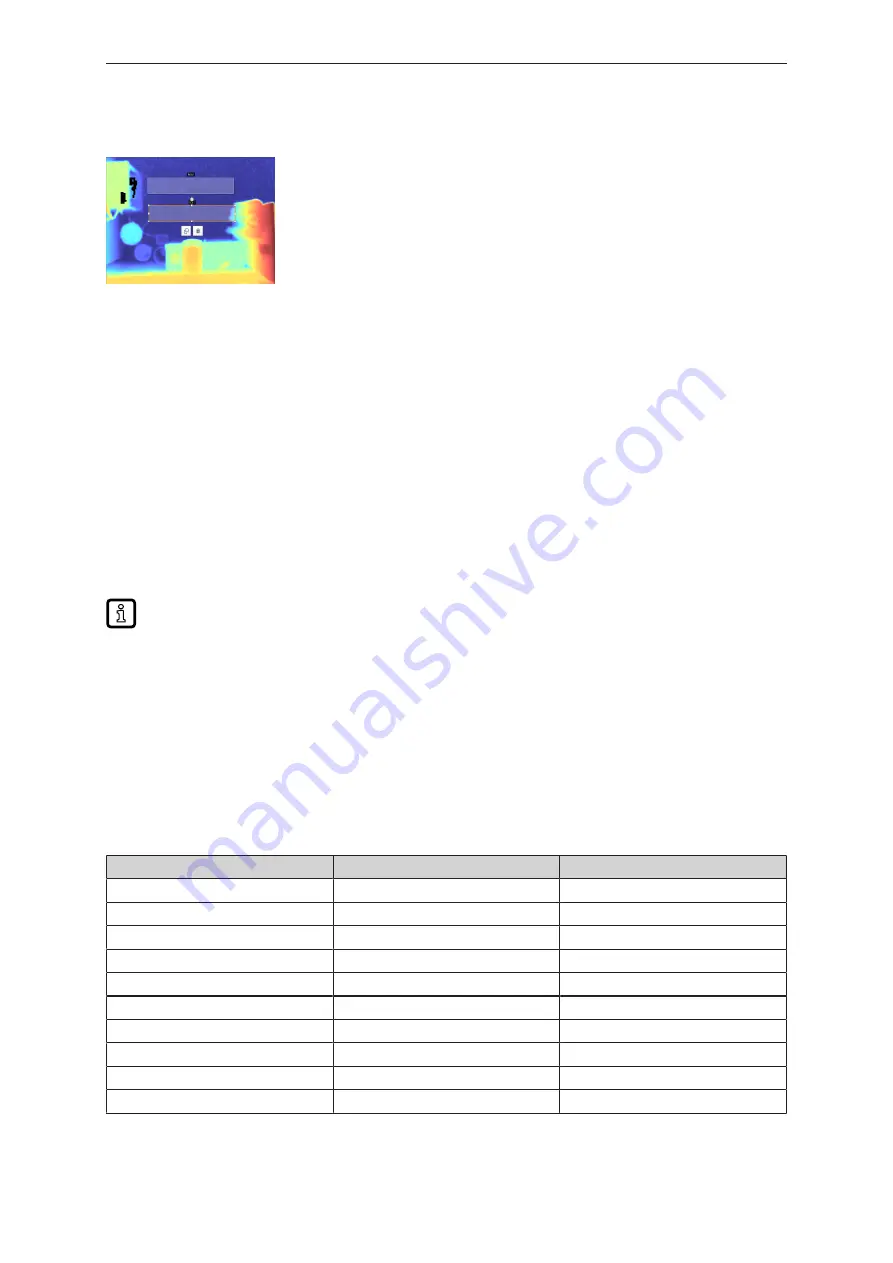
For direction detection, create 2 [Search zones] (ROI) in front of the gate.
Fig. 9: View from top: 2 search zones (ROI) in front of the gate
u
In the [Models] section, [measure] and [teach] the [Reference level].
w
The area of the search zones must be free of objects when teaching the reference level.
u
In the [Models] section, set the [switching thresholds] to the minimum object height.
u
Automatically create a logic configuration in the [Logic] area.
u
Check the behaviour of the switching thresholds in the [Overall test] area.
w
The application is created and tested.
8.3 AL1122
The AL1122 is connected to the PC with the "Ethernet Configuration Tool (Hilscher)” software. The
software and the operating instructions are available in the download area of the AL1122:
The following functions are described in detail in the operating instructions.
Connect the AL1122 with the "Ethernet Configuration Tool (Hilscher)” software:
u
Connect the AL1122 to the of the voltage supply and to the PC via Ethernet.
u
Start the software "Ethernet Configuration Tool (Hilscher)".
u
Start the [Search for devices] .
u
Select the [AL1122] unit with the IP address "192.168.1.250".
u
Set the IP address depending on the gate (see table).
w
The ports are automatically set when connecting.
w
The AL1122 is connected to the software.
Gate number
IP address
Description
1
192.168.0.02
AL1122 gate 1
2
192.168.0.12
AL1122 gate 2
3
192.168.0.22
AL1122 gate 3
4
192.168.0.32
AL1122 gate 4
5
192.168.0.42
AL1122 gate 5
6
192.168.0.52
AL1122 gate 6
7
192.168.0.62
AL1122 gate 7
8
192.168.0.72
AL1122 gate 8
9
192.168.0.82
AL1122 gate 9
10
192.168.0.92
AL1122 gate 10


