20
In the next step, the ROI is set�
> The options [Define ROI] and [Back] are displayed�
►
Select [Define ROI] or [Back] using the [Up] or [Down] button and press
[ENTER]�
-[Define ROI]:
Define an ROI from the entire profile taught�
-[Back]: Teach the profile again�
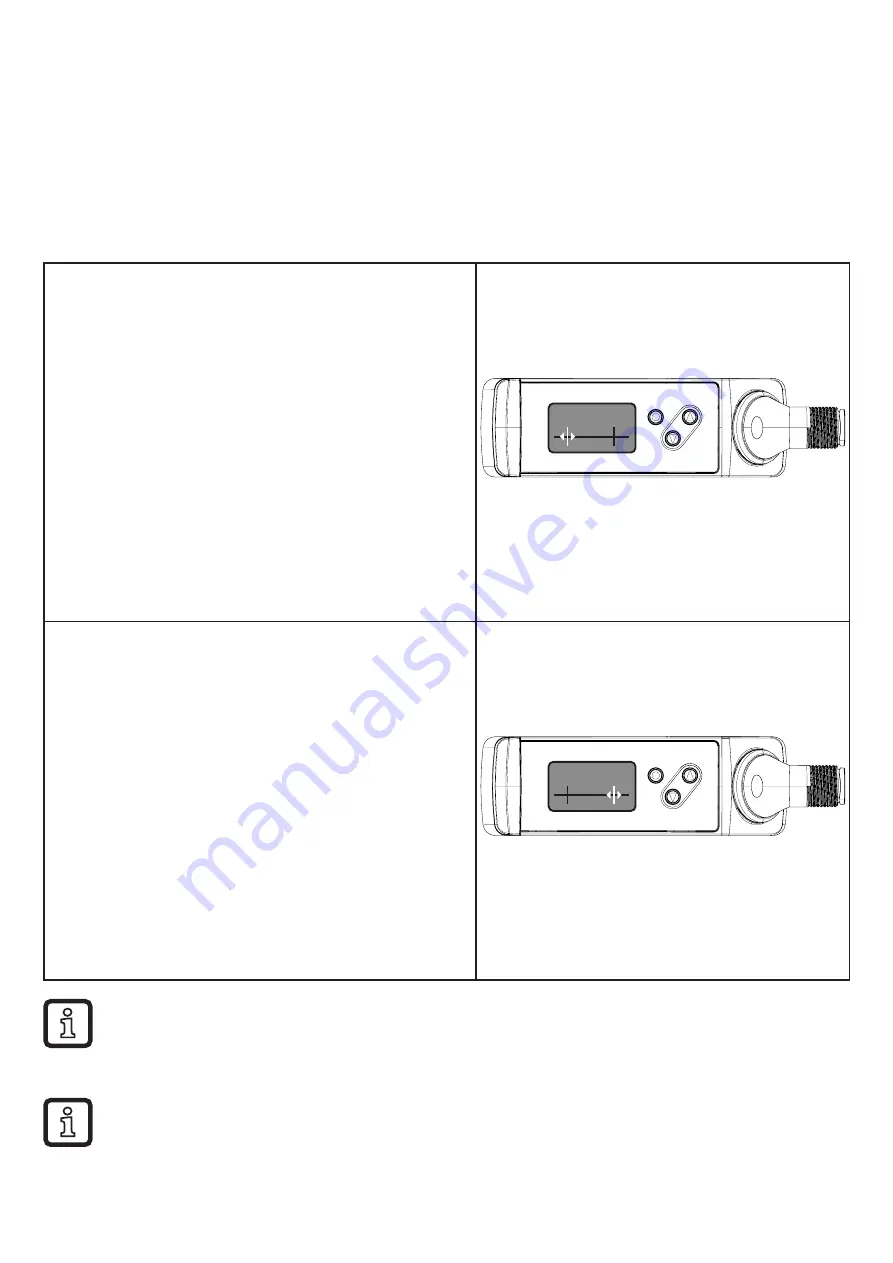
> [Set left ROI mark] is displayed�
►
Move the green marking line using the
[Up] or [Down] button�
> The left marking line shifts�
►
After reaching the requested position,
confirm with [ENTER]�
> The position of the left marking line
is set�
> The selected section is detected again
(new profile)�
> [Set right ROI mark] is displayed�
►
Move the green marking line using the
[Up] or [Down] button�
> The right marking line shifts�
►
After reaching the requested position,
confirm with [ENTER]�
> The position of the right marking line
is set�
> The selected section is detected again
(new profile)�
Red line indicated in the display: represents the section covered by the
laser line�White marking: represents the fixed marking line�Green arrow:
represents the marking line to be moved�
The standard setting for the ROI includes the entire operating range� If the
markings are not moved, but confirmed, the entire profile taught is used for
assessment�


