iSignager 500A
Page 13
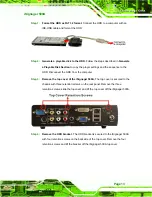
Step 1:
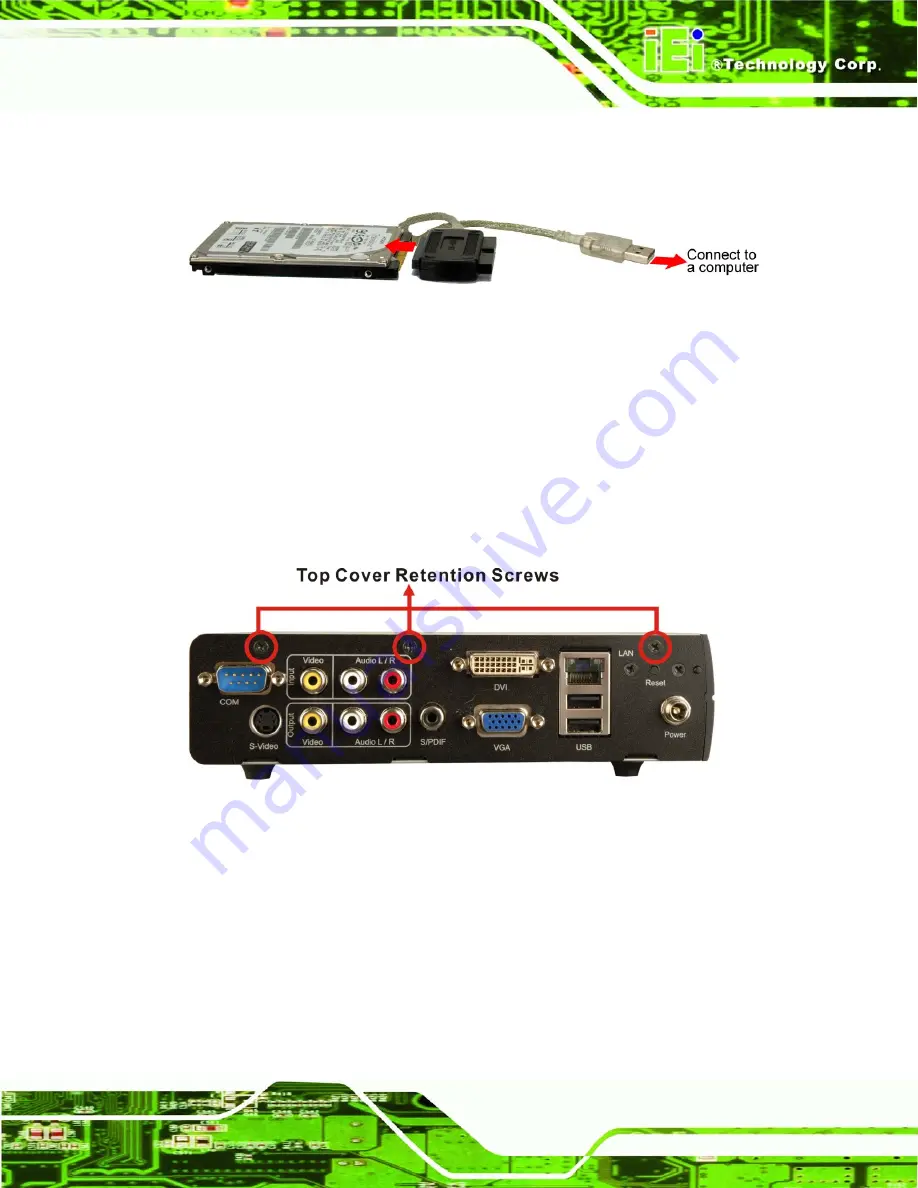
Format the HDD as FAT 32 format.
Connect the HDD to a computer with an
IDE-USB cable and format the HDD.
Step 2:
Generate a playable disk to the HDD.
Follow the steps described in
Generate
a Playable Disk
Section
to copy the player settings and the sequence to the
HDD. Disconnect the HDD from the computer.
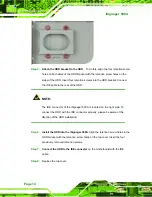
Step 3:
Remove the top cover of the iSignager 500A.
The top cover is secured to the
chassis with three retention screws on the rear panel. Remove the three
retention screws, slide the top cover and lift the top cover off the iSignager 500A.
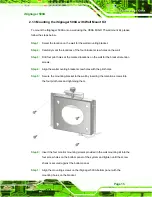
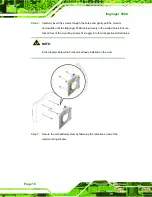
Step 4:
Remove the HDD bracket.
The HDD bracket is secured to the iSignager 500A
with four retention screws on the backside of the top cover. Remove the four
retention screws and lift the bracket off the iSignager 500A top cover.
Summary of Contents for iSignager 500A
Page 1: ...iSignager 500A Page i iSignager 500A User Manual ...
Page 2: ...iSignager 500A Page ii Revision Date Version Changes 2008 04 1 0 Initial Release ...
Page 10: ......
Page 11: ...iSignager 500A Page 1 1 Introduction Chapter 1 ...
Page 20: ...iSignager 500A Page 10 THIS PAGE IS INTENTIONALLY LEFT BLANK ...
Page 21: ...iSignager 500A Page 11 2 Installation Chapter 2 ...
Page 34: ...iSignager 500A Page 24 ...
Page 36: ...iSignager 500A Page 26 THIS PAGE IS INTENTIONALLY LEFT BLANK ...
Page 37: ...iSignager 500A Page 27 A Video Audio and Graphic Formats Appendix A ...
Page 45: ...iSignager 500A Page 35 B Check and Modify the Player Status by Serial Port Appendix B ...
Page 58: ...iSignager 500A Page 48 THIS PAGE IS INTENTIONALLY LEFT BLANK ...
Page 59: ...iSignager 500A Page 49 C Hazardous Materials Disclosure Appendix C ...


