IMBA-C604EP ATX Server Board
Page 49
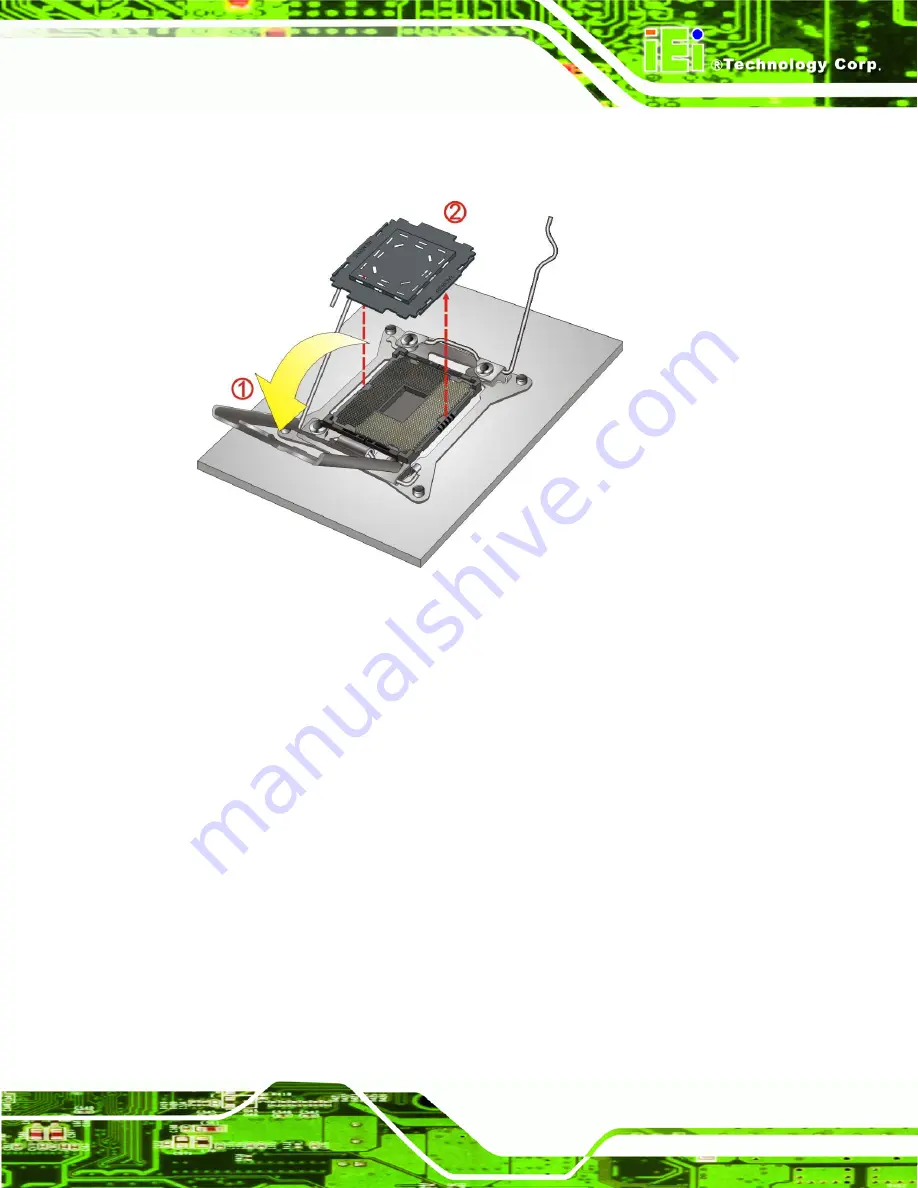
protective cover can be removed by pulling up on the tab labeled "REMOVE".
.
Figure 4-2: Remove the Protective Cover
Step 3:
Inspect the CPU socket
. Make sure there are no bent pins and make sure the
socket contacts are free of foreign material. If any debris is found, remove it with
compressed air.
Step 4:
Orientate the CPU properly
. The contact array should be facing the CPU
socket.
Step 5:
Align the CPU pins
. Locate the triangle mark and the four orientation notches
on the CPU. Align the triangle mark to the top-right corner of the CPU socket
and match the four orientation notches with the socket alignment keys
(
).
Step 6:
Insert the CPU
. Gently insert the CPU into the socket. If the CPU pins are
properly aligned, the CPU should slide into the CPU socket smoothly.
Summary of Contents for IMBA-C604EP
Page 17: ...IMBA C604EP ATX Server Board Page 1 Chapter 1 1 Introduction...
Page 26: ...IMBA C604EP ATX Server Board Page 10 Chapter 2 2 Packing List...
Page 30: ...IMBA C604EP ATX Server Board Page 14 Chapter 3 3 Connectors...
Page 61: ...IMBA C604EP ATX Server Board Page 45 Chapter 4 4 Installation...
Page 85: ...IMBA C604EP ATX Server Board Page 69 Chapter 5 5 BIOS...
Page 125: ...IMBA C604EP ATX Server Board Page 109 6 Software Drivers Chapter 6...
Page 151: ...IMBA C604EP ATX Server Board Page 135 Appendix A A BIOS Options...
Page 154: ...IMBA C604EP ATX Server Board Page 138 Appendix B B One Key Recovery...
Page 162: ...IMBA C604EP ATX Server Board Page 146 Figure B 5 Partition Creation Commands...
Page 196: ...IMBA C604EP ATX Server Board Page 180 Appendix C C Terminology...
Page 200: ...IMBA C604EP ATX Server Board Page 184 Appendix D D Digital I O Interface...
Page 203: ...IMBA C604EP ATX Server Board Page 187 Appendix E E Watchdog Timer...
Page 206: ...IMBA C604EP ATX Server Board Page 190 Appendix F F Intel Matrix Storage Manager...
Page 210: ...IMBA C604EP ATX Server Board Page 194 Appendix G G Hazardous Materials Disclosure...


