Part 1 - Getting Started
11
•
Camera Menu
–
PTZ:
Allows you to control the selected camera as
long as it has Pan, Tilt and Zoom capabilities. It is
the same as pressing the PTZ button.
–
Zoom:
Zooms the current image of the selected
camera on the screen. It is the same as pressing the
ZOOM button. Selecting Zoom again in the Camera
Menu again exits the Zoom mode. Right-click on
the mouse and drag to change the orientation, and
use the wheel with the left-click on the mouse to
zoom in/out more precisely.
–
Audio:
Enable/disable audio.
–
Color Control:
Allows you to control brightness,
contrast, hue and saturation for each camera for
the selected camera if a user who has Color Control
authority logs into the system.
–
Video Position
: Adjusts the video position in left/
right directions.
–
Menu Control:
Adjusts the camera’s self-settings.
•
Menu Control
is supported only for the cameras
that use Pelco-C /H-CProtocol and support UTC (Up
The Coax) function.
•
Menu Control
is not supported if the port is set to
RS232 or RS485 in the PTZ setting.
–
Edit Group:
Enter to the Edit Group mode in the
split screen layout.
–
Information:
Displays currently connected camera
information and recording status.
•
Search
–
All Channels:
Exits the live monitoring mode and
enters the search mode.
–
Triplex:
Enters the Triplex mode. Selecting the
camera number plays back video of the selected
camera.
•
Setup
Used to access the Setup menu.
•
Status
Allows you to check the status of the DVR’s system,
event and storage.
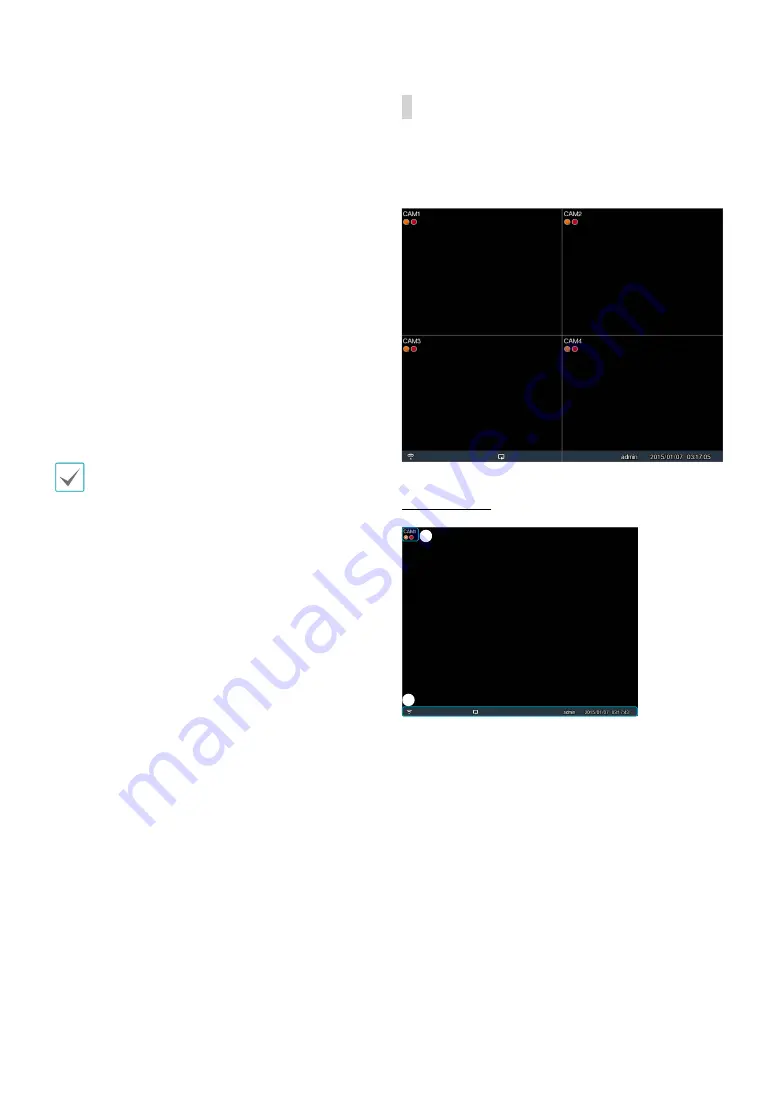
Video Display Area
Left-click on the video display area to toggle between
split screen and single screen modes.
Drag the camera screens around to rearrange them.
Camera Screen
2
1
1
Camera Title:
Indicates the camera’s title.


