ICS Schneider Messtechnik Anton Paar DMA 501 Instruction Manual And Safety Information Download Page 13

6 Measurement Settings – Products

E15IB001EN-N

13

6 Measurement Settings – Products

6.1  Products

You can individually define the measurement set-
tings for each of your products or sample varieties, 
and save them for repeated use:

1. Select 

Products

 in the menu.

2. Tap 

Create Product

.

3. Specify a name and description for the product.
4. Define the measurement settings (see 

section 6.2).

5. Tap 

 to select an image for the representation 

of the product.

6. Tap 

Save

 to save the collection of measurement 

settings for the product.

TIP: 

The instrument comes with several predefined 

product settings, which you can use as a template.

6.2  Measurement Settings

Measurement settings comprise the measurement 
parameters (see section 6.3), the assignment of a 
dashboard, and a report configuration for the results.

• For measurements without predefined product, 

assign dashboard and report configuration 
under 

Setup

 on the 

Measurement

 spot.

6.2.1  Dashboards

Dashboards serve to monitor your measurements.

The instrument already comes with dashboards 
predefined for various generic products. You can 
adapt them to your needs or define new dashboards 
according to your requirements. See the reference 
guide for details.

You can place the following widgets onto a dash-
board of the instrument:

- the live camera image of the measuring cell 

(U-View™)

- measurement information (giving information 

about the current status of the measurement)

- display boxes for any measuring quantity 

listed in the appendix of the reference guide.

6.2.2  Reports

Measurement results are presented as reports, 
which you can access in the data explorer. See the 
reference guide for details on configuring reports.

TIP: 

The report configuration can also be changed 

after the measurement. It is independent of the 
dashboard.

6.3  Measurement Parameters

6.3.1  Set Temperature

Set the measuring temperature here.

6.3.2  Measurement Performance

Select a measurement performance for the 
measurement:

Precise

 is the recommended standard setting. It 

ensures that the highest possible accuracy of the 
instrument is reached.

The 

Density

 widget includes a precision indicator 

showing the measurement performance set and the 
currently reached measurement performance 
(according to the stability criteria met). Read the 
precision indicator as follows (on the example of 
DMA 1001):

faster

measurement

• Fast

more accurate 
results

• Standard

a

a

only DMA 1001

• Precise

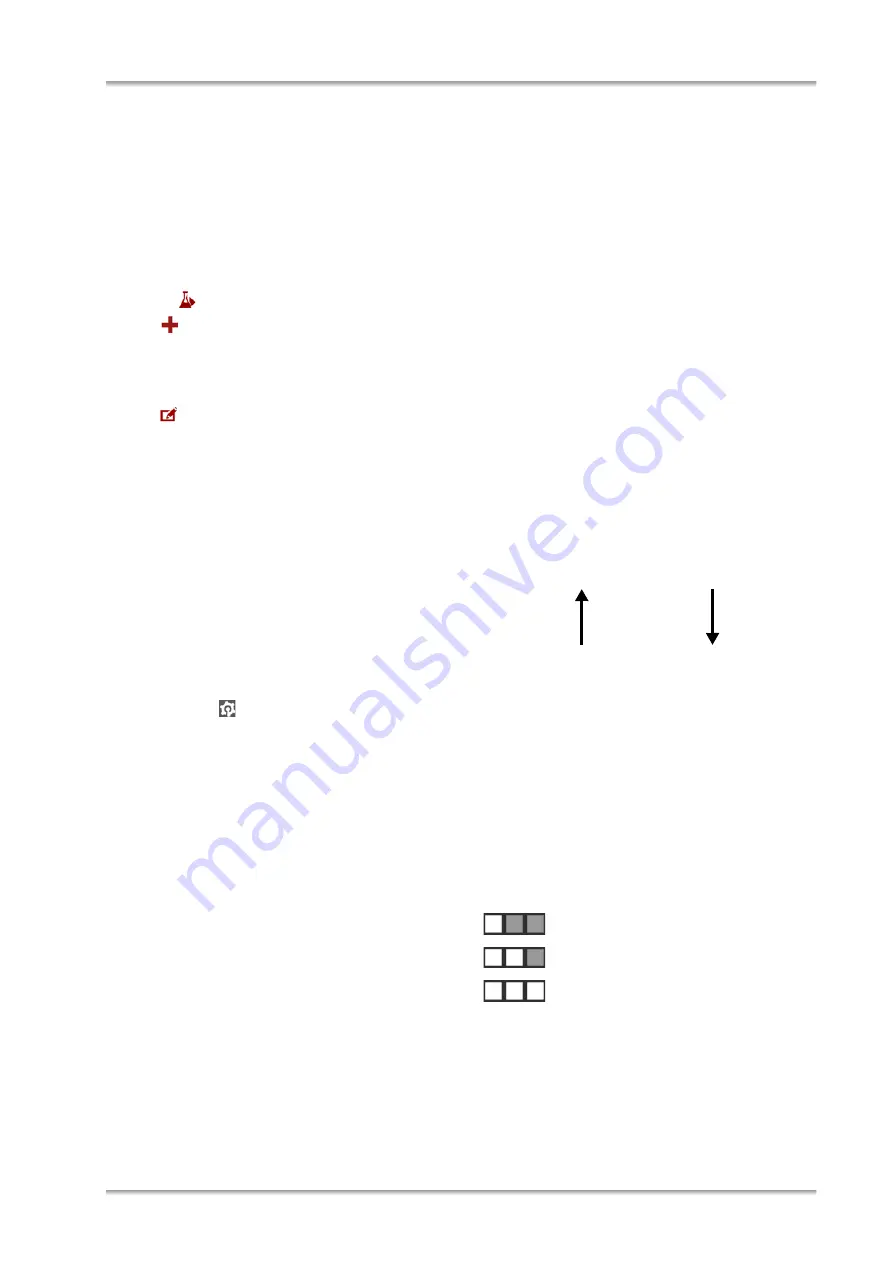
Indicator Measurement performance

Fast

Standard

Precise

White squares indicate the measurement perfor-
mance set. Green squares indicate the measure-
ment performance currently reached.

Summary of Contents for Anton Paar DMA 501

Page 1: ...Instruction Manual and Safety Information DMA 501 DMA 1001 Density Meter instrument software version from 4 1 0 Original Instructions...

Page 2: ...and its contents may be changed or amended by Anton Paar at any time without prior notice All rights reserved including translation This document or any part of it may not be reproduced changed copie...

Page 3: ...13 6 Measurement Settings Products 14 6 1 Products 14 6 2 Measurement Settings 14 6 2 1 Dashboards 14 6 2 2 Reports 14 6 3 Measurement Parameters 14 6 3 1 Set Temperature 14 6 3 2 Measurement Perform...

Page 4: ...ed Anton Paar Service Engineer 25 10 2 Repair Performed by an Authorized Anton Paar Representative 25 Appendix A Technical Data 26 A 1 Specifications 26 A 2 Instrument Data and Operating Conditions 27...

Page 5: ...s are taken based on the results 1 2 Installation and Use The installation procedure shall be carried out only by authorized persons who are familiar with the installation instructions Use only access...

Page 6: ...e of flammable gases and vapors Provide fire extinguishing equipment Transportation Empty the measuring cell and all hoses before you move or lift the instrument To carry the instrument put one hand i...

Page 7: ...era image U View Intuitive user interface Operate the instrument via the touchscreen user interface giving you the look and feel of a smart phone If you prefer you can optionally connect an external k...

Page 8: ...er jack 8 On Off switch 9 Safety temperature limiter A and reset button B 10 Type plate with serial number P N mat no Air connectors on the rear 11 Air pump 4 5 mm barbed inlet C outlet D 12 Drying of...

Page 9: ...nough room approx 10 cm 4 in between the cooling fins on the rear of the instrument and any wall Also ensure that the heat can freely dissipate Do not install the instrument in a cabinet The instrumen...

Page 10: ...f optional parts refer to the particular instructions coming with the part or to the corresponding section in the reference guide 3 2 6 Power Connection 1 Connect the power supply to the DC power jack...

Page 11: ...but during transport the density adjustment may have been compromised If both checks succeed your instrument is ready for routine measurements Else perform an air water adjustment as described in sec...

Page 12: ...Use time server to Yes The Time servers input field replaces the input fields Date and Time c The Time servers setting depends on your network settings If you have set up an automatic network configur...

Page 13: ...details You can place the following widgets onto a dash board of the instrument the live camera image of the measuring cell U View measurement information giving information about the current status...

Page 14: ...Yes is the standard setting Select No if the detection of filling errors by FillingCheck obviously contradicts what you see in the live camera image TIP FillingCheck provides excellent support to the...

Page 15: ...in the menu then select the specific product b Check the measurement settings or edit them then tap Create Measurement To define all measurement settings on the fly and perform a measurement without...

Page 16: ...ll corrode the wetted parts Sample leaking from corroded parts may cause serious injuries Before you fill any sample or cleaning liquid in particular hazardous or flammable chemicals into the instrume...

Page 17: ...is due to the intrinsic properties of glass which the measuring cell is made of If you want to achieve best measurement results give the measuring cell and sample enough time for temperature condition...

Page 18: ...large enough to leave some space for creating the vacuum Only up to two thirds of the syringe should be filled up Boiling the sample 1 Boil the liquid for several minutes to remove dissolved gas 2 Fi...

Page 19: ...lid again Examine the camera image included in the results to check that the water has been filled bubble free Check the quality of the water Clean the measuring cell thoroughly If above actions do no...

Page 20: ...TIP The atmospheric pressure that you get from a local weather station is usually not the absolute atmospheric pressure but a calculated atmospheric pressure value referenced to sea level b Enter the...

Page 21: ...nts See the manual of Xsample 200 High Resistance for a description of the cleaning and drying proce dure with the optional peristaltic pump 1 Select Cleaning in the menu 2 Rinse the measuring cell wi...

Page 22: ...glass surface which are difficult to remove If you store the instrument for less than one day the measuring cell can be filled with ultra pure water WARNING Before using any cleaning agents for the in...

Page 23: ...he instrument are generally excluded from the warranty as well 10 2 Repair Performed by an Autho rized Anton Paar Representative In case your instrument needs repair contact your local Anton Paar repr...

Page 24: ...ideal conditions and for low densities viscosities 0 001 g cm3 0 0001 g cm3 Temperature Measuring range 15 C to 40 C 59 F to 104 F 15 C to 60 C 59 F to 140 F Repeatability s d a 0 1 C 0 2 F 0 02 C 0 0...

Page 25: ...degree 2 Overvoltage category II for the supplied AC adapter Display 7 TFT WVGA 800x480 px PCAP touchscreen Controls touchscreen optional keyboard mouse and barcode reader Interfaces 1x Ethernet 3x US...

Page 26: ...Appendix B EU Declaration of Conformity Appendix B EU Declaration of Conformity...

Reviews: