7. Repeat steps “5” on page 45 through “6” on page 45 to install the opposite rail.
8. Install the expansion enclosure in the rack, as described in “Installing or replacing an expansion
enclosure in a rack: 2077-92F ” on page 47.
Installing or replacing an expansion enclosure in a rack: 2077-92F
Use the following procedure to place the 2077-92F expansion enclosure in a rack during the installation
process. To complete some service tasks, you might also need to slide the enclosure back in to the rack.
About this task
Important: The 2077-92F expansion enclosure is heavy. Before you install the expansion enclosure in
the rack for the first time or replace it in the rack to complete a service task, review and implement the
following tasks:
• Always use a suitably rated mechanical lift or four persons to raise the enclosure to install it in the rack.
Even after the drives, power supply units, secondary expander modules, canisters, fans, and top cover
are removed, the enclosure weighs 43 kg (95 lbs).
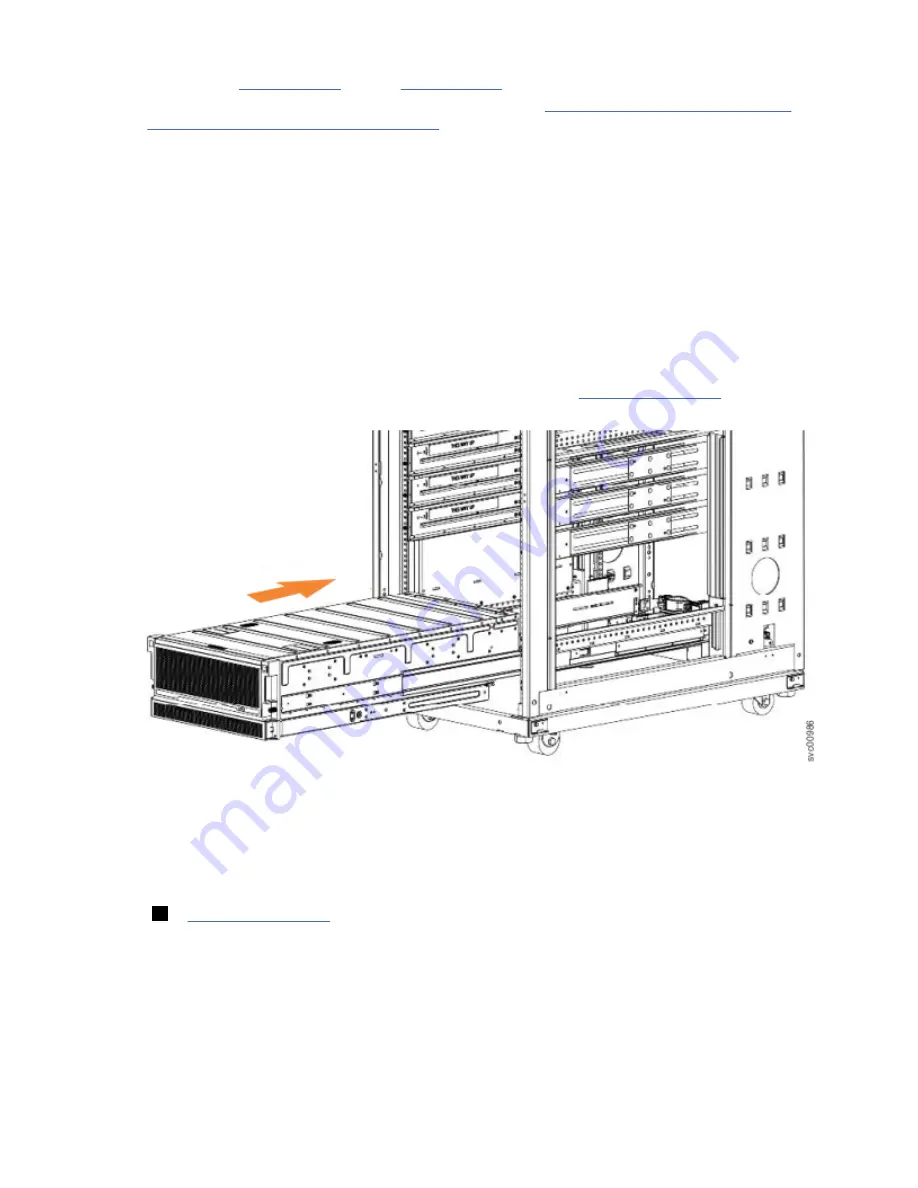
• Install the expansion enclosure in the lowest position in the rack. Figure 38 on page 47 shows an
example.
Figure 38. Example installation of the enclosure in the rack
• Ensure that the drives are easily accessible. Avoid installing the 2077-92F expansion enclosure above
position 22U in the rack.
Procedure
1. Fully extend the left and right drawer sections from the rack to lock the rails in the extended position
(
1
Chapter 2. Installing the system hardware 47
Summary of Contents for Storwize V5000 Gen2
Page 1: ...IBM Storwize V5000 Gen2 Quick Installation Guide IBM...
Page 5: ...Index 149 v...
Page 6: ...vi...
Page 156: ...130 Storwize V5000 Gen2 Quick Installation Guide...
Page 164: ...138 Storwize V5000 Gen2 Quick Installation Guide...
Page 166: ...140 Storwize V5000 Gen2 Quick Installation Guide...
Page 168: ...142 Storwize V5000 Gen2 Quick Installation Guide...
Page 177: ......
Page 178: ...IBM...