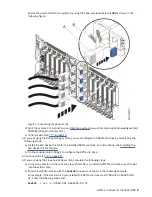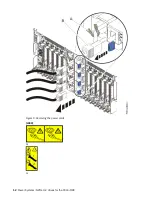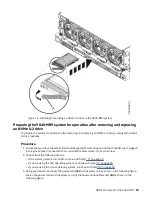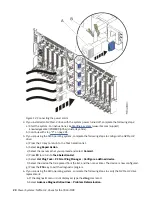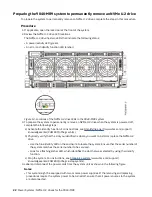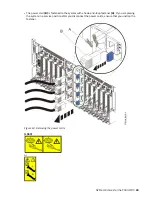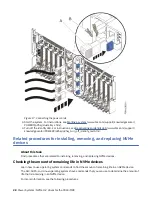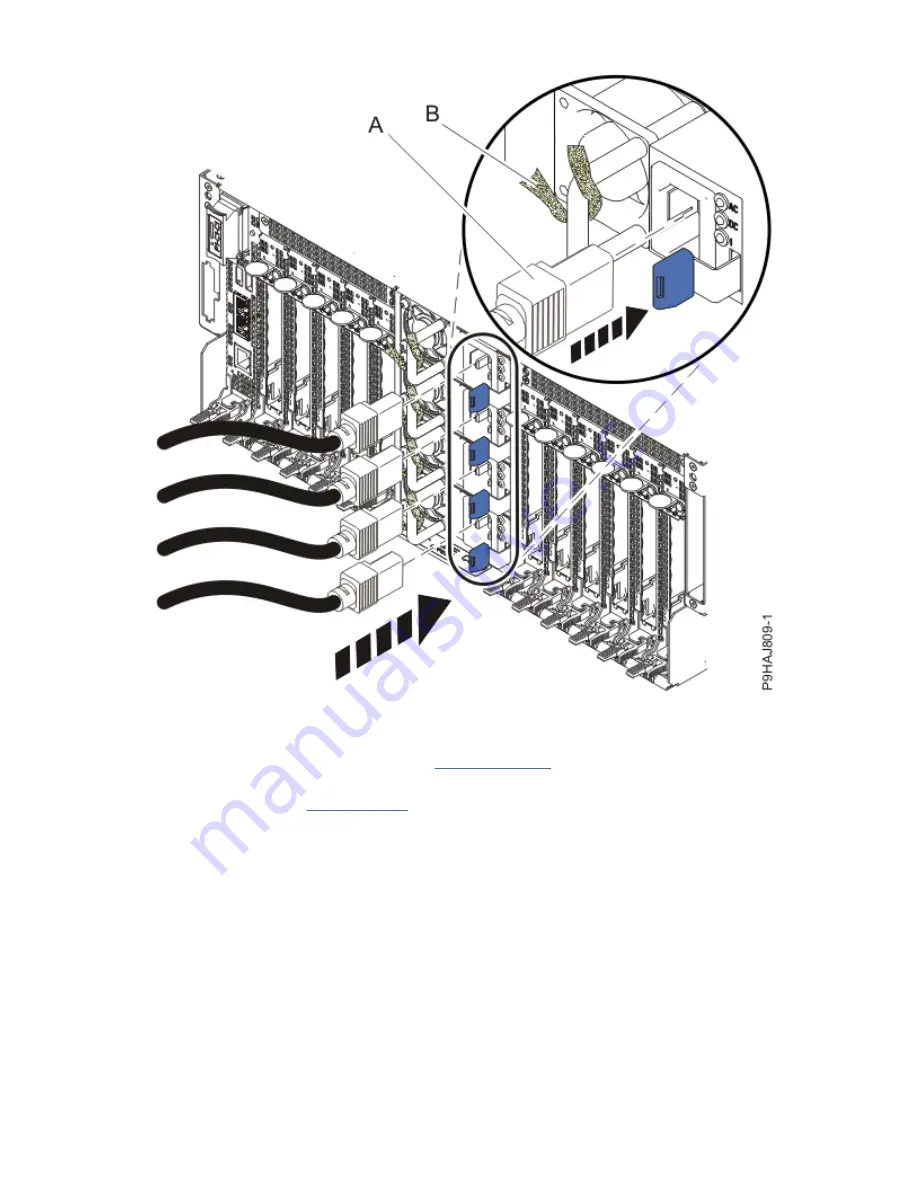
Figure 12. Connecting the power cords
4. If you installed an NVMe U.2 drive with the system power turned off, complete the following steps:
a) Start the system. For instructions, see Starting a system (www.ibm.com/support/
knowledgecenter/POWER9/p9haj/crustartsys.htm).
b) Continue with step “9” on page 21.
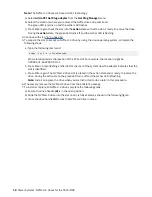
5. If you are using the AIX operating system, complete the following steps to configure the NVMe U.2
drive:
a) Press the F3 key to return to the Task Selection list.
b) Select Log Repair Action.
c) Select the resource that you replaced and select Commit.
d) Press F3 to return to Task Selection List.
e) Select Hot Plug Task > PCI Hot Plug Manager > Configure a defined device.
f) Select the device that is replaced from the list, and then press Enter. The device is now configured.
g) Press the F10 key to exit the diagnostic program.
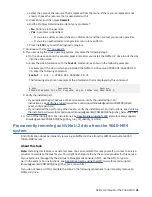
6. If you are using the AIX operating system, complete the following steps to verify the NVMe U.2 drive
replacement:
a. If the diagnostic menu is not displayed, type the
diag
command.
b. Select Advance Diagnostic Routines > Problem Determination.
20 Power Systems: NVMe U.2 drives for the 9040-MR9
Summary of Contents for Power System System E950
Page 1: ...Power Systems NVMe U 2 drives for the 9040 MR9 IBM...
Page 4: ...iv...
Page 14: ...xiv Power Systems NVMe U 2 drives for the 9040 MR9...
Page 18: ...or or or or 4 Power Systems NVMe U 2 drives for the 9040 MR9...
Page 26: ...Figure 9 Removing the power cords L003 or or 12 Power Systems NVMe U 2 drives for the 9040 MR9...
Page 44: ...30 Power Systems NVMe U 2 drives for the 9040 MR9...
Page 55: ......
Page 56: ...IBM...

