
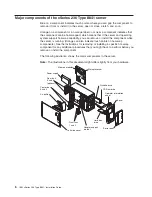
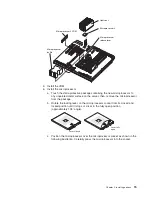

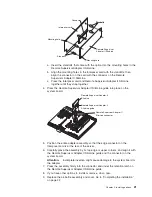


Attention:
To
avoid
bending
the
pins
on
the
microprocessor,
do
not
use
excessive
force
when
pressing
it
into
the
socket.
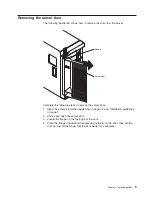
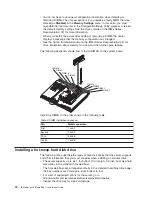
Microprocessor
orientation indicator
Microprocessor-
release lever
Microprocessor
connector
Microprocessor
d.
Close
the
microprocessor
release
lever
to
secure
the
microprocessor.
Retainer spring
Microprocessor
Heat sink
Heat-sink locking
lever
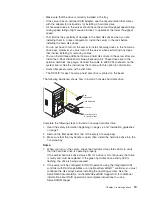
7.
Open
the
heat-sink
release
lever
and
install
a
heat
sink
on
the
microprocessor;
then,
close
the
release
lever.
8.
If
you
have
other
options
to
install
or
remove,
do
so
now.
9.
Replace
the
air-baffle
assembly
and
cover.
Go
to
“Completing
the
installation”
on
page
22.
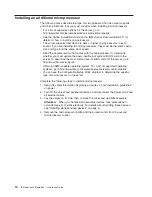
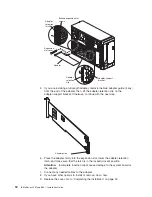
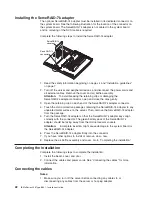
Installing
an
adapter
The
following
notes
describe
the
types
of
adapters
that
the
server
supports
and
other
information
that
you
must
consider
when
installing
an
adapter:
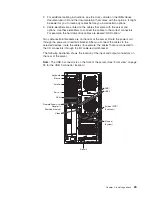
v
Locate
the
documentation
that
comes
with
the
adapter
and
follow
those
instructions
in
addition
to
the
instructions
in
this
section.
If
you
must
change
the
switch
or
jumper
settings
on
the
adapter,
follow
the
instructions
that
come
with
the
adapter.
16
IBM
xSeries
236
Type
8841:
Installation
Guide
Summary of Contents for 8841 - eServer xSeries 236
Page 3: ...IBM xSeries 236 Type 8841 Installation Guide...
Page 7: ...Japanese Voluntary Control Council for Interference VCCI statement 80 Index 81 Contents v...
Page 8: ...vi IBM xSeries 236 Type 8841 Installation Guide...
Page 56: ...42 IBM xSeries 236 Type 8841 Installation Guide...
Page 98: ...84 IBM xSeries 236 Type 8841 Installation Guide...
Page 99: ......
Page 100: ...Part Number 31R1188 Printed in USA 1P P N 31R1188...