Step 5. Connecting Cables and Terminating the Chain
To attach the SCSI and power cables to the tape drive:
1. Locate the SCSI bus cable (often a 68-pin ribbon cable). One
end of the cable connects to the SCSI host adapter that can be on
the computer system board or an adapter installed in an expansion
slot. The other end can have several connectors for attaching
devices.
2. Locate an available SCSI connector at the opposite end of the bus
cable from the SCSI host adapter. Use all empty bus connectors
at the end farthest from the adapter first to ensure better signal
quality. Attach the SCSI bus cable to the tape drive. The tape
drive has a 50-pin connector. If your SCSI cable has a 68-pin
connector, use the included 68-pin to 50-pin converter. Connect
the cable to the 68-pin side of the converter and connect the
converter to the tape drive Ensure that pin 1 of the SCSI cable
aligns with pin 1 of the SCSI connector. Pin 1 is often a
different color than the other pins to make it easier to identify.
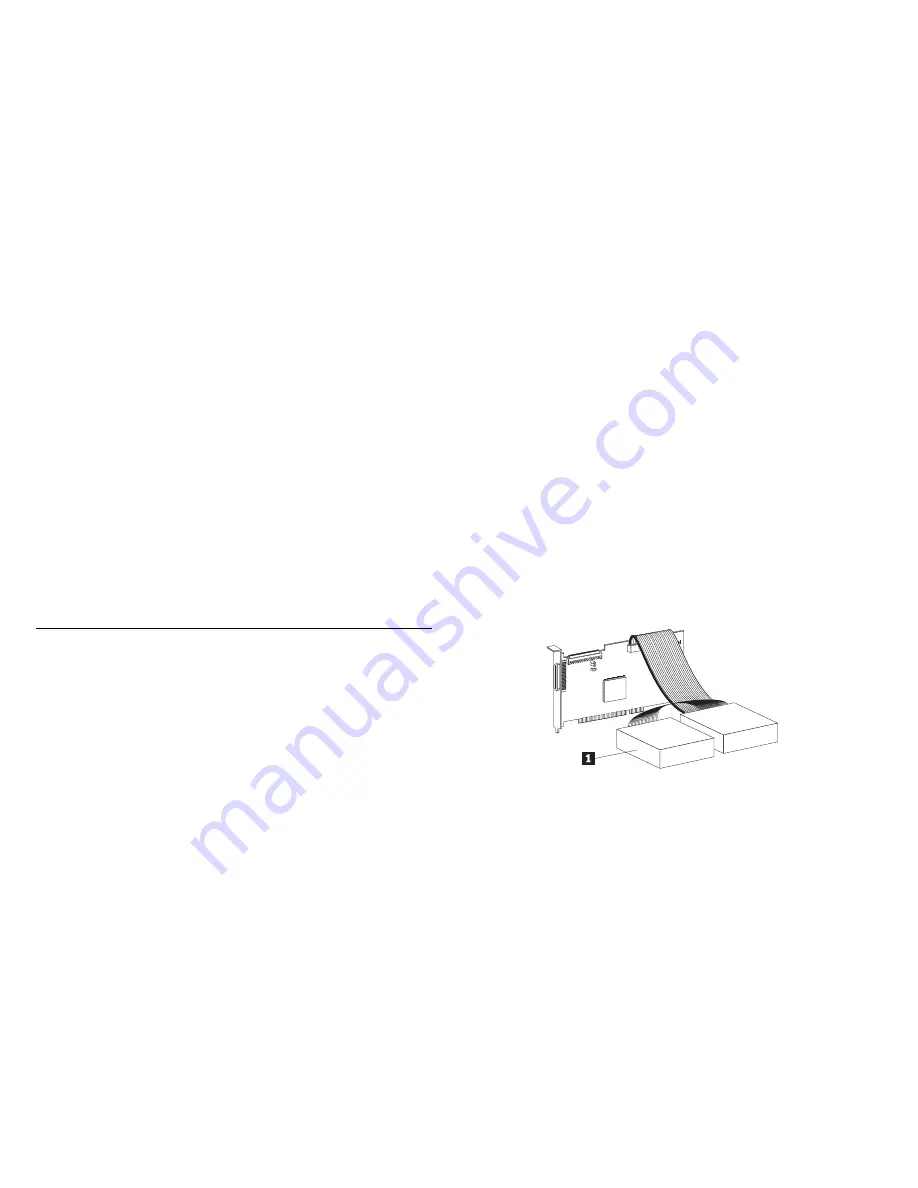
3. The following example shows a bus cable with two devices on it.
The last device
.1/
on a bus cable must terminate the device chain.
1
If the tape drive is the last device on the SCSI chain, the chain
must be terminated at the drive.
To terminate the SCSI chain, set the “Active Termination
Enabled” jumper (pins 11-12) to ON. For more information, refer
to the illustrations on page 2-4.
If you install the device in an external storage enclosure and the
device is at the end of the SCSI chain, refer to your enclosure
documentation on termination. The enclosure might have a
terminator on a connector outside the enclosure.
Attention: Do not force the power cable into the tape drive power
connector. If the power cable is upside down and you force the
connection, you might damage the drive.
4. Connect the power cable connector to the four-pin connector on
the tape drive. If all the power cables are in use, purchase a
power-splitting cable at your computer dealer.
2-6 12/24 GB DDS/3 4 mm Internal Tape Drive


