84
13. Maintenance and Inspection
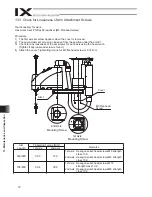
Arm 1
(arm length 500/600, arm length 700/800)
Arm 2
(arm length 500/600, arm length 700/800)
Reference Posture for Arm Length 500/600, 700/800
Positioning
mark label for
arm 1
Positioning mark
label for arm 2
Adjust both arms 1 and 2 to
positions within
1
Positioning mark
label for arm 1
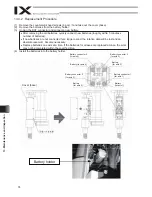
(6) Press the emergency-stop switch.
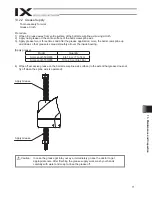
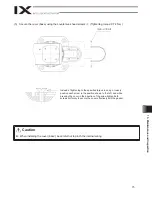
(7) When performing an absolute reset of arm 1, set the adjustment jig (pin) on arm 1 to secure the arm in its
reference position. You can move arm 2 when securing arm 1. When performing an absolute reset of arm 2,
set the adjustment jig (pin) on arm 2 to secure the arm in its reference position. You can move arm 1 when
securing arm 2.
Set the jig after confirming that the emergency-stop switch is pressed.
Set the jig after adjusting the arm to the reference position, using the positioning mark label as a guide.
Arm 1 has a cover (not arm 2), which is fixed with setscrews. Remove the setscrews and detach the
cover before setting the jig.
It is recommended that an adjustment jig be used to perform an absolute reset. With arm 1 or 2,
however, rotation data can be reset as long as a positioning accuracy of “center of positioning mark label
1 graduation” is ensured.
Always press the emergency-stop switch before setting an adjustment jig. Failure to do so may cause the
robot to malfunction and result in a serious accident.
Warning
Summary of Contents for IX Series
Page 2: ......
Page 4: ......
Page 56: ...50 9 How to Install ...
Page 58: ...52 9 How to Install Center of recommended installation part ...
Page 104: ......
Page 105: ......

