CV-M77
- 27 -
Factory and User Settings
Use the Store button to store the current camera settings into the user settings area in EEPROM.
Current camera settings are not saved when the camera is turned off. To save current camera
settings you have to save them on the available user areas.
Use the Load button to restore previously saved camera settings from either the Factory or the
User EEPROM area.
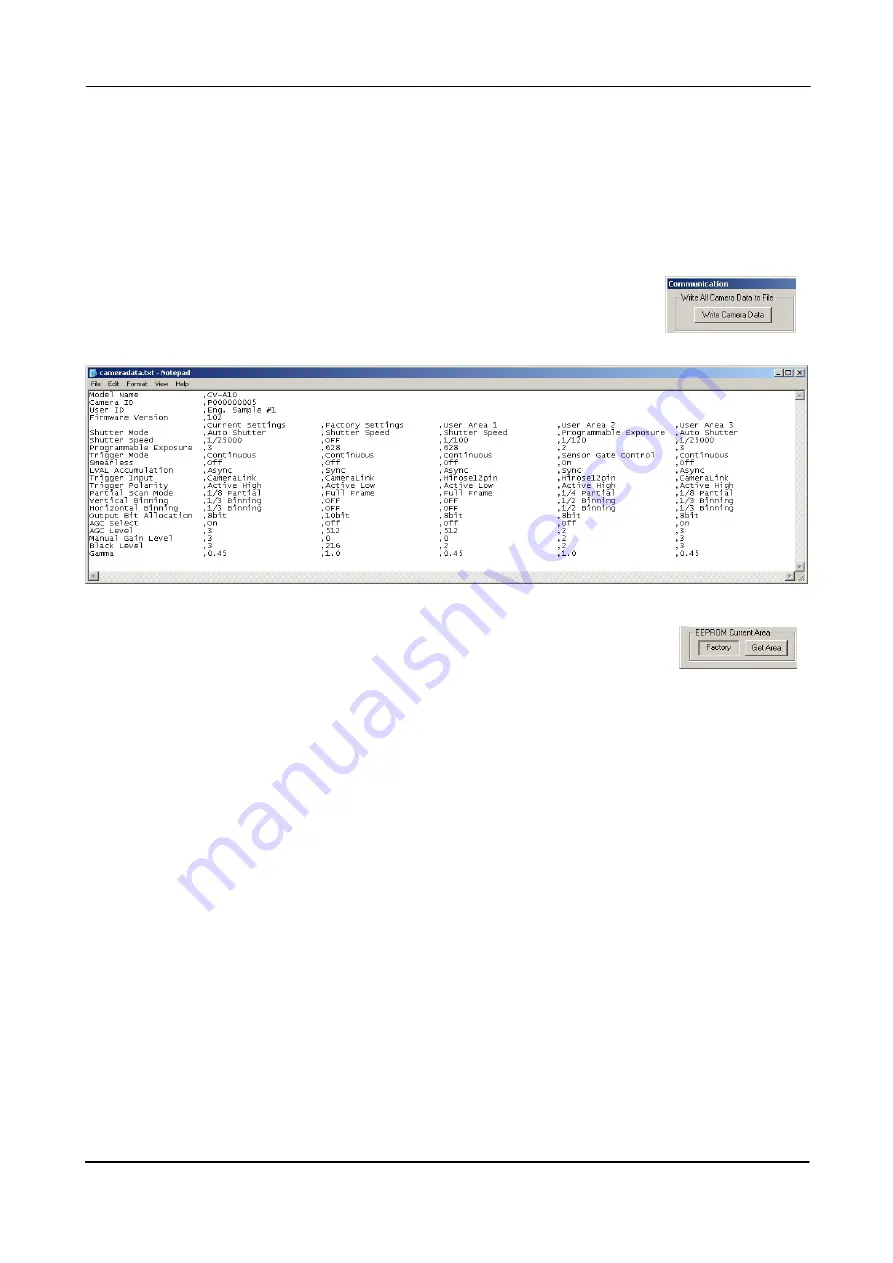
Write All Camera Data to File.
Click the “Write Camera Data” button to save all camera settings into a
text file. The information that can be saved is:
Model Name, Camera ID, User ID, Firmware Version, Current Settings,
Factory Settings and the available User Areas.
The file is formatted as shown in the picture below:
EEPROM Current Area.
Click the ‘Get Area’ button to read the power up settings area number.
7.3.3. Using the Camera Control Tool
Here is some practical information about the Camera Control Tool:
1. The Camera Control Tool bar is always on top of other windows.
2. When you minimize the Camera Control Tool bar all open windows will close.
3. It is possible to work with the Camera Control Tool when the camera is online and when
the camera is offline.
4. The newer JAI cameras always start up with the last used user area (but for some old
models it will start up with the last saved user area.)
5. The Camera Control Tool saves the last used settings (not the user area), which don’t
have to be the same as for the last saved user area.
6. The setup file ’CameraName.ini’ stores all information about camera settings. When the
program is started the last settings for the program are loaded from the file
’CameraName.ini’
7. When you turn on the camera and the Camera Control Tool, it is possible that the Camera
Control Tool does not show the actual camera settings (see 4. and 5.).
a. To obtain the camera settings click “Synchronize Program”.
b. To send the settings that are saved in the Camera Control Tool (last used settings)
to the camera click “Synchronize Camera”.
c. To see which area the camera has started up in click “Get Area”.


