Print Server Administration User’s Guide
20
EtherP Admin Administration
5.
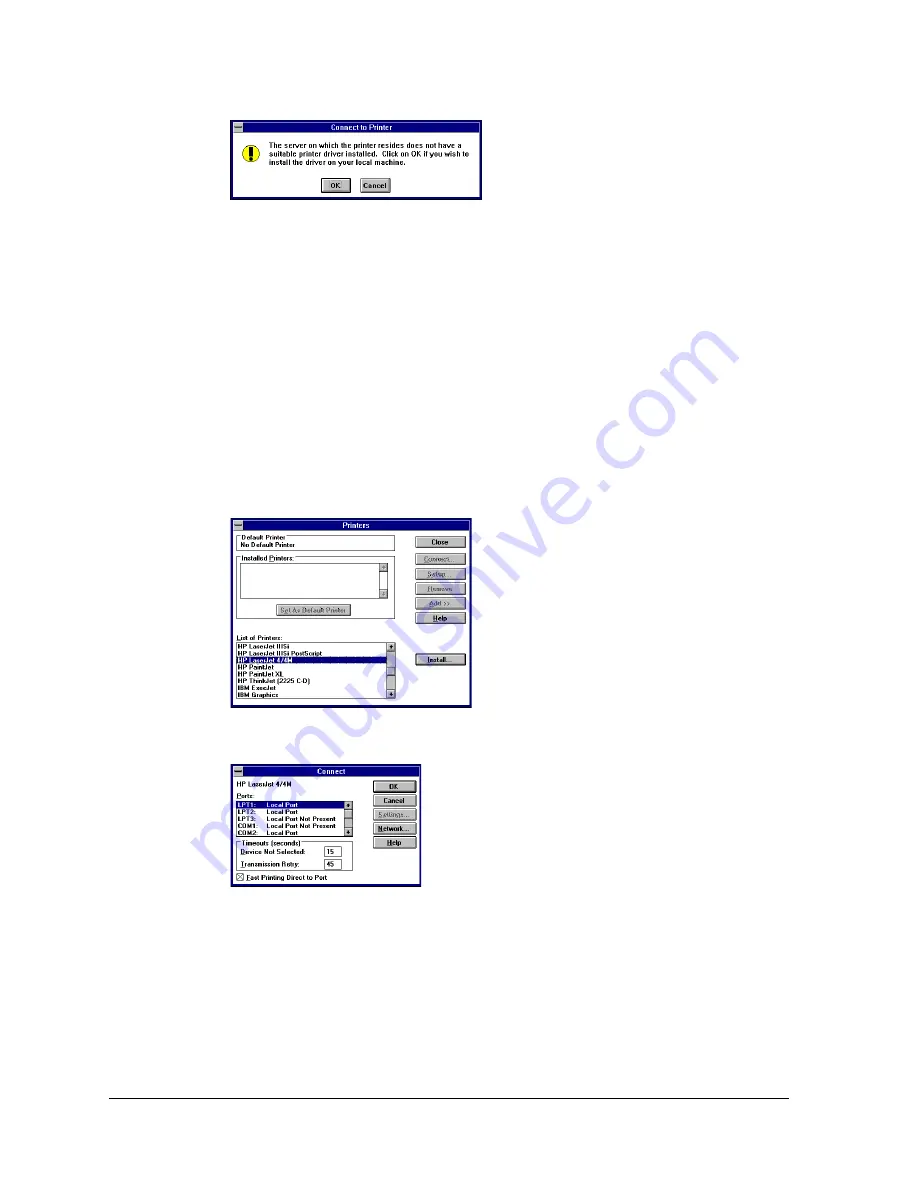
Windows will ask you to choose the correct printer driver for the printer.
Select a driver and press
OK
.
6.
The printer should now be available for use.
Windows 3.x and Windows for Workgroups 3.11 Workstations
To access a NetWare 3.
x
printer queue from your Windows 3.x or Windows for
Workgroups 3.11 workstation,
1.
Double-click on the Print Manager icon found in the Main program group.
2.
In the Print Manager, choose
Printer Setup...
from the
Options
menu. The
Print Manager will display the Printers dialog window.
3.
If necessary, click on the
Add >>
button. Choose the correct printer driver,
and click
Install...
.
4.
When the printer driver has been correctly installed, select the printer in the
Installed Printers list and click the
Connect...
button.
5.
Click the
Network...
button to display the NetWare printer connections dialog.
(If you are using Windows for Workgroups, you will also have to push the
NetWare...
button in the Connect Network Printer dialog.)
6.
Click on the printer port you wish to capture and the printer queue you want it
redirected to, and press
Capture
. Press
Permanent
to insure that the port will
be redirected every time you start Windows. Click on the exit button when
you are finished.
Summary of Contents for FastPrint Multiprotocol Ethernet/Fast Ethernet Print Server
Page 6: ......


