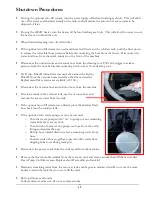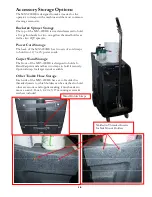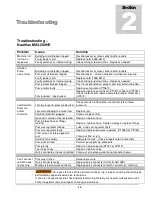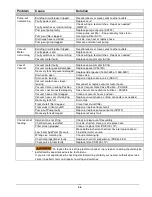
14
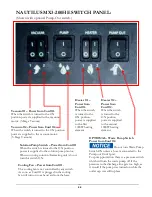
5. 2000W Heater Operation:
To prevent damage to the heater, the heater must have water in it before it is
turned ON. Fill solution tank, prime the pump and connect solution hose and tool before turning
heater ON.
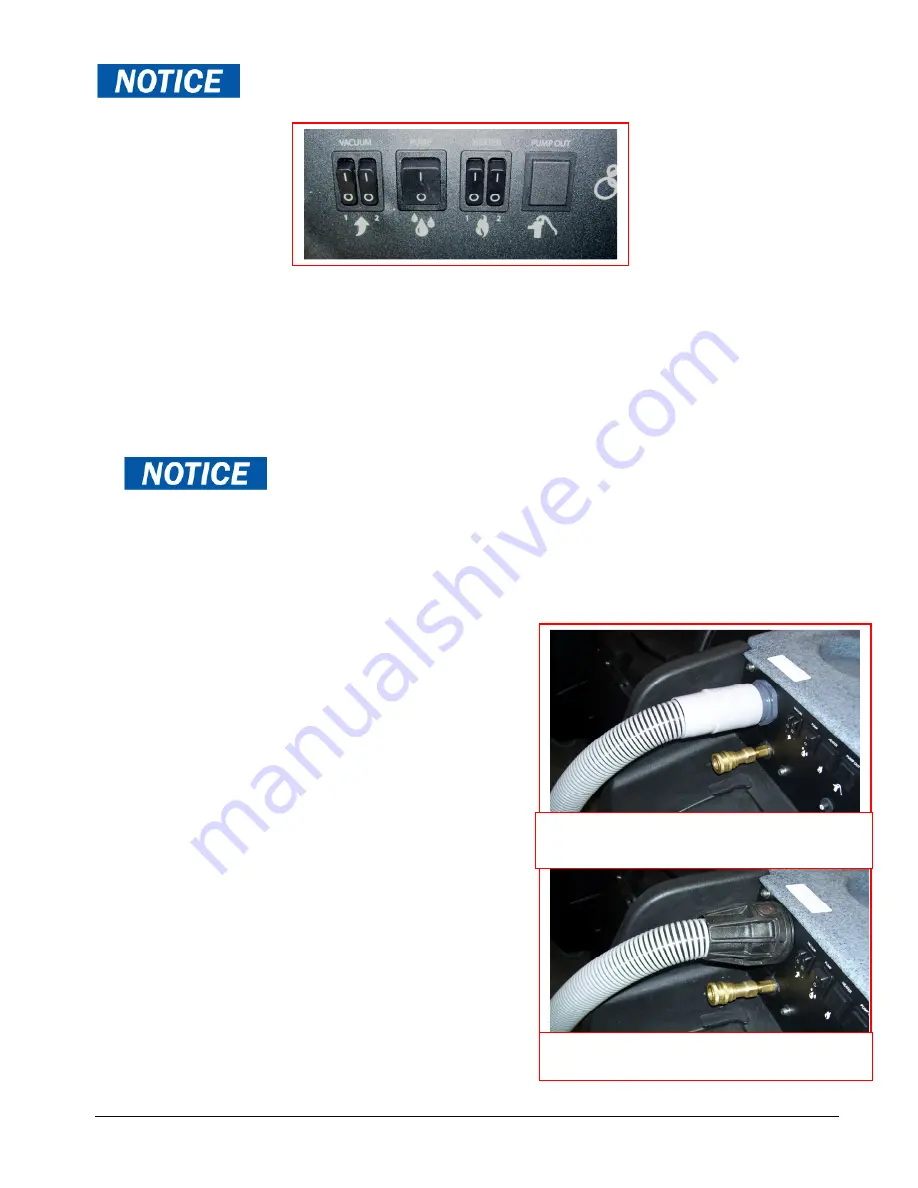
The 2000W heater has two circuits. For maximum heat both circuits must be on. In situations where there is
insufficient power available, the heater can be operated using only one 1000W circuit.
•
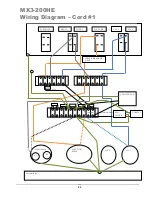
The rocker switch on the Left is Heater Circuit #1, drawing power from Cord #1
•
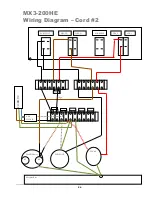
The rocker switch on the Right is Heater Circuit #2, drawing power from Cord #2
While the heater allows for maximum operating temperature of approximately 190ºF or 88°C, the
temperature of the cleaning water delivered to the tool is dependent on two factors:
•
The starting temperature of the water: Starting with hotter water will require a smaller temperature
increase from the heater to reach the maximum temperature.
The water temperature in the solution tank cannot exceed 130
°°°°
F or 54°C.
•
Flow rate: The lower the flow rate of the water through the heater, the more time the water will be inside
the heater. The water will have more time to be heated and can reach a higher temperature. High water
usage and flow rate will not allow the water enough time to be heated and the temperature of the water
delivered to the tool will be much lower.
The flow rate can be lowered by putting smaller jets in the cleaning tool and by reducing the amount of
time the wand is sprayed. Taking additional drying stokes without spraying water between spraying
strokes will help increase the potential temperature rise.
6. Connection of Vacuum Hoses:
The vacuum connection port on the machine can be either a
2” hose barb or 2” male Flash Cuff. Both are included with
your MX3-200HE. The desired connector can be threaded
into the vacuum port on the front of the machine.
A 2” female Flash Cuff 1-1/2” hose adapter is also included
to connect the 1-1/2” vacuum hose to the 2” male Flash
Cuff on the machine.
A 2” hose cuff for 1-1/2” vacuum hose is included to
connect the 1-1/2” vacuum hose to the 2” hose barb on the
machine.
With the proper cuff attached to the 25’ Vacuum Hose, the
25’ vacuum hose is then connected to the vacuum
connection port on the MX3-200HE. The other end with
the 1-1/2” cuff is connected to the cleaning tool.
When ready to begin cleaning, turn both vacuum switches to
the ON position. If connected in series, the MX3-200HE
can be operated with only one vacuum for cleaning delicate
fabrics. (See Vacuum Connection instructions on Page 8) In
most situations you will turn both vacuum switches ON.
Vacuum Hose Connection with standard barb
& vinyl cuff
Vacuum Hose Connection with Flash Cuffs
Summary of Contents for Nautilus MX3-200HE
Page 1: ...1 LMANN09 Revised 02 16 2018 Nautilus MX3 200HE Operating Manual ...
Page 37: ...37 OPTIONAL AUTO FILL FLOAT VALVE ASSEMBLY NM5740 ...
Page 38: ...38 Optional Pump Out Pump AP37 PARTS ASSEMBLY ...
Page 39: ...39 1 2 6 7 8 9 11 3 8 9 12 4 4 3 10 5 15A 8 9 8 9 39 2 ...
Page 43: ...43 48 49 49 47 47 47A 47 47 47A 47A 51 51 37 9 54 64 52 VACUUM MOUNTS CONNECTIONS 9 54 64 ...
Page 48: ...48 96 91 97 9 94 105 OPTIONAL PUMP OUT CONNECTIONS 99 95 93 103 ...
Page 49: ...49 FLOW 81 92 91 99 96 97 105 13 14A 14 95 OPTIONAL PUMP OUT PARTS 1 9 97 103 39 9 ...
Page 50: ...50 HEATER PARTS 111 113 114 112 2 115 2 116 2 42 42A 98 111 ...


