41
CLUTCH
Clutch springs
Dismantling
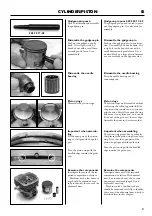
Secure the clutch in a vice.
Position a heavy screwdriver against the
spring hook. A hand movement against
the screwdriver will get the spring hook
to move without unhooking. Press out
the spring hook using a punch.
Assembly
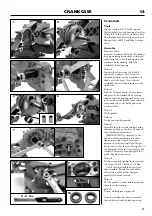
Preassemble the springs in the part of the
shoes with less space.
Turn the springs with the hook
towards the side marked “OFF”.
Turn the clutch and twist the springs
in position with an awl.
Support ring
Dismantling
Dismantle the clutch's support ring on
the crankshaft with a universal puller,
504 90 90-02.
Support ring
Dismantling
Use a universal puller.
Assembly
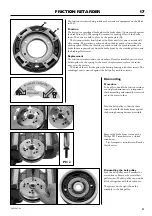
The support ring is assembled using the
tool intended for assembling the crank -
shaft in the crankcase, 544 10 36-02.
Fit the piston stop.
Position the support ring on the shaft
and position the tool as illustrated.
First screw down the tool's centre
screw (left-hand thread) so that it grips
fully on the threads of the clutch.
Assembly
Fit the piston stop.
Place the support ring on the
shaft and assemble the tool.
Screw down the centre screw so
that it grips fully on the threads
of the clutch.
Note that the clutch has a left-hand
thread! Hold the centre screw in position
and turn the tool's nut. Press in the sup -
port ring against the stop on the crank -
shaft.
Press in the support ring against
the stop on the crankshaft.
544 10 36-02
15


