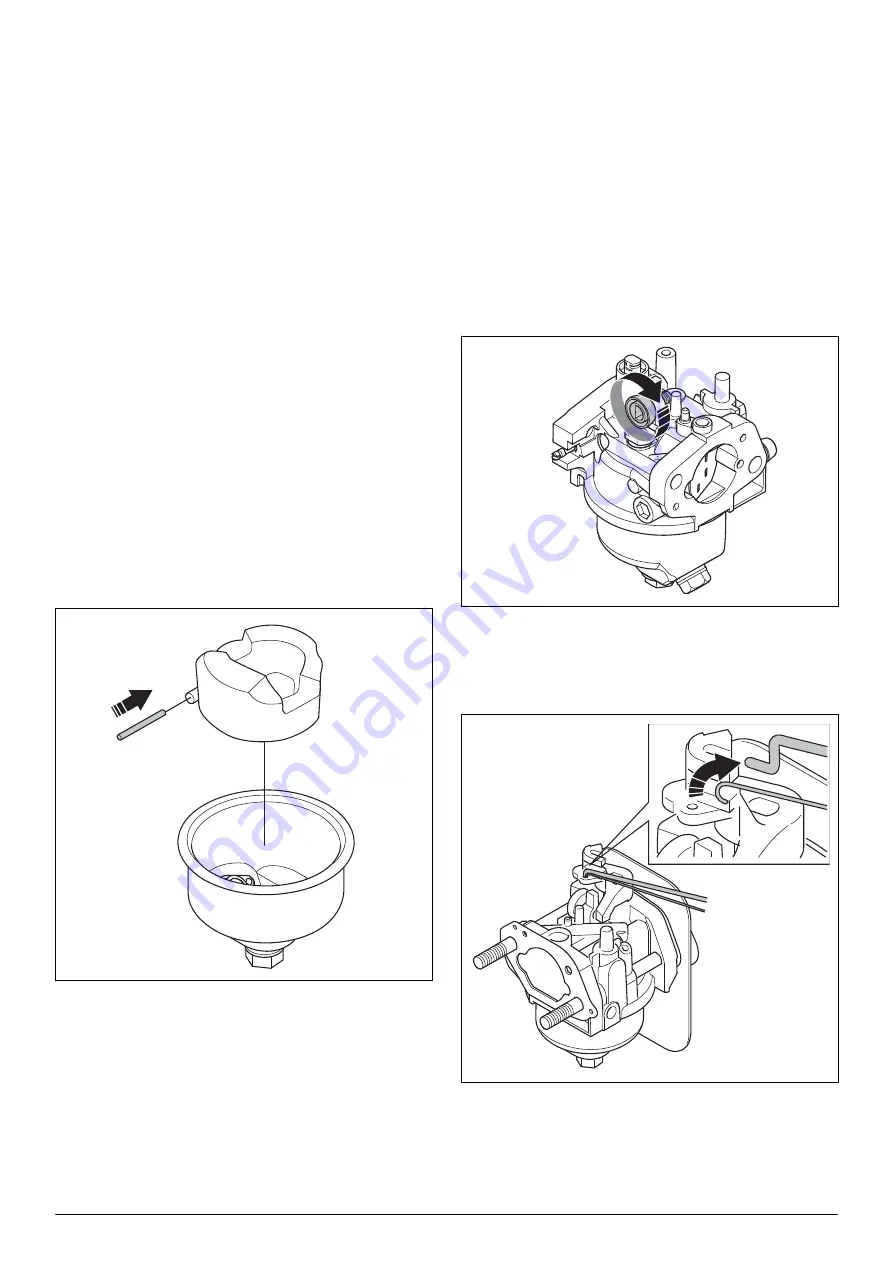
4. Lower the carburetor in a container with gasoline to
find leaks.
5. Make sure that there are no leaks.
6.5.6 To assemble the carburetor
1. Clean all components fully with carburetor cleaning
agent.
2. Dry all components with compressed air.
3. Lightly lubricate and install a new O-ring.
4. Install the pilot screw.
5. Install the idle adjustment screw.
6. Measure the distance between the end of the idle
adjustment screw and the screw hole. Make sure it
is the same distance as when disassembled. Refer
To disassemble the carburetor on page 25.
7. Install the throttle shaft.
8. Put a screwdriver through the air intake of the
carburetor and install the screw that holds the
throttle shaft.
9. Install the emulsion tube.
10. Install the main jet.
11. Examine the float needle valve and needle valve
seat for wear or damages. Replace damaged parts.
12. Put the float pin in the holder on the float.
13. Put the float on the body of the carburetor.
14. Install the hinge pin.
15. Install a new gasket on the float bowl.
16. Install a new gasket on the screw.
17. Install the float bowl with the screw.
18. Remove remaining parts of the gasket from the air
intake of the carburetor and install a new gasket.
19. Replace the gasket on the heat shield.
20. Install the carburetor.
21. Install the air filter. Refer to
6.5.7 To adjust the idle speed
1. Start the engine and let it become warm.
2. Use a tachometer to do a check that the idle speed
is correct. Refer to
Technical data on page 41.
3. Turn the idle speed screw clockwise to adjust the
idle speed.
6.5.8 To remove and install the governor
1. Remove the air filter. Refer to
2. Disconnect the governor.
1425 - 001 - 03.06.2020
Repair instructions- 27


