


10
®
work as intended, until these settings are
made.
Press OPTIONS 3 times and the display will
show
“Edit FC Settings?”
In this menu, you
are able to change many of the settings dis-
played in the
“List FC Settings”
menu above.
Press ENTER, and the display will show
“Set
Address?”
You may now press ENTER, to set or change
the Address, or press OPTIONS again, to view
further settings. You can also use the BACK
and NEXT buttons to move backward and
forward through the settings. Whenever the
display shows a setting you want to change,
press ENTER to edit it.
Set Address: Your VSX Field Controller
cannot communicate with Maintenance Radio
or a central system until it has an Address. Each
controller must have a unique 3-digit number,
so that the central interface and/or Maintenance
Radio can direct communications to the correct
controller. In central systems you will also need
to make sure that a list of correct Field Control-
ler addresses is configured in the central software.
If your VSX controller is a standalone, and you
are not using Maintenance Radio, the Address
is not necessary.
When the display shows
“Set Address?”
, press
ENTER. The display will show:
Type the address you want with the number
buttons on the keypad and press ENTER. The
display will show
“SAVED! Address = 2”
.
The address is now saved. You can use any 3-
digit number, and controllers in a central
system do not need to be sequentially num-
bered. However, each controller must have a
unique address. If more than one controller has
the same numeric address, the system will
become confused and errors will occur.
Once the address is set, you may use the
OPTIONS, BACK, or NEXT buttons to view
more options, or you may press EXIT to leave
the Edit Settings mode.
The other changeable settings are:
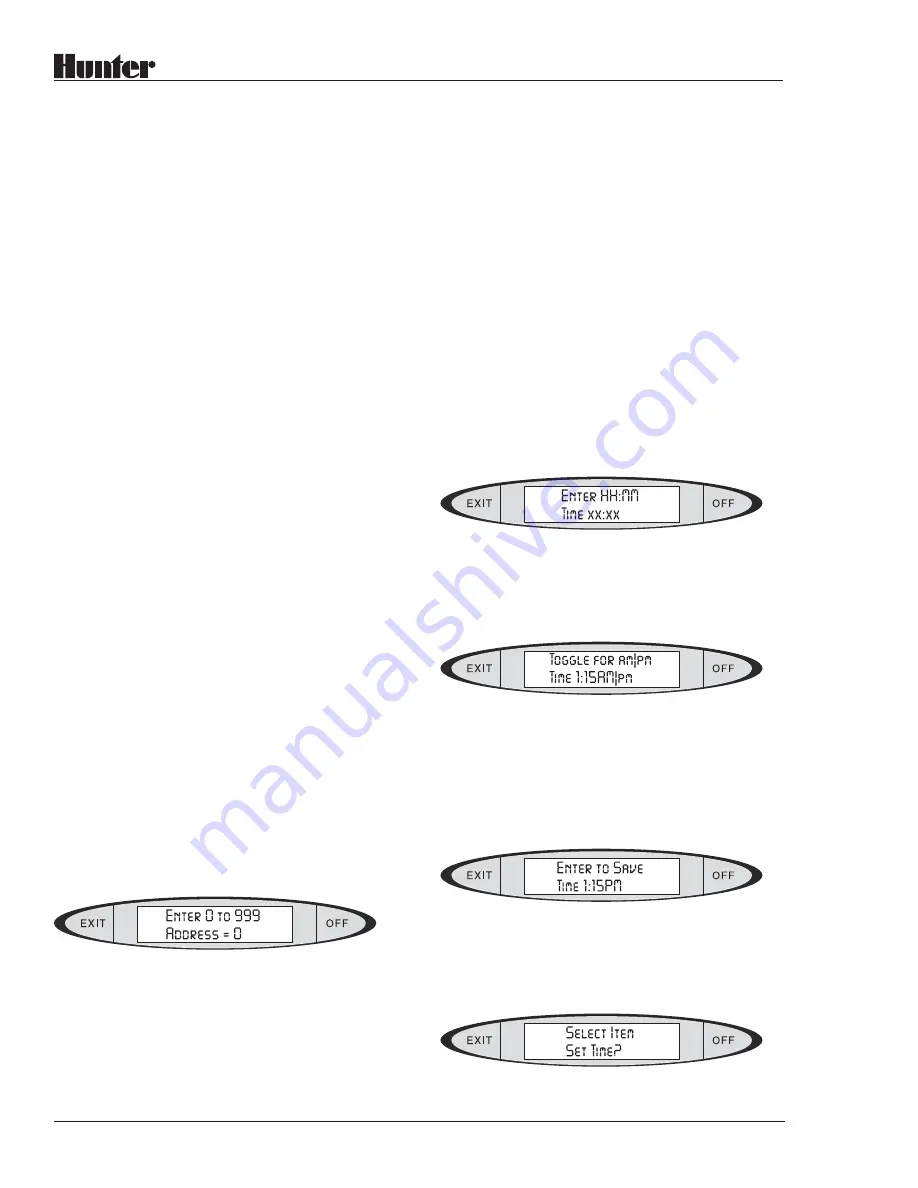
Set Time?: To set the time, press ENTER. The
display will show:
Type the correct time (1:15, for example, in
hour, then minute format), and press ENTER.
The display will show:
The current am/pm selection will be capital-
ized. The other selection will be in lower case.
Press the TOGGLE button to switch between
AM
and
PM
. When it is correct, press ENTER.
The display will show:
Press ENTER to set the time. The display will
briefly show
SAVED!
and the time you have
set. After a moment, the display will revert to:


