


35
>> BEEPER
• Select whether the beeper should sound when video loss is detected or an input alarm is activated. Select On
(default) or Off. When an input alarm or video loss occurs, it sounds for as long as the specified relay dwell
time.
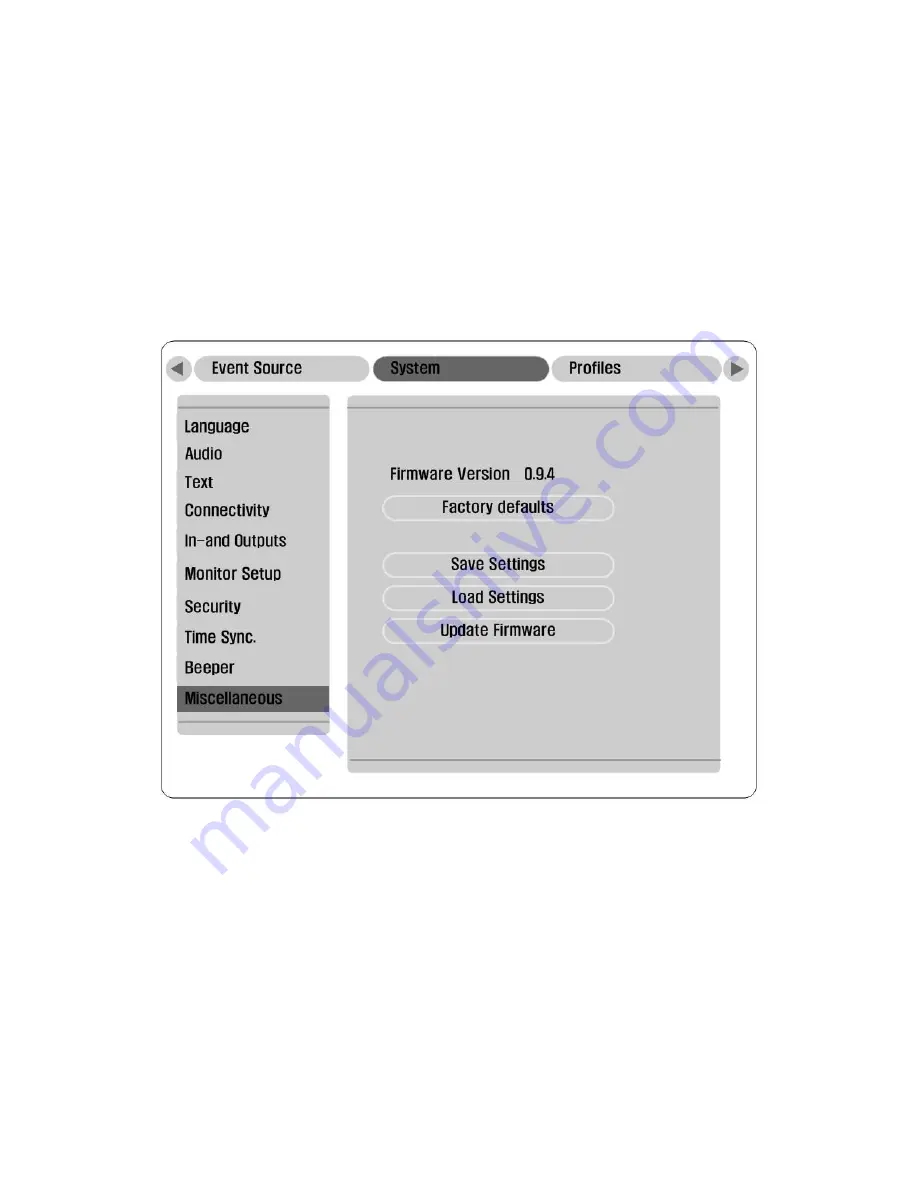
>> MISCELLANEOUS
The HVRM-S400E firmware version is shown here. Select Factory defaults to set all parameters, except IP
address, subnet mask, default gateway and disk setup, to their default values.
>>> SAVE SETTINGS
• Select Save Settings to save the current settings to a USB memory stick.
>>> LOAD SETTINGS
• Select Load Settings to load previously saved settings from a USB memory stick into the HVRM-S400E.
>>> UPDATE FIRMWARE
• For authorized personnel only! Select Update Firmware to load new firmware from a USB memory
stick into the HVRM-S400E. The new firmware overwrites the current firmware
Summary of Contents for HVRM-S400E
Page 1: ...HVRM S400E Installation Guide ...
Page 9: ...9 ...
Page 20: ...20 ...
Page 43: ...43 ...
Page 50: ...50 APPENDIX ...


