Copyright HT ITALIA 2020
Release EN 1.00 - 19/11/2020
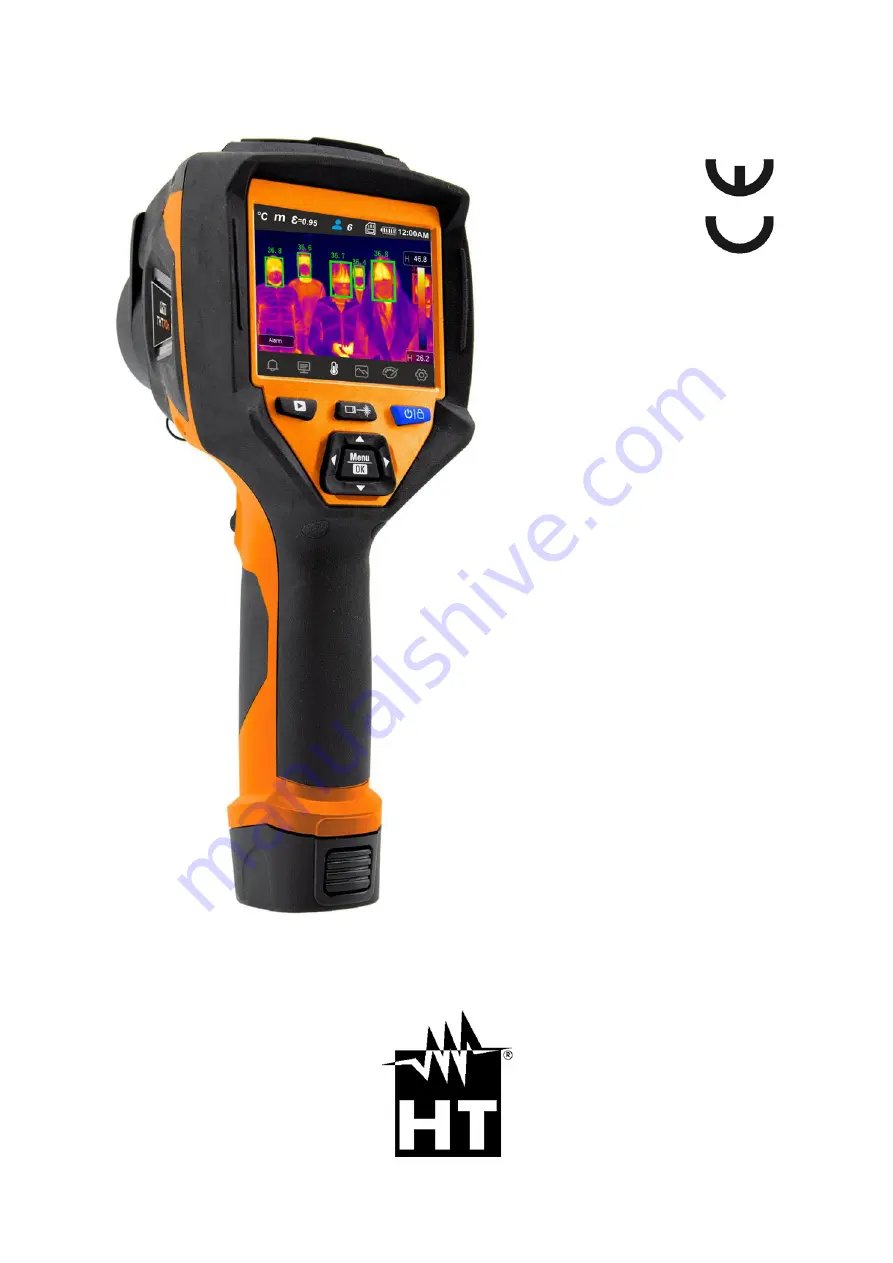
THT70n
User manual
Page 1: ... Copyright HT ITALIA 2020 Release EN 1 00 19 11 2020 THT70n User manual ...
Page 2: ...nctions 31 5 3 5 Menu Parameters 34 5 3 6 Alarm menu 37 5 4 Adjusting the image temperature 38 5 5 Saving IR images and videos 40 5 5 1 Image saving 40 5 5 2 Recording IR videos 41 5 5 3 Gallery menu 42 5 6 HDMI video output 42 5 7 Characteristics of the lens 43 5 8 Use of the Screening mode 44 6 USING THE THTLINK SOFTWARE 45 6 1 Minimum system requirements 45 6 2 Installing the THTLink software 4...
Page 3: ...rect the instrument at very high intensity radiation sources e g the sun in order to prevent damaging the IR sensor Prevent hits or strong vibrations in order to keep the instrument from damage When bringing the instrument from a cold to a hot environment leave it on long enough for condensation water to evaporate In this manual and on the instrument the following symbols are used Warning observe ...
Page 4: ...ages IR MPEG4 video recording on micro SD card and in the internal memory HDMI video output Built in laser pointer and illuminator Measurement of the distance from target with laser pointer Rechargeable Li ION battery Analysis and creation of reports with the provided dedicated software WiFi interface to mobile devices through the APP HTProCamera The applications of the digital thermal camera are ...
Page 5: ...SUPPLY The instrument is supplied by a 1x3 7V 5200mAh rechargeable Li ION battery and AC mains power supply which also provides for the recharge of the mentioned battery Both of these systems are provided together with the instrument For battery recharge please refer to 7 2 3 3 STORAGE In order to guarantee precise measurement after a long storage time under extreme environmental conditions wait f...
Page 6: ...strument s backside CAPTION 1 Audio Microphone USB micro SD and HDMI 2 LCD touch screen display 3 Lens associated with the IR sensor 4 Function key Image video gallery 5 Function key Laser Distance 6 Function key Menu OK 7 Function key ON OFF and Measuring Mode 8 Arrow keys 9 Trigger key T ...
Page 7: ...CAPTION 1 Built in white LED illuminator 2 Laser pointer 3 Laser pointer for distance measurement 4 Photo camera 5 Lens associated with the IR sensor 6 Slot for non slip strap insertion 7 Threaded hole for tripod insertion 8 Trigger key T 9 Rechargeable battery ...
Page 8: ...THT70n EN 7 Fig 3 Description of the upper part of the instrument CAPTION 1 Slot for micro SD card insertion 2 Micro USB port 3 Headphone microphone input 4 HDMI video output ...
Page 9: ...onds the IR image is shown on the display and the instrument is ready for measurement see Fig 4 right side Fig 4 Sequence upon switching on the instrument CAUTION The sound that accompanies the message IR calibration is a necessary condition for the instrument s internal calibration Pressing the key allows switching on off the instrument The instrument also has an Auto Power Off function with sele...
Page 10: ...sing the T key found on the front part of the instrument allows freezing the IR image on the display and automatically opens the section for saving the image see 5 5 1 Press the T key again to unfreeze the image on the display 4 2 6 Key Menu OK Pressing the key Menu OK allows displaying hiding the instrument s main menu see 5 3 The operation is always possible also by touching the display 4 2 7 Ke...
Page 11: ...r pointer activation 7 Presence of micro SD card in the instrument 8 Active WiFi connection 9 Battery charge level 10 System time 11 Main instrument menu 12 Detection of the person s face and maximum measured temperature 13 Reading of distance from the framed target 14 Indication of the selected adjustment mode Manual Auto HG 15 Maximum temperature associated to the image on the display 16 Set col...
Page 12: ...ramed target The IR image on the display may be out of focus after a few minutes or if a new object is framed In order to solve this problem the instrument performs its internal calibration and makes a sound which must be considered as fully normal Fig 7 Focusing the image on the display The correct focusing of the image allo ws for the whole of the infrared energy irradiated by the target to be d...
Page 13: ...e correction parameters used for temperature measurement Menu Measurement allows inserting items dots lines areas onto the image with the relevant associated temperature values Menu Image allows selecting the display mode of the framed target as regards thermal image visible image and combinations thereof In the same section it is also possible to use the function for measuring the distance from t...
Page 14: ...et of the instrument The following screen appears on the display Fig 9 Section Setting of the general menu 5 3 1 1 Menu Device Settings In this section see Fig 10 it is possible to define the instrument s system parameters Touch the screen to activate deactivate the desired options Fig 10 Instrument settings USB mode 1 Touch the item USB mode The following screen appears on the instrument s displa...
Page 15: ...download the IR images videos found in the internal memory or on the inserted micro SD card 6 Disconnect the USB cable from the instrument in order to restore normal operation 7 Select option PC Camera to allow displaying on the PC in real time the image shown on the display Within My Computer search for the USB video device which is automatically recognized by the PC and allows showing the IR or ...
Page 16: ...ay brightness 2 Touch and drag the white bar to adjust brightness observing the display as you do so Laser pointer activation 1 Touch the item Laser to activate deactivate the laser pointer see Fig 2 part 2 The following screen appears on the display Fig 15 Laser pointer activation 2 Touch the icon to activate the pointer or icon to deactivate the pointer ...
Page 17: ...connection or icon to deactivate WiFi connection The icon is shown on the display 3 Touch item SSID to define a custom identification ID of the WiFi connection default THT70n The screen in Fig 17 left side appears on the display Fig 17 Definition of SSID and Password of the WiFi connection 4 Define the desired name of the SSID and touch the icon to confirm or icon X to quit without changes 5 Touch...
Page 18: ...indicate the time in a 0 12h format whole option 24Hr indicates format 0 24h Touch Set Date to confirm or Cancel to quit without changes Language setting 1 Touch the item Language to set the system s Language The screen in Fig 19 right side appears on the display Fig 19 System language setting 2 Select the desired language by scrolling down the list with the arrow key and quit the section by touch...
Page 19: ...ns OFF deactivation 5MIn 10Min 15Min or 30Min and touch the arrow key to quit and confirm setting Information on the instrument 1 Touch the item About to display the information about the instrument ad regards model serial number internal Firmware version and available residual memory The screen in Fig 21 right side appears on the display Fig 21 Information on the instrument 2 Touch the arrow key ...
Page 20: ... modes Normal mode the instrument measures the surface temperature of any object according to its emissivity in the range 20 C 150 C 0 C 650 C with accuracy 2 C 2 reading Screening mode the instrument measures the temperature of parts of the human body in the range 32 0 C 42 0 C with accuracy 0 5 C This mode is also used to evaluate whether a person has a fever or not see 5 8 1 Touch the item Ther...
Page 21: ...it 2 Touch one of the options m meters or Ft feet and the arrow key to quit and confirm setting Setting the temperature measuring unit 1 Touch the item Temperature unit to set the measuring unit of temperature The screen in Fig 25 right side appears on the display Fig 25 Menu Setting the temperature measuring unit 2 Touch one of the options C Celsius F Fahrenheit K Kelvin and the arrow key to quit...
Page 22: ...asurements it is important to define the correct value of this parameter which represents the ability of a body to emit infrared radiation according to the kind of material the measured object is made of Table 1 shows the emissivity values for the most common materials Emissivity takes values between 0 mirror or perfectly reflecting surface and 1 perfectly radiating blackbody Most of the painted o...
Page 23: ...dots lines and areas associated to the Alarm function in the main menu see 5 3 The screen in Fig 28 right side appears on the display Fig 28 Menu for Activation of alarm thresholds on measurements 2 Touch one of the following options OFF alarm deactivated Above MAX alarm active alarm for measured values exceeding the set threshold Below MIN alarm active alarm for measured values lower than the set...
Page 24: ...e are overlapping 2 Touch the 4 arrows on the display in order to move the IR image by overlapping it onto the visible one see Fig 29 right side 3 Touch the icon to confirm or icon X to quit without changes 5 3 1 3 Menu Reset In this section it is possible to delete the content of the internal memory or of the inserted micro SD card and restore the instrument s default conditions Touch the screen ...
Page 25: ...ion Yes to confirm deletion or option No to cancel the operation and go back to the previous screen The default conditions of the instrument are reported in the following Menu Parameter Value Measurement Central measuring cursor OFF Cursor hot spot OFF Cursor cold spot OFF Measuring parameters Emissivity 0 95 Reflected temperature 25 C Image Mode IR Palette Iron Image adjustment Auto System settin...
Page 26: ...ch the icon to enter the Measurement menu The following screen appears on the display Fig 33 Measurement Menu 3 The following functions can be mutually used each one excludes the other Central spot Touch the icon to activate the cursor in a fixed central position on the display The temperature associated with the central cursor is shown in the top left hand part of the display Touch the icon to re...
Page 27: ... the spots inside the area are shown in the top left hand part of the display Touch the icon to remove the cursors Line Cursors Touch the icon to activate the horizontal line mobile cursor which can be freely dragged on the display Touch the icon a second time to activate the vertical line cursor The display shows the dynamic trend of temperature The temperatures MIN MAX AVG average of the spots o...
Page 28: ... be shown green in the top part o the shown area see Fig 34 middle 6 If the face temperature of the framed person is higher than the set threshold it will be shown red in the top part o the shown area see Fig 34 right side 7 The Face mode allows for the face temperature of several people up to 10 people to be evaluated at the same time see Fig 35 The counter found at the top of the display indicat...
Page 29: ... Thermal Display IR and visible image divided into half the screen Auto Fusion In this display mode the instrument automatically mixes the infrared and the visible part of the image Distance measurement from the framed target it is possible to carry out this operation by means of the laser pointer Zoom it is possible to activate an electronic zoom x1 x32 1 Touch the screen or press key Menu OK to ...
Page 30: ...the thermal and visible image at the same time The two images are shown on the screen divided into two halves Visible image Touch the icon to display the visible image AUF image Auto Fusion Touch the icon to display the image in Auto Fusion mode In this display mode the instrument compares the temperature in the middle of the display with the temperatures of the whole framed image in order to auto...
Page 31: ...isplay in the middle see Fig 37 right side 7 Press key again to activate the function again CAUTION Distance measurement is NOT possible if the surface of the framed target is made of a reflecting material e g glass Plexiglas aluminium etc 8 Touch the icon to activate the electronic Zoom of the image The following screen appears on the display Fig 38 Activating image zoom 9 Press the arrow keys or...
Page 32: ...tions 3 Touch the icon corresponding to the desired colour palette which will be automatically changed on the display The following options are available Iron Rainbow Grey scale Grey Inverted Brown hot Blue Red Hot Cold Feather 4 Touch the icon to activate the isotherm line function Alarm high Temp The following screen appears on the display Fig 40 Selection of isotherm line Alarm high Temp 5 Touc...
Page 33: ...e spots in blue colour and the remaining spots in grey colour see Fig 41 8 Touch the icon to activate the isotherm line function Alarm Temp range The following screen appears on the display Fig 42 Selection of isotherm line Alarm Temp range 9 Touch the Hi and Lo field at the bottom of the display and use the arrow keys or to set the value of the maximum and minimum temperature threshold The instru...
Page 34: ...he display and use the arrow keys or to set the value of the maximum and minimum temperature threshold The instrument shows as radiometric IR image the spots with a temperature between the Lo and the Hi threshold and as a visible image the spots with a temperature outside that range see Fig 43 CAUTION Le The isotherm lines functions can be used only with the instrument set to Normal measuring mode...
Page 35: ...within the range 0 0 C 650 0 C Parameter Temperature compensation Offset This parameter can be set if in automatic mode you are sure of the values which the temperature levels associated with the colour palette must take see 5 4 In this case the levels ate increased or decreased by the quantity inserted in that field Offset which can be set within the range 5 0 C 5 0 C Parameter Distance This para...
Page 36: ... screen to the side appears on the display Use the arrow keys or or touch the arrow icons found in the Reflection temperature box to set the value Touch the screen to quit the section Relative humidity setting Touch the icon to open the section of which to define relative temperature The screen to the side appears on the display Use the arrow keys or or touch the arrow icons found in the Relative ...
Page 37: ...or or touch the arrow icons found in the Distance box to set the value Touch the screen to quit the section Emissivity setting Touch the icon to open the section of which to define material emissivity The screen to the side appears on the display Use the arrow keys or or touch the arrow icons found in the Emissivity box to set the value Touch the screen to quit the section ...
Page 38: ...icon to define the high threshold value associated with the alarm The screen in Fig 44 left side appears on the display 4 Use the arrow keys or or touch the arrow icons found in the Above MAX alarm box to set the value according to the measuring range set on the instrument The instrument will sound for measured temperature values above the set threshold 5 Touch the icon to define the low threshold...
Page 39: ...e very different from the values of adjacent areas are highlighted The relationship between temperature and colour of the palette is non linear according to a histogram algorithm This mode emphasizes image display in very dark working environments Manual MANUAL LOCK mode the minimum and maximum temperature level of the framed target on the display are manually set by the user This mode particularl...
Page 40: ...the temperature value associated with the high level by steps of 0 1 C see Fig 46 middle 6 Touch the icon to block the set temperature value 7 Use the arrow keys or to set the temperature value associated with the low level by steps of 0 1 C see Fig 46 right side 8 Touch the icon to block the set temperature value ...
Page 41: ...g 5 5 1 Image saving An IR image on the display may be saved after it has been frozen on the display Proceed as follows 1 Press the T Trigger key to freeze or unfreeze an IR image on the display The following screen appears on the display Fig 47 Image saving 2 Touch the icon to confirm saving the image if no change needs to be made to it 3 In case it is necessary to change the image parameters tou...
Page 42: ...ching icon Touch the icon to open the section containing the information about the saved vocal annotation 5 5 2 Recording IR videos The instrument allows recording and saving also IR videos with or without audio in a MP4 format as follows 1 Insert the connector of a headphone and microphone set into the Audio input of the instrument see Fig 3 part 3 2 Press and hold key T Trigger for at least 2s T...
Page 43: ... icons and to make changes on the image recalled on the display Touch the icon to confirm the changes made by overlapping the modified image or saving a copy 6 Touch the icon X to quit without saving or to go back to the main menu 7 Touch the icon to delete the image recalled on the display 5 6 HDMI VIDEO OUTPUT The HDMI video output available in the instrument see Fig 3 Part 4 enables displaying ...
Page 44: ...the lens D S ratio Ratio Distance Cross section of the target object it provides information on the maximum distance between the instrument and the target having a certain cross section spot in order to obtain correct temperature measurements It is expressed as D S theoretical 1 IFOV theoretical Case of instrument THT70n FOV 17 Horizontal x 12 7 Vertical Focus lens 22mm Size of sensor s pxls 17µm ...
Page 45: ... 3 2 6 Select the desired colour palette Iron or Grey scale recommended see 5 3 4 7 Select the AUTO measuring mode see 5 4 8 Correctly focus the item to be tested see 5 2 9 Frame the item to be tested at a distance of max 2m 10 The following screen appears on the display Fig 53 Display of the alarm condition in Screening function CAUTION Le The Screening function allows measuring the temperature o...
Page 46: ...f the PC 2 Launch file THTLink_setup exe found on the CD ROM and follow the guided installation procedure 6 3 MAIN CHARACTERISTICS OF THE THTLINK SOFTWARE IR images with HIR format can be opened with the software as shown in the following Fig 54 Fig 54 Image display with the THTLink software Main characteristics of the THTLink software Display of IR visible Fusion PiP images Insertion of advanced ...
Page 47: ...The battery must not be removed from the instrument while recharging When using the instrument for the first time recharge the battery for at least 3 hours Recharging the battery with direct connection to the electric mains 1 Connect the provided battery charger to the AC electric mains and the output to the instrument s micro USB port see Fig 3 Part 2 2 With the instrument turned off the indicato...
Page 48: ...ly and correctly disposed of 7 5 ACCESSORIES 7 5 1 Accessories provided Built in focal lens for IR measurements f 22mm Lens protection cap Rechargeable Li ION battery 3 7V 5200mAh 2 pieces AC DC 100 240V 5V adapter universal plugs Battery recharging base Micro SD card 8GB Adapter for micro SD card USB cable HDMI video cable Earphone set Non slip strap CD ROM with Windows software THTLink ISO9000 c...
Page 49: ...Image adjustment modes Automatic Manual Histograms HG Measuring functions corrections according to environmental temperature reflected temperature distance relative humidity offset Advanced analyses fixed central cursor spots 3 lines 2 areas 3 Hot Cold cursors Face temp detection max 10 people at the same time distance 2m Inbuilt photo camera 5Mpxl FOV 59 Image modes IR Visible Fusion PiP Auto Fus...
Page 50: ...erating temperature 15 C 50 C 5 F 122 F Storage temperature 40 C 70 C 40 F 158 F Allowable relative humidity 10 RH 90 RH Mechanical protection IP54 in compliance with IEC 529 Falling test 2m Shock 25G in compliance with IEC60068 2 29 Vibrations 2G in compliance with IEC60068 2 6 This instrument complies with Directive EMC 2014 35 EU This instrument satisfies the requirements of European Directive ...
Page 51: ...onsequence of improper packaging Repairs which may become necessary as a consequence of interventions performed by unauthorized personnel Modifications to the instrument performed without the manufacturer s explicit authorization Use not provided for in the instrument s specifications or in the instruction manual The content of this manual cannot be reproduced in any form without the manufacturer ...
Page 52: ...5 19 3367 8775 Fax 55 19 9979 11325 eMail vendas ht instruments com br Web www ht instruments com br HT INSTRUMENTS USA LLC 3145 Bordentown Avenue W3 08859 Parlin NJ USA Tel 1 719 421 9323 eMail sales ht instruments us Web www ht instruments com HT INSTRUMENTS GMBH Am Waldfriedhof 1b D 41352 Korschenbroich GER Tel 49 0 2161 564 581 Fax 49 0 2161 564 583 eMail info ht instruments de Web www ht inst...