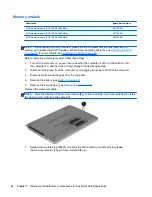
Remove the WLAN module:
1.
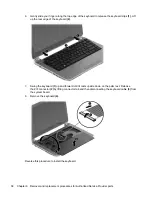
Disconnect the WLAN antenna cables
(1)
from the terminals on the WLAN module.
NOTE:
The #1 WLAN antenna cable is connected to the WLAN module “Main” terminal.
The #2 WLAN antenna cable is connected to the WLAN module “Aux” terminal.
2.
Remove the Phillips M2.0×2.5 screw
(2)
that secures the WLAN module to the system board.
(The WLAN module tilts up.)
3.
Remove the WLAN module
(3)
by pulling the module away from the slot at an angle.
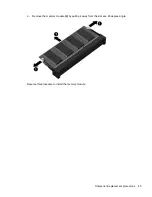
NOTE:
If the WLAN antennas are not connected to the terminals on the WLAN module,
the protective sleeves should be installed on the antenna connectors, as shown in the following
illustration.
Reverse this procedure to install the WLAN module.
Component replacement procedures
47
Summary of Contents for Pavilion TouchSmart Notebook PC
Page 4: ...iv Important Notice about Customer Self Repair Parts ...
Page 6: ...vi Safety warning notice ...
Page 10: ...x ...

